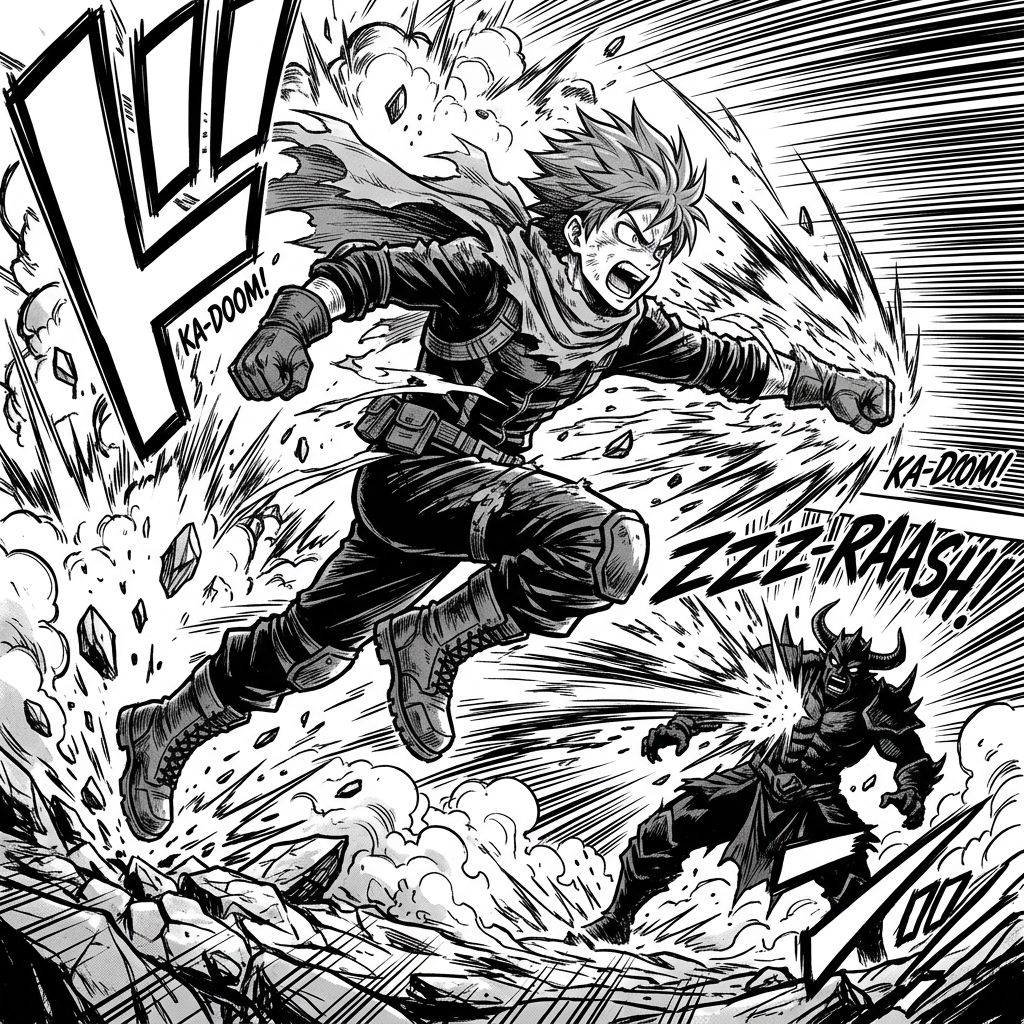
Start from writing
Use story, script, prompt, dialogue, caption, and translation tools when the source material is still verbal. These tools reduce ambiguity before you spend generation credits on images.
ComicsAI Tool Suite
ComicsAI is growing from a single generator into a full comic production workspace. Pick a tool by workflow: write the story, design the cast, generate panels, shape manga pages, convert references, finish covers, and plan webtoon episodes.
Tool directory
The structure is intentionally workflow-first, not a generic anime tool directory. Each tool below has a distinct production role, richer context, and a direct path into the relevant ComicsAI workflow. Use this page as a map: start with story, move into characters, generate panels, convert references, then finish the readable page or webtoon episode.
Use story, script, prompt, dialogue, caption, and translation tools when the source material is still verbal. These tools reduce ambiguity before you spend generation credits on images.
Use character, reference, pose, expression, and image-conversion tools when consistency matters across panels. They help preserve the parts of a design that readers recognize immediately.
Use page, layout, cover, font, logo, background, and webtoon tools when a draft needs to become publishable. The emphasis is readability, pacing, and visual hierarchy.
9 focused tools
Use these tools when the main job is turning an idea, scene, or short sequence into comic-first visual material. The focus is not just making a nice illustration; it is creating panels with readable action, clear framing, usable negative space for lettering, and enough story logic to connect one image to the next.

Convert text to comic panels with Text to Comic AI. Adapt scripts, paragraphs, and story ideas into clear scenes with dialogue space. This workflow supports text to comic creators who have words and want a visual comic result. A sentence can imply memory, motive, setting, and action at the same time, but a panel cannot show everything equally. Use the tool to choose the visible part of the text: the action, the expression, the object, the location, or the reveal. The biggest risk is feeding a text to comic generator a long scene and expecting a clean page. Long text needs adaptation. Before generating, decide which sentence becomes the picture and which sentence becomes caption or dialogue.
A text-to-comic workflow should compress first and generate second. The goal is to find the visual panels hiding inside the prose, script, or story outline.
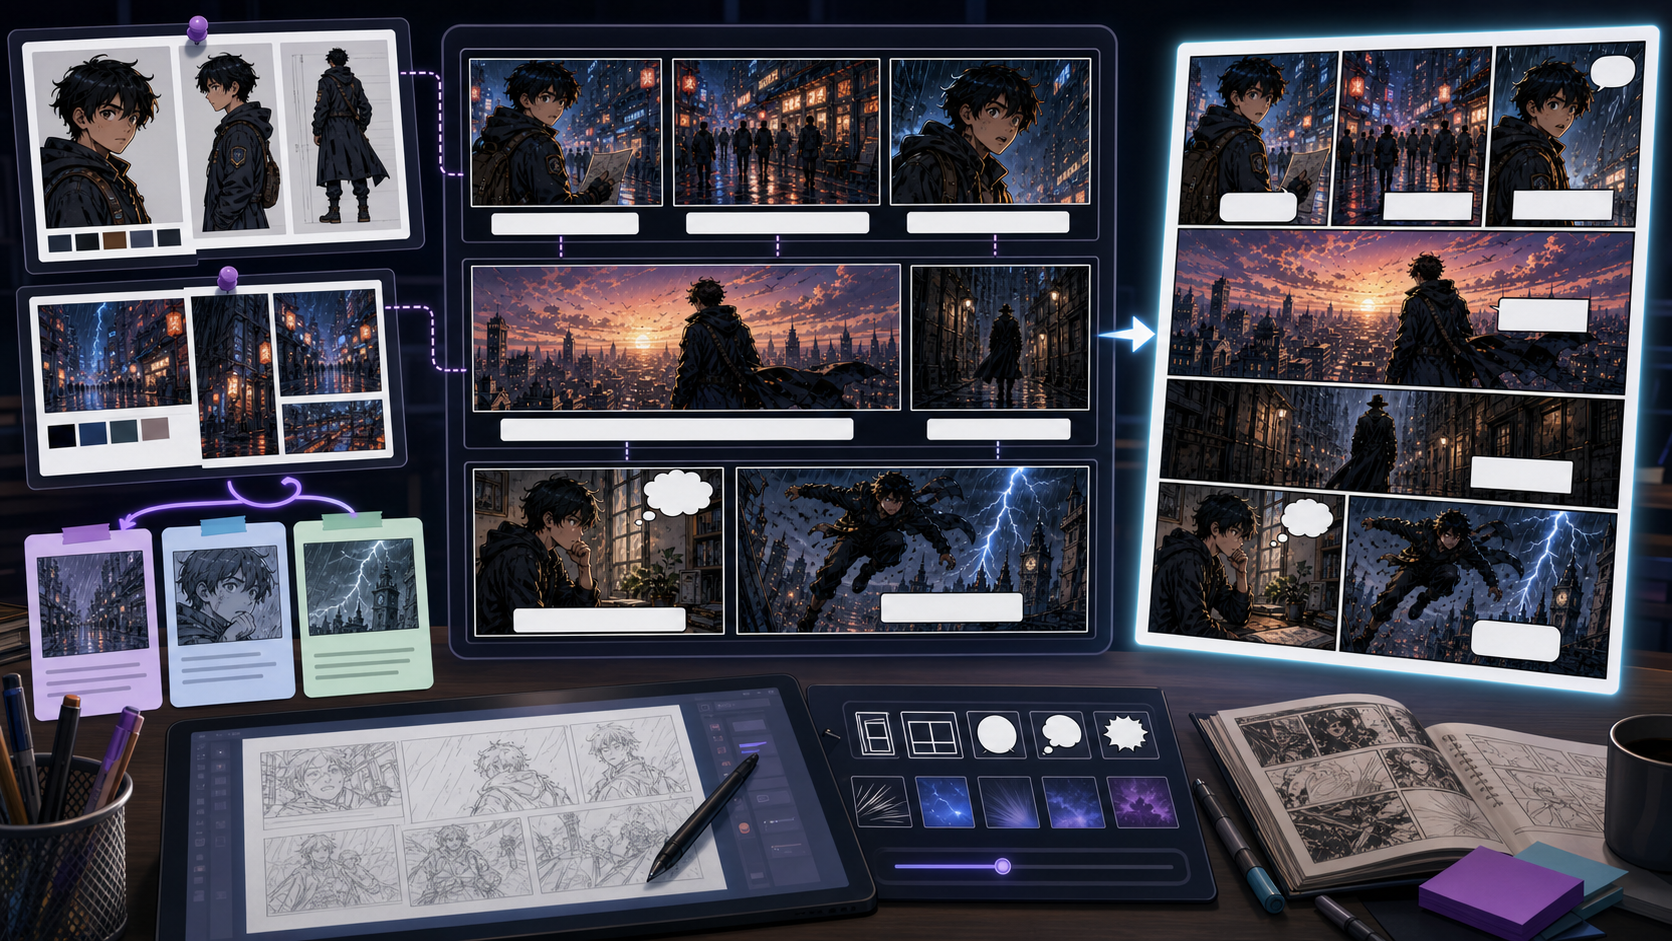
Use AI Comic Maker to plan short comics online with panel order, character anchors, caption space, and shareable comic drafts. Use AI Comic Maker when the goal is a practical comic maker workflow rather than a broad AI comic generator. The tool should help a creator turn one idea into a readable short sequence: who appears, what changes, which panel carries the turn, and where captions or speech bubbles can sit. AI Comic Maker should stay narrower than the homepage's broad generator use case. Its job is to make a small comic sequence. If the content only talks about generating comic art, it misses creator needs like comic maker, comic character maker, and comic strip AI generator that require planning, character anchors, and panel order.
Treat the page like a small production desk: define the short comic, lock the visible anchor, generate panels in order, then review whether the sequence reads without explanation.
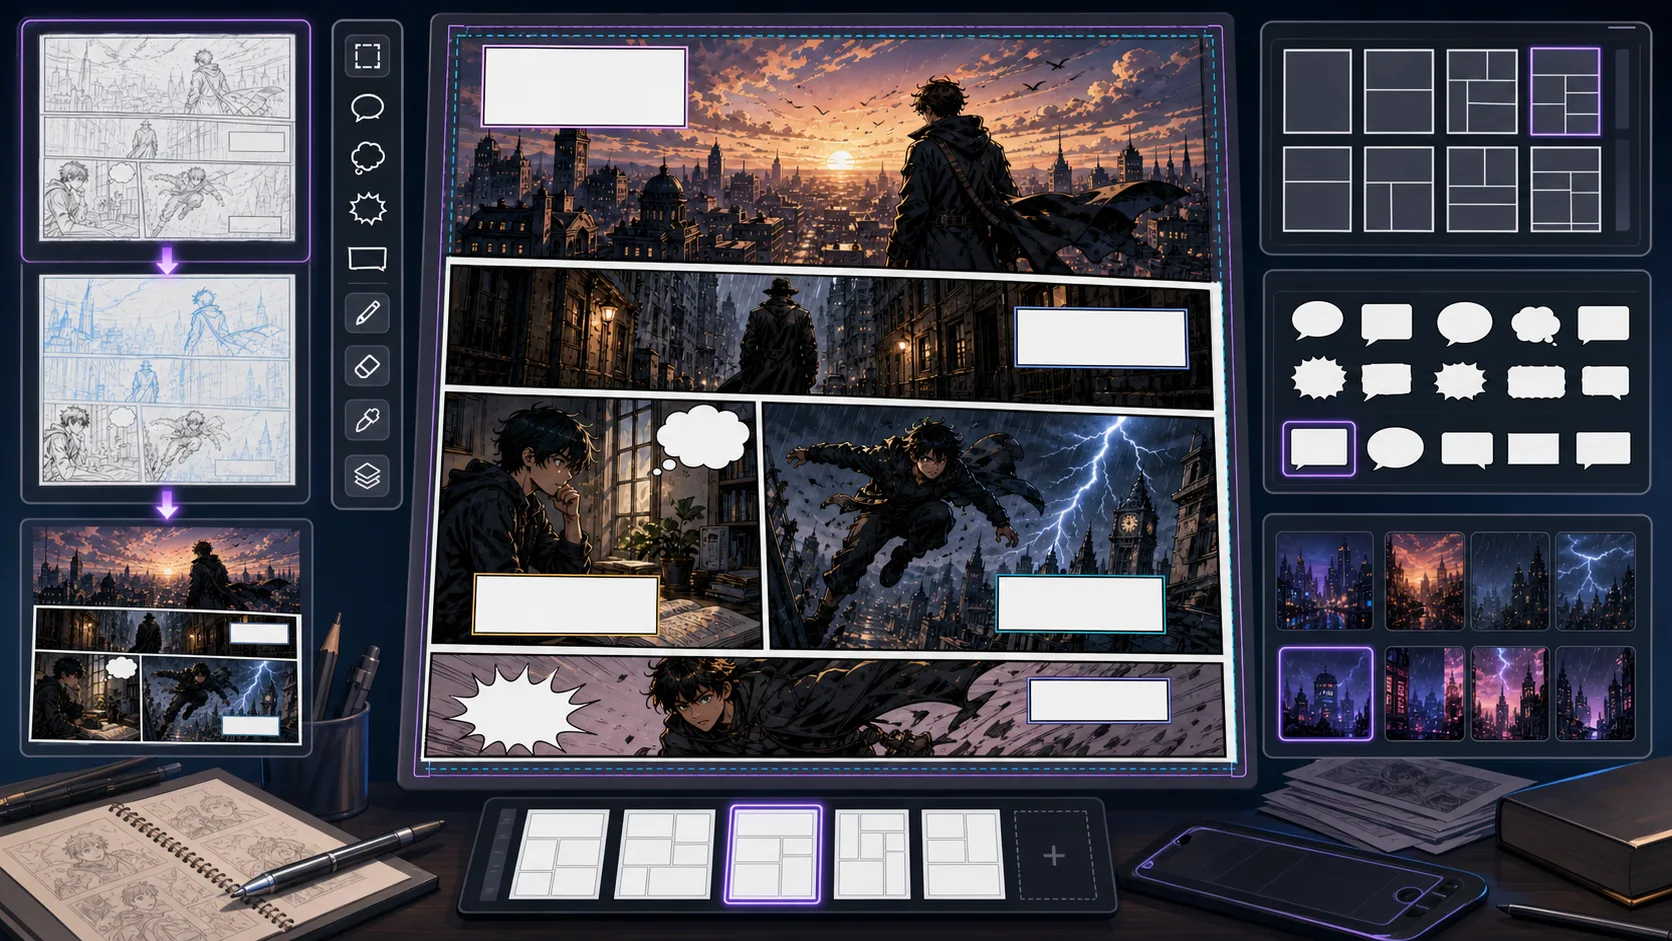
Use ComicsAI Comic Book Generator to plan comic books from story idea to pages, panels, cover direction, character notes, and printable drafts. Comic Book Generator is for creators who want a complete comic book workflow, not a single poster image. Start with the premise, choose the page count, split the story into scenes, map each scene into pages, and generate panels with enough room for captions and speech bubbles. This keeps the comic book readable from first page to last page. The main product challenge is expectation overlap. A broad AI comic generator can help users who want one image, but comic book generator workflows usually need a multi-page result. The content should show book structure, page order, character continuity, cover planning, printable drafts, and review checkpoints so creators understand the book-making workflow immediately.
A good comic book generator workflow starts before image generation. Define the book size, split the story into visual scenes, give every page a job, then create panel drafts that can survive reading order, captions, and export review.
Plan full comic pages with panel hierarchy, reading order, gutters, and caption space. Use ComicsAI to turn scene beats into page-ready drafts. Comic Page Generator is strongest when the creator already knows the decision they need to make. Use it for page-level drafts with panels, rhythm, and reading order, then judge the result by focal point, crop, panel hierarchy, gutter logic, caption space, and how the image connects to the next beat. That keeps the page grounded in comic layout rather than broad image generation. The honest limitation is this: a page can look busy while still failing to guide the eye from panel to panel. In practice, the result may look polished but fail to guide the reader through action, reaction, and payoff. Stronger results come from the first decision: choose the panel job before choosing the style. The working constraint is: the largest panel should earn its space by carrying the emotional or action peak.
The workflow below is specific to Comic Page Generator: define the comic layout decision, set the asset boundary, give visible evidence, then approve only the drafts that can move into a real next step.
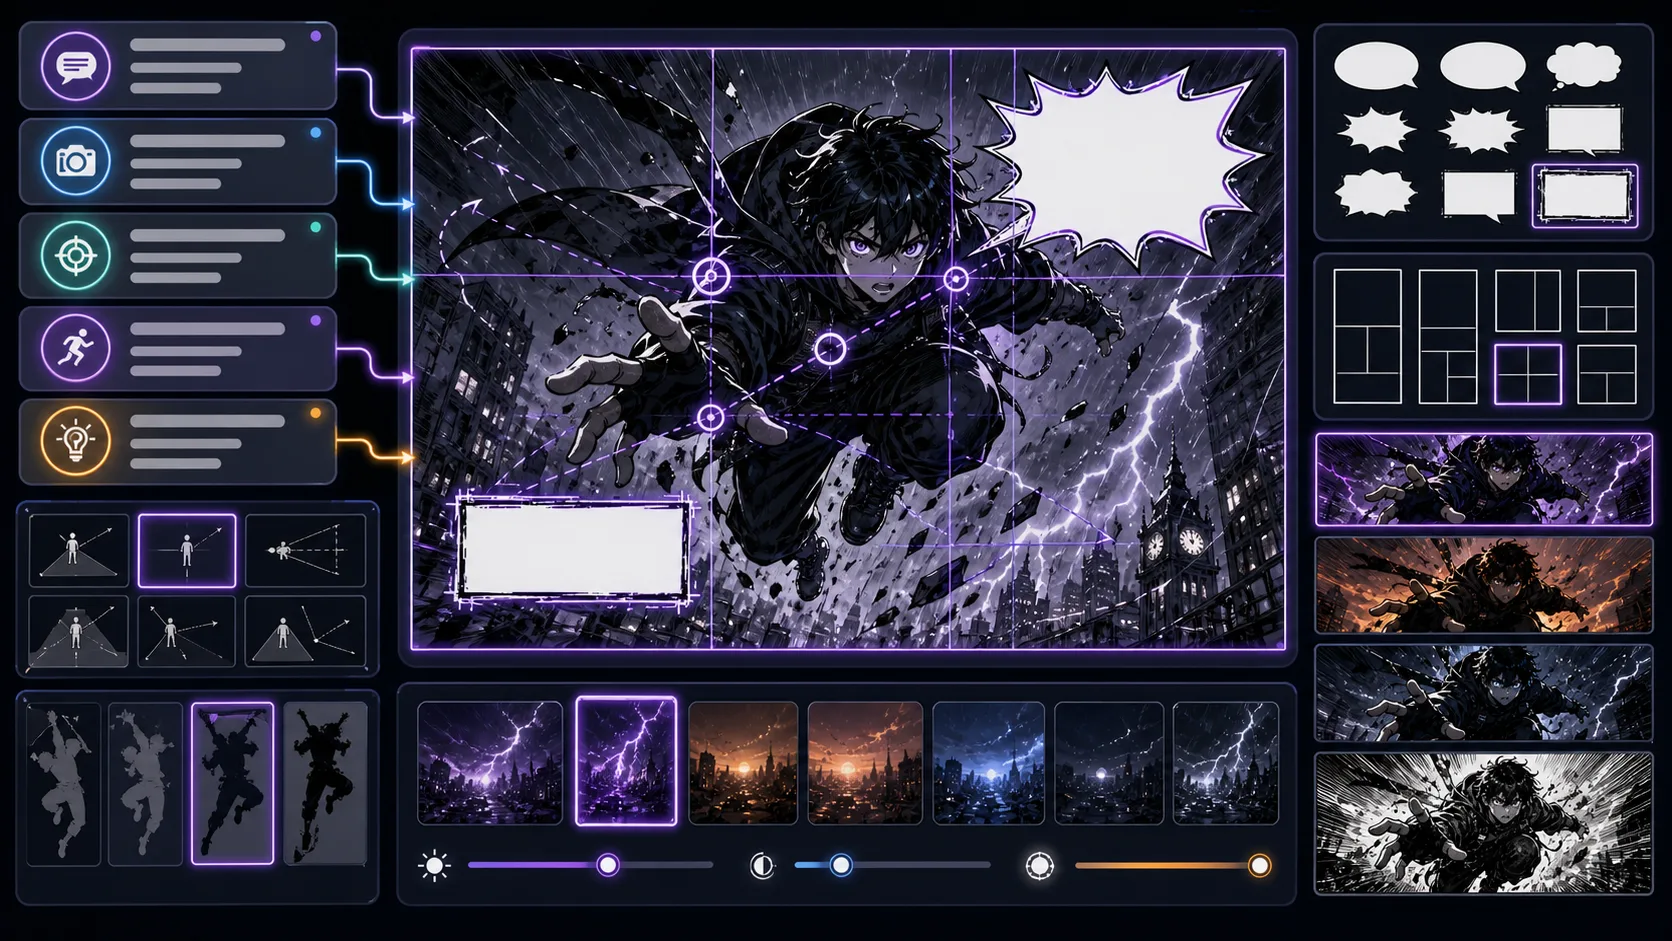
Create single comic panels with a clear story job, focal point, camera angle, and room for lettering. Built for sequence-ready comic drafts. Comic Panel Generator is strongest when the creator already knows the decision they need to make. Use it for single-panel images with a defined story job, then judge the result by focal point, crop, panel hierarchy, gutter logic, caption space, and how the image connects to the next beat. That keeps the page grounded in comic layout rather than broad image generation. The honest limitation is this: overdescribing the scene can hide the important action behind decoration. In practice, the result may look polished but fail to guide the reader through action, reaction, and payoff. Stronger results come from the first decision: choose the panel job before choosing the style. The working constraint is: choose the panel type first, then decide how much detail the reader needs.
The workflow below is specific to Comic Panel Generator: define the comic layout decision, set the asset boundary, give visible evidence, then approve only the drafts that can move into a real next step.
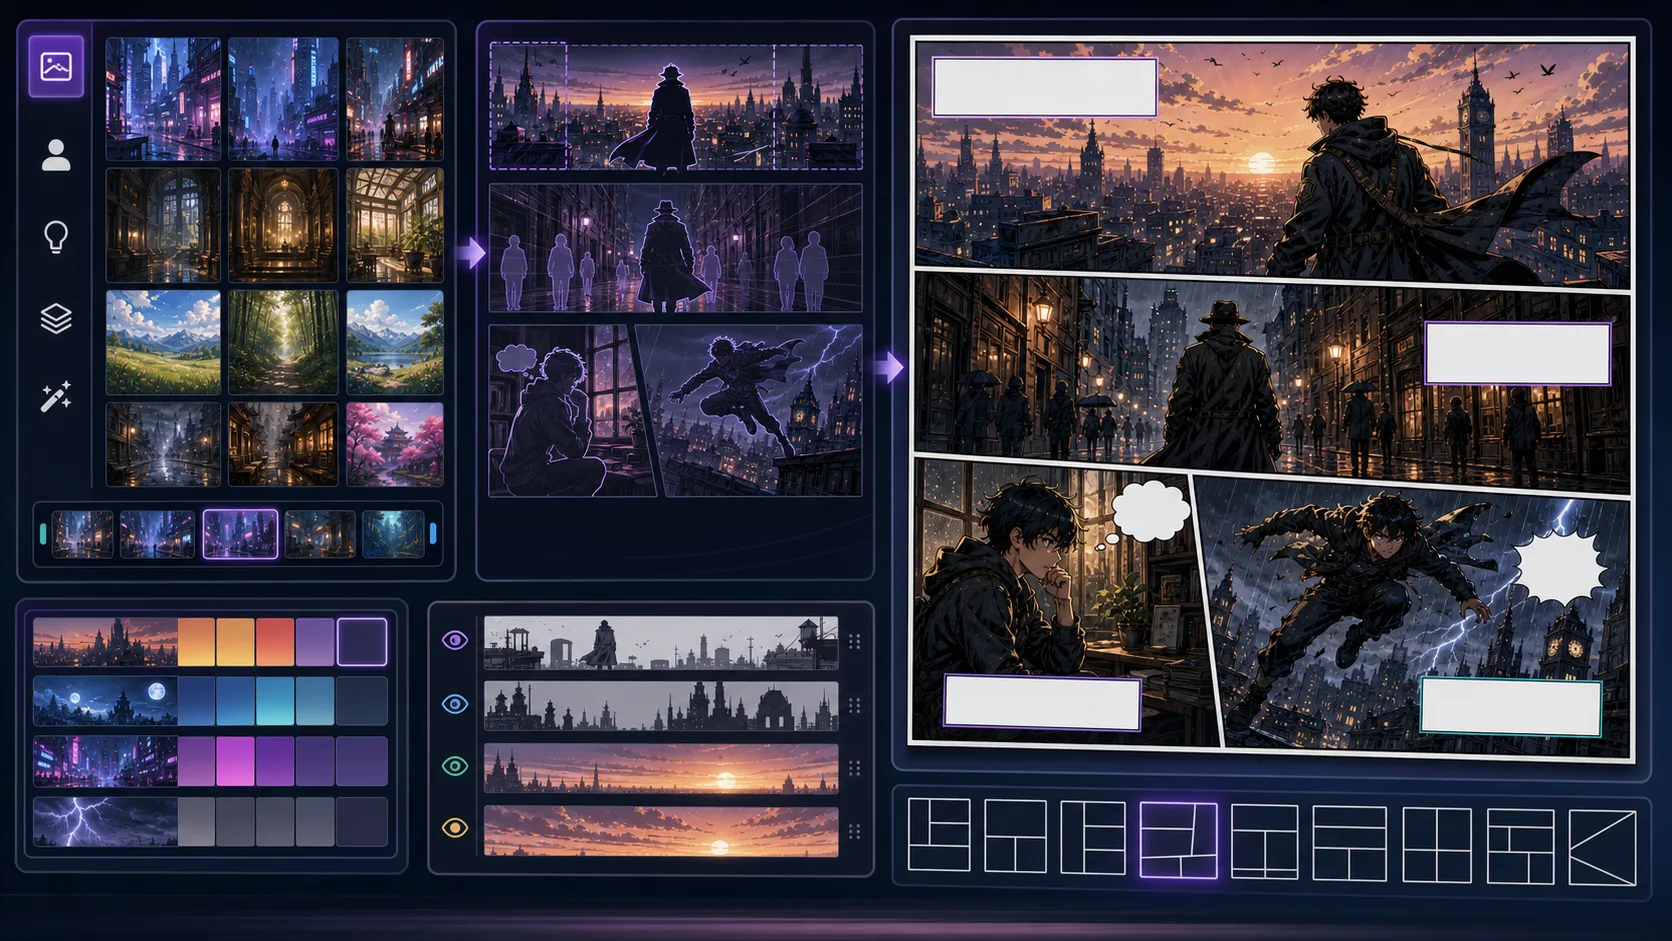
Design comic scenes with environment logic, lighting, character blocking, and narrative pressure instead of generic background art. Comic Scene Generator is strongest when the creator already knows the decision they need to make. Use it for scene illustrations that can become panels or covers, then judge the result by story clarity, character intent, composition, text space, and whether the result can connect to another panel. That keeps the page grounded in comic generation rather than broad image generation. The honest limitation is this: a scene can become a background painting if no character action anchors it. In practice, the model may produce an attractive image that does not function as part of a comic sequence. Stronger results come from the first decision: name the reader effect before describing art style. The working constraint is: make the setting support the story problem instead of competing with it.
The workflow below is specific to Comic Scene Generator: define the comic generation decision, set the asset boundary, give visible evidence, then approve only the drafts that can move into a real next step.
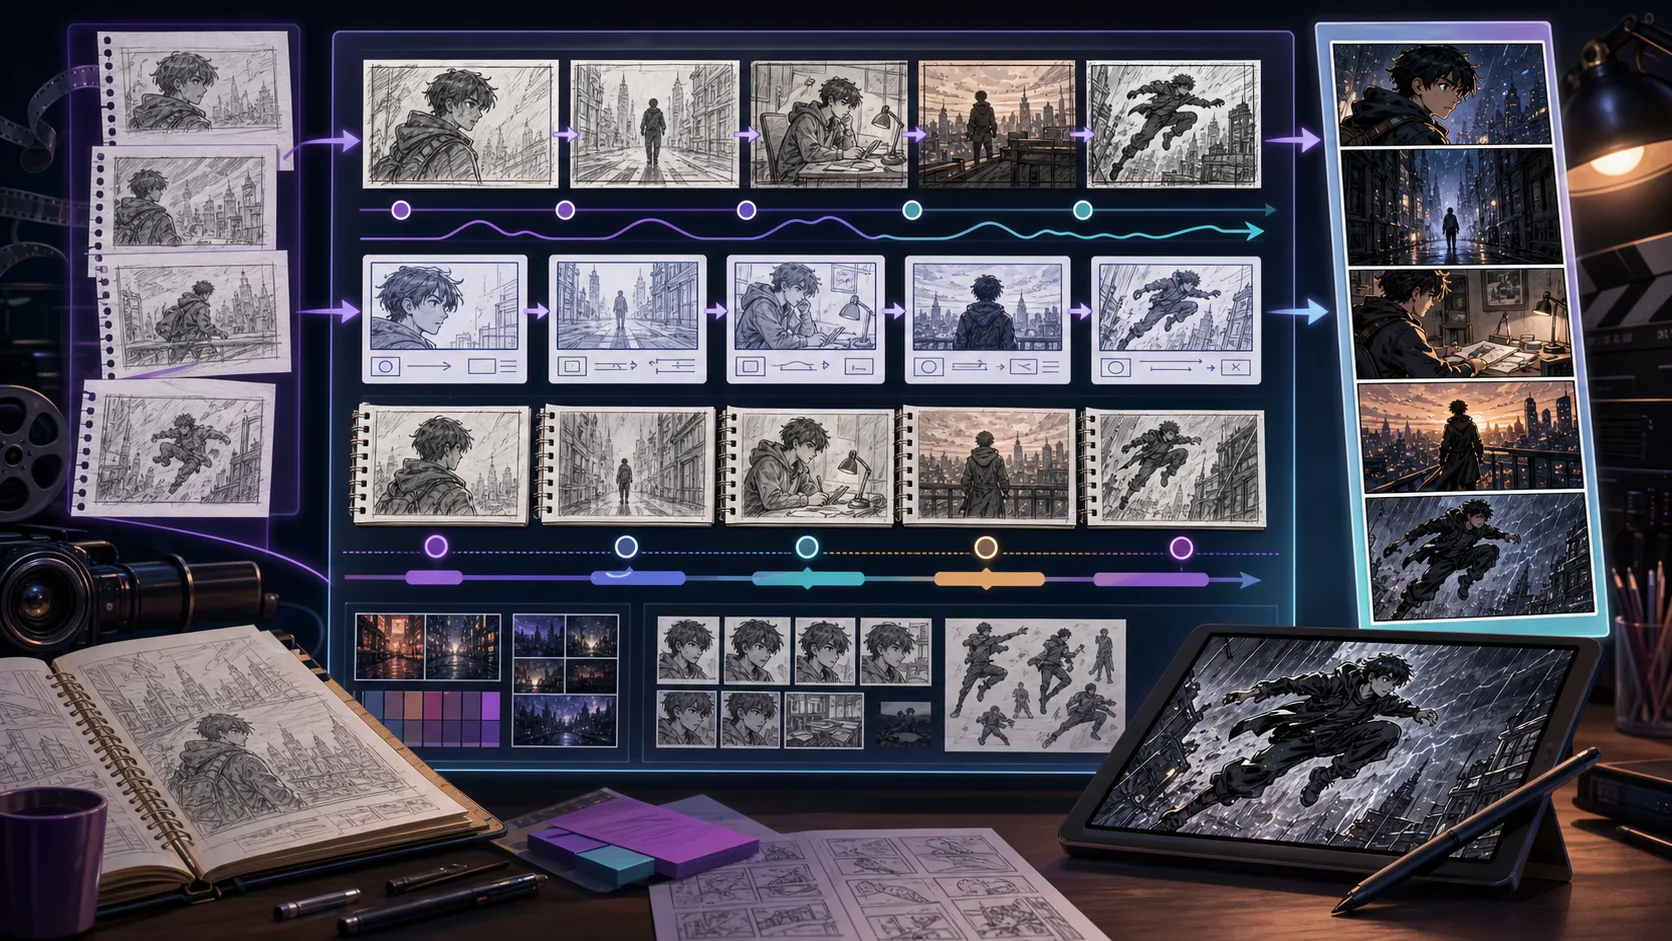
Map scenes into shot-by-shot storyboards before polished art. Plan camera distance, action continuity, reveal timing, and episode pacing. Storyboard Generator is strongest when the creator already knows the decision they need to make. Use it for rough visual beats for scenes, episodes, and animatics, then judge the result by voice, pacing, line length, scene logic, and whether the words leave room for the art to do work. That keeps the page grounded in writing and adaptation rather than broad image generation. The honest limitation is this: polished art too early can hide pacing problems that a rough storyboard would expose. In practice, the result may sound fluent while ignoring panel context, bubble length, or the speaker's emotional state. Stronger results come from the first decision: decide what the reader must understand before polishing wording. The working constraint is: keep each board simple enough to make story order easy to judge.
The workflow below is specific to Storyboard Generator: define the writing and adaptation decision, set the asset boundary, give visible evidence, then approve only the drafts that can move into a real next step.
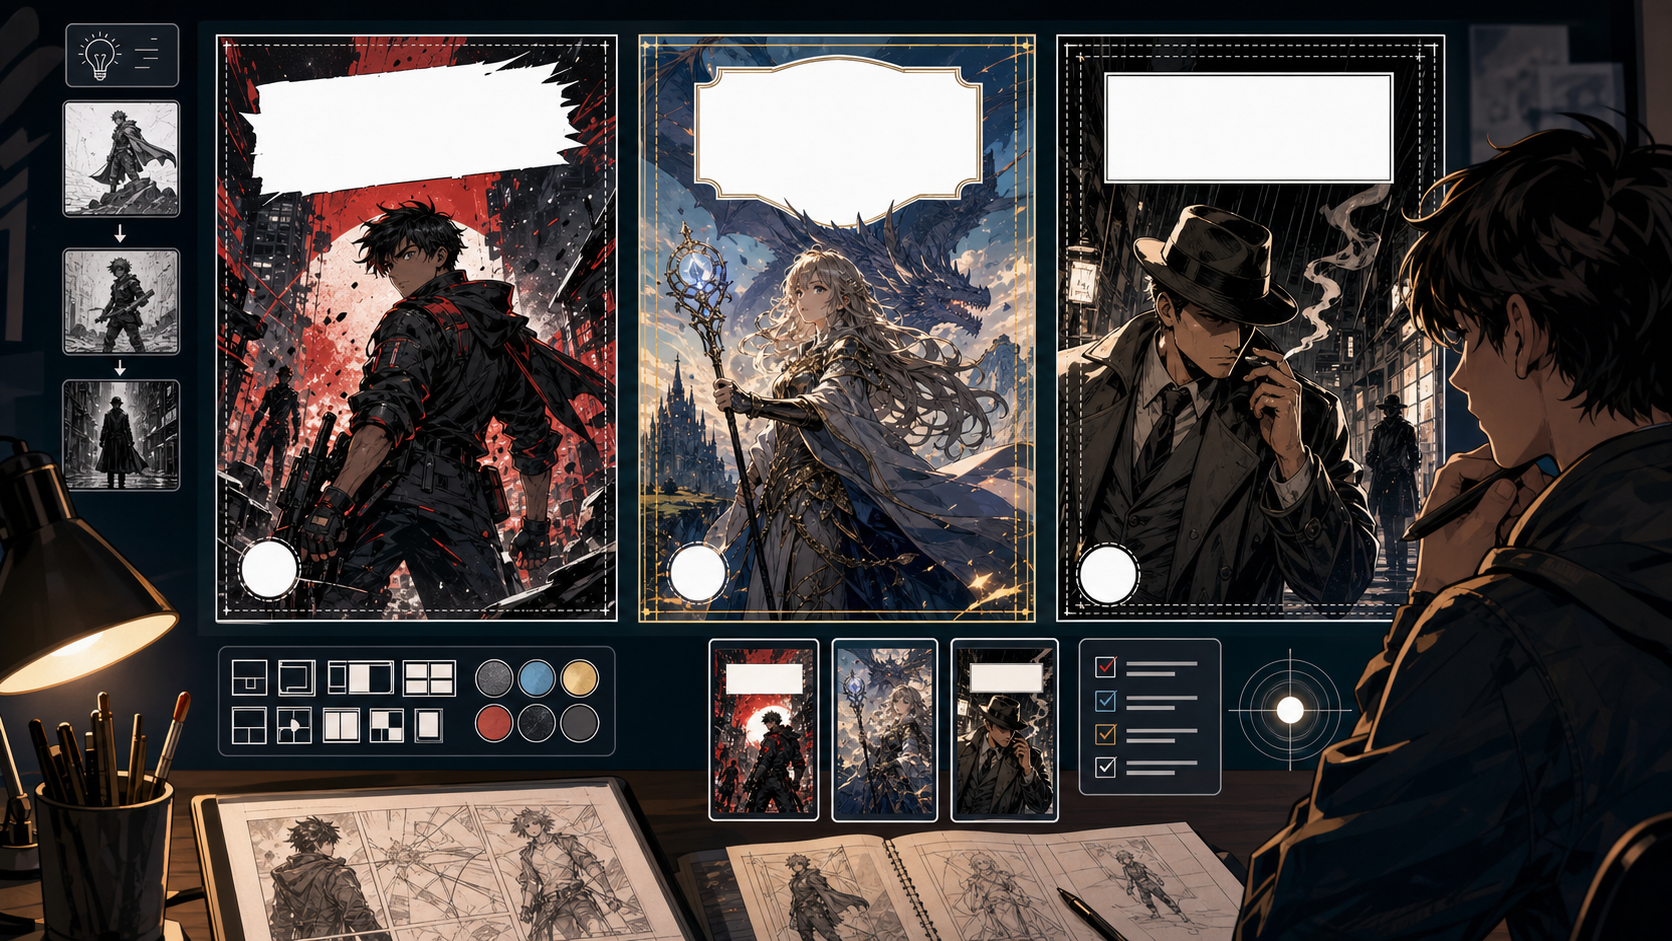
Use Comic Cover Generator to create cover art concepts with title-safe composition with clearer prompts, story focus, visual direction, and production. A cover is not just a beautiful scene. It has to communicate what kind of story this is, who matters, what the tension is, and where the title can live. Use this tool when you need a visual hook before a reader knows the plot. The main mistake is making the cover too literal. A good cover often simplifies the story into one symbol, pose, conflict, or atmosphere. Leave space for typography before the image becomes too busy.
Cover generation should begin with the selling idea: genre, protagonist, threat, title zone, and thumbnail readability.
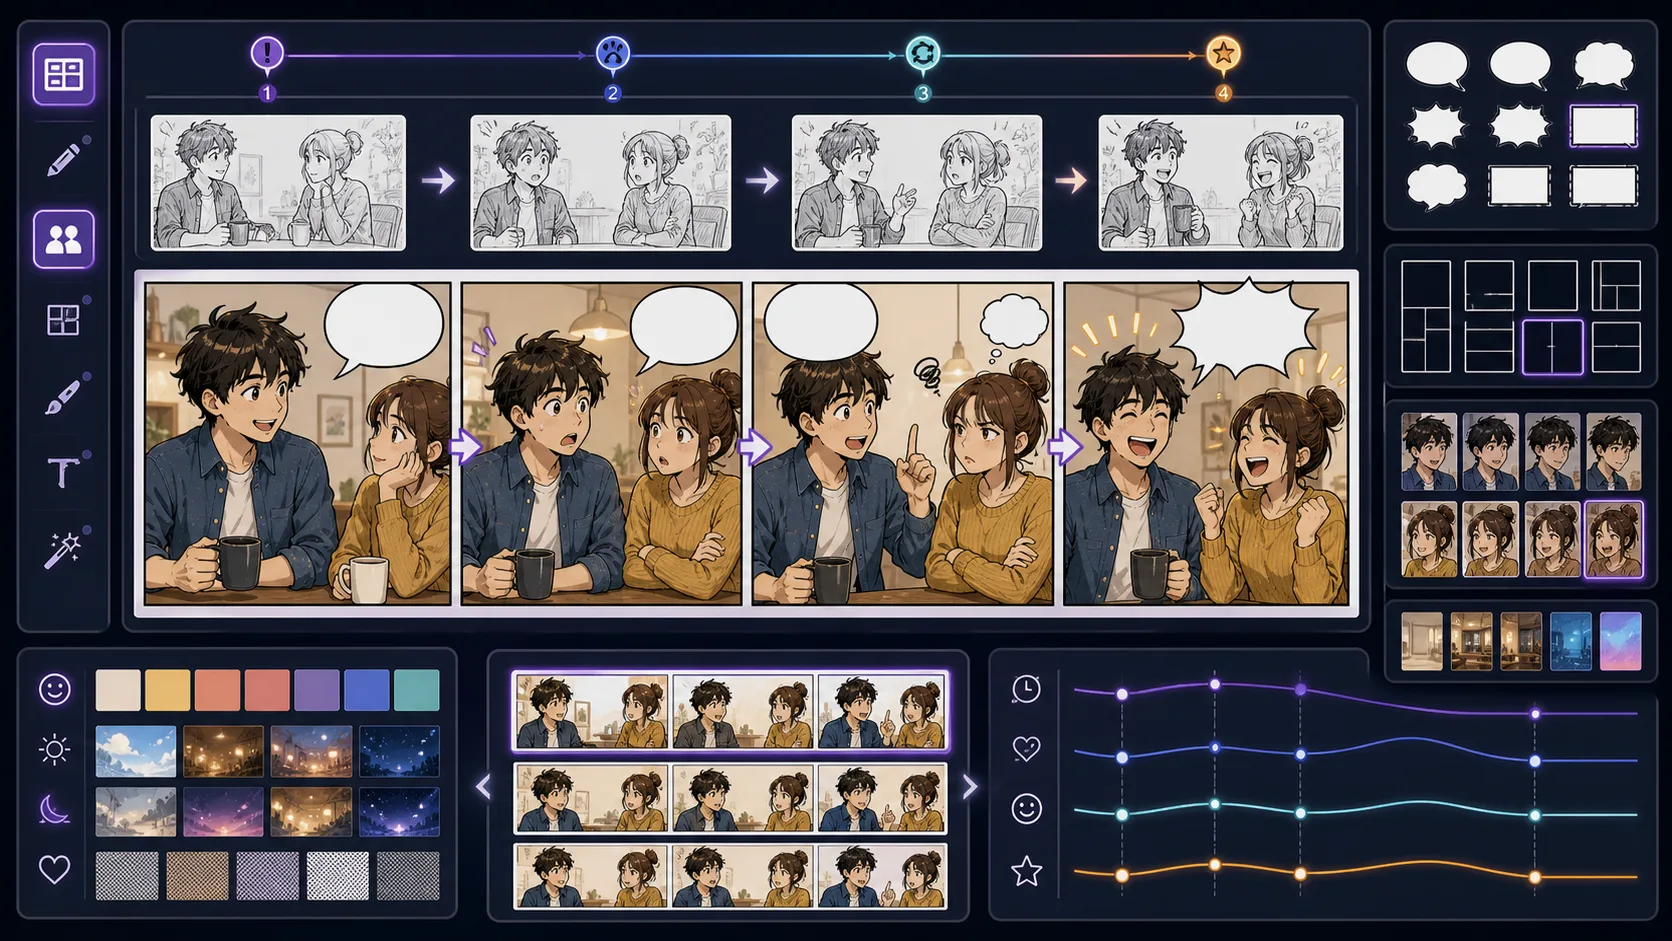
Build three-panel and four-panel comic strips with fast setup, reaction clarity, and a clean payoff for social, classroom, or newsletter use. Comic Strip Maker is strongest when the creator already knows the decision they need to make. Use it for three-panel and four-panel comic strip drafts, then judge the result by focal point, crop, panel hierarchy, gutter logic, caption space, and how the image connects to the next beat. That keeps the page grounded in comic layout rather than broad image generation. The honest limitation is this: too much world detail can slow down a strip that depends on timing. In practice, the result may look polished but fail to guide the reader through action, reaction, and payoff. Stronger results come from the first decision: choose the panel job before choosing the style. The working constraint is: the final panel should change the meaning of the first two panels.
The workflow below is specific to Comic Strip Maker: define the comic layout decision, set the asset boundary, give visible evidence, then approve only the drafts that can move into a real next step.
11 focused tools
These tools support manga-specific production decisions: black-and-white values, screentone behavior, panel rhythm, page composition, sound effects, and the difference between a single character illustration and a scene that reads like manga. They are best for creators who care about page feel, not only anime-style polish.

Create manga panels with Manga Maker. Plan the story job, guide the visual direction, and turn focused prompts into comic-ready drafts inside ComicsAI. Use Manga Maker when the goal is not just anime-style art, but a readable manga moment. Manga pages depend on rhythm: the pause before impact, the close-up after a reveal, the small insert that changes meaning. This page helps translate that rhythm into usable draft material. The weak approach is asking for 'manga style' and hoping the result reads like manga. Surface marks are not enough. You need panel pressure, expression clarity, tone control, and a reason for each shot.
Manga Maker works best when you decide the emotional rhythm before generating the visual style.
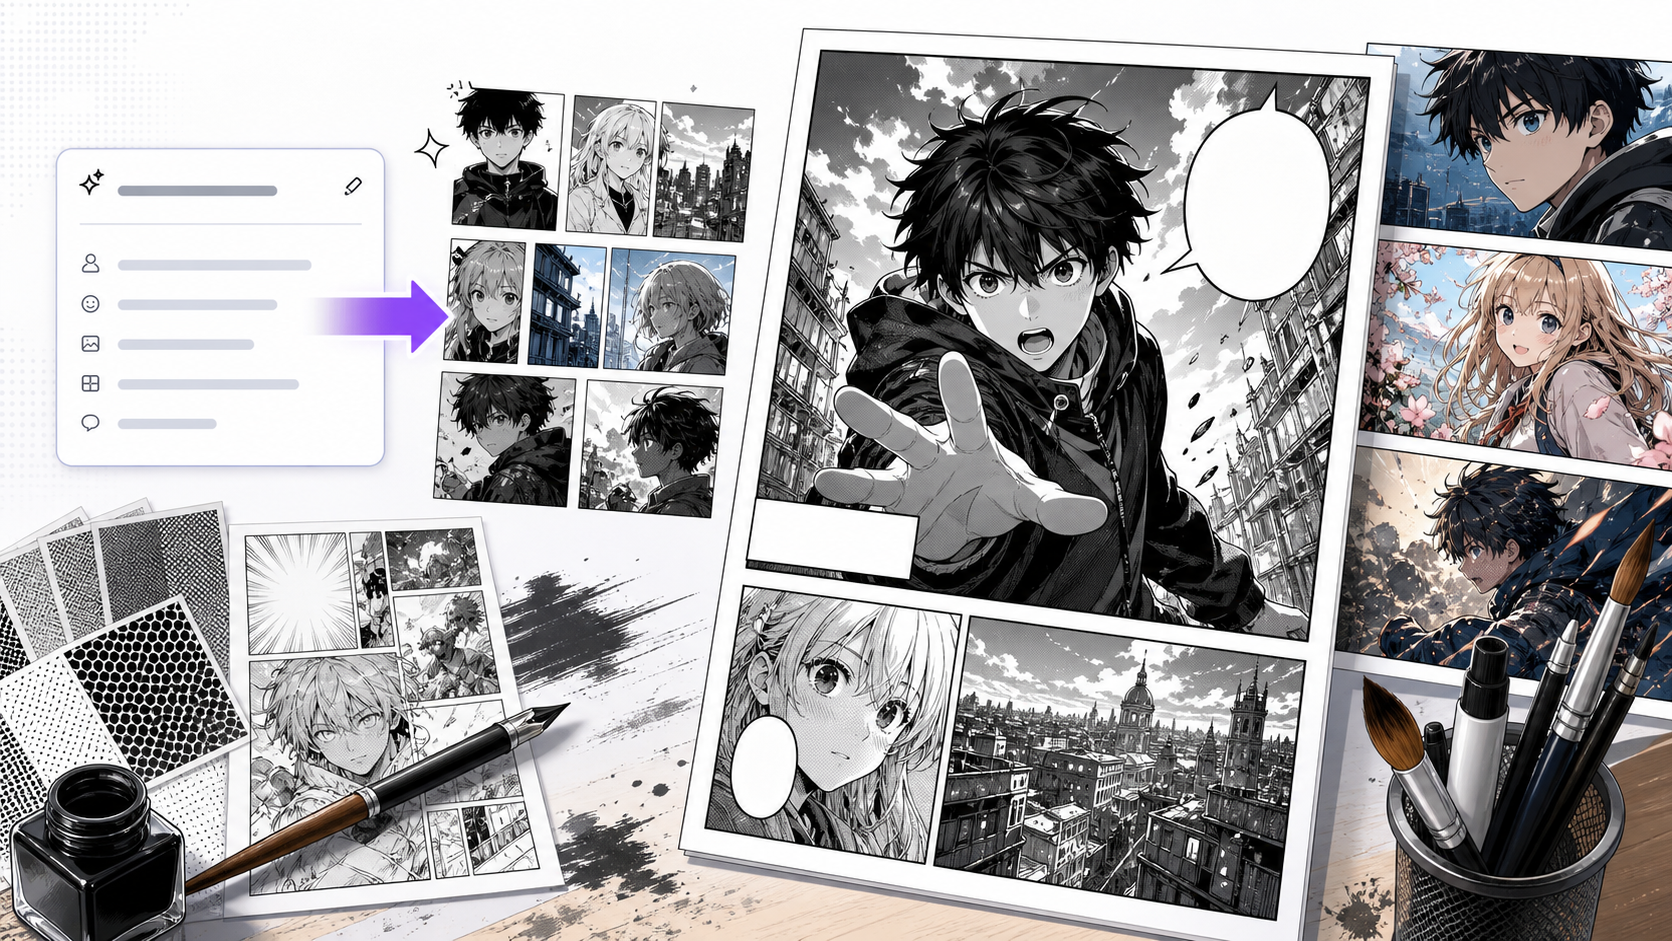
Use AI Manga Generator to create manga-style panels and scene drafts with clearer prompts, story focus, visual direction, and production checks for ComicsAI. This page is useful when you want the speed of AI generation but still need manga decisions: where the eye lands, how the scene breathes, how much tone to use, and whether the character's reaction is strong enough. AI can imitate manga surface quickly, but imitation is not the same as manga storytelling. A strong result needs a beat, a readable face or action, and page-aware composition.
AI manga generation should be treated as draft development: prompt, compare, simplify, then decide whether the image belongs in a page.
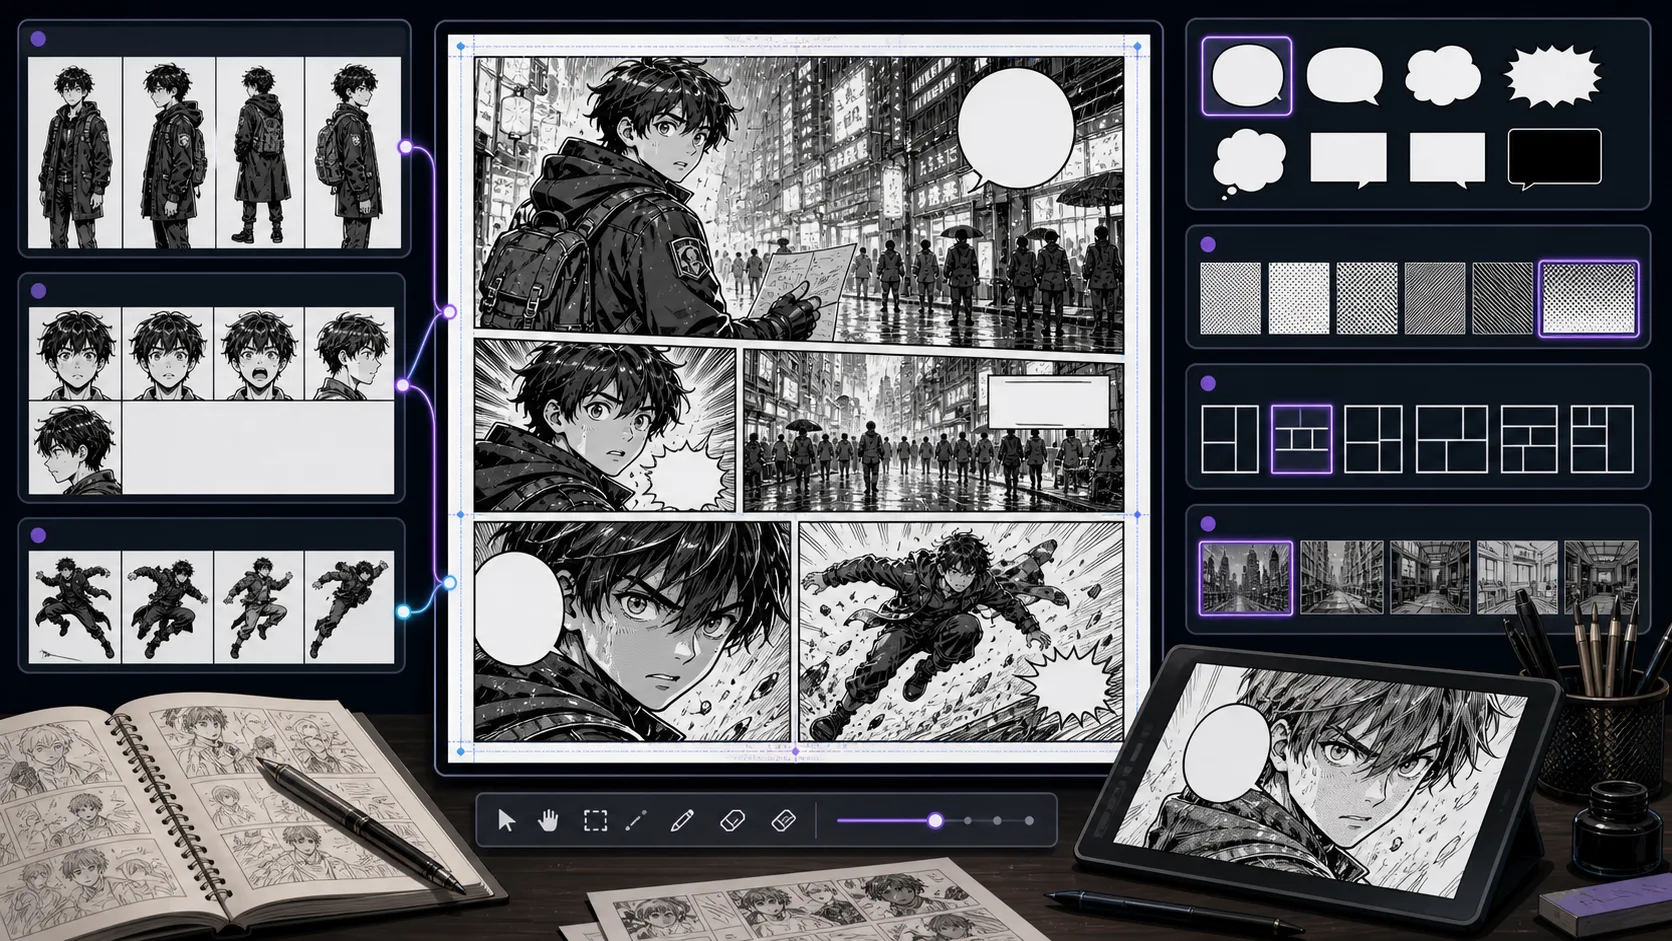
Create manga panels with readable emotion, screentone direction, close-up framing, and a clear page role for chapter production. Manga Panel Generator is strongest when the creator already knows the decision they need to make. Use it for single manga panels with clear emotion and framing, then judge the result by black-white balance, panel rhythm, eye path, expression clarity, tone density, and speech space. That keeps the page grounded in manga page production rather than broad image generation. The honest limitation is this: a panel with no reader focus can feel like a cropped illustration rather than a story beat. In practice, the draft can imitate manga surface marks while missing panel hierarchy, screentone discipline, or readable action. Stronger results come from the first decision: choose whether the moment needs contrast, speed, silence, impact, or character intimacy. The working constraint is: define whether the panel should speed the reader up or slow the reader down.
The workflow below is specific to Manga Panel Generator: define the manga page production decision, set the asset boundary, give visible evidence, then approve only the drafts that can move into a real next step.
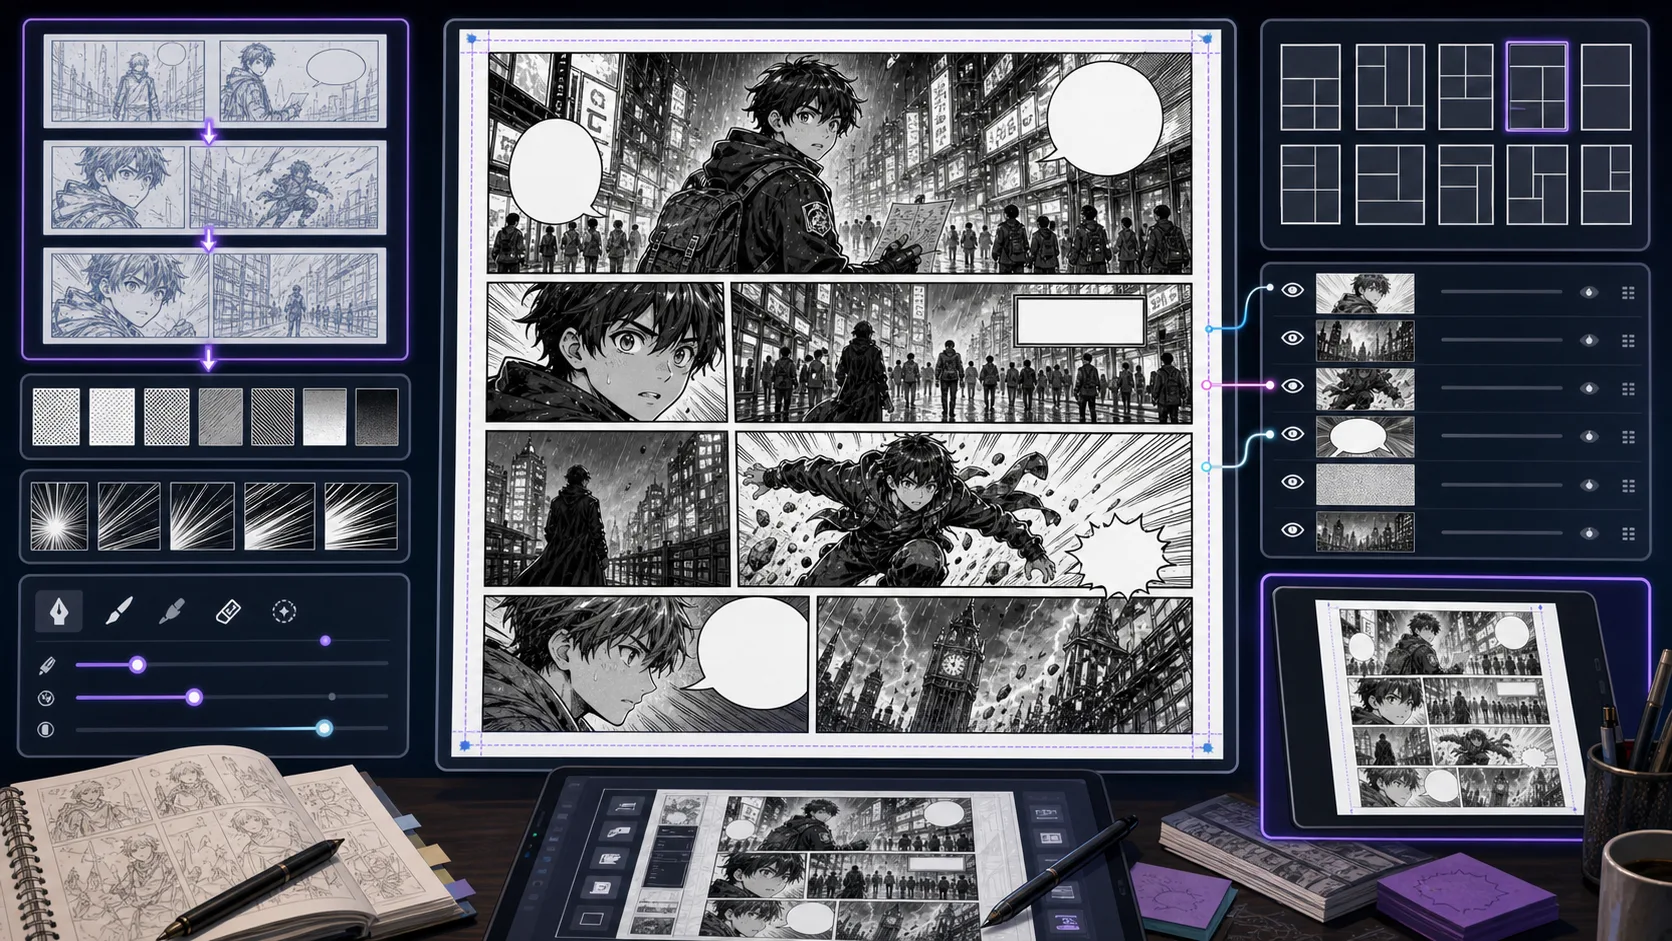
Plan manga pages with panel rhythm, page turns, reaction timing, gutters, and black-and-white balance before final drawing or lettering. Manga Page Generator is strongest when the creator already knows the decision they need to make. Use it for manga page drafts and layout concepts, then judge the result by black-white balance, panel rhythm, eye path, expression clarity, tone density, and speech space. That keeps the page grounded in manga page production rather than broad image generation. The honest limitation is this: pages become confusing when every panel has the same size and intensity. In practice, the draft can imitate manga surface marks while missing panel hierarchy, screentone discipline, or readable action. Stronger results come from the first decision: choose whether the moment needs contrast, speed, silence, impact, or character intimacy. The working constraint is: reserve the largest or quietest panel for the page's emotional point.
The workflow below is specific to Manga Page Generator: define the manga page production decision, set the asset boundary, give visible evidence, then approve only the drafts that can move into a real next step.
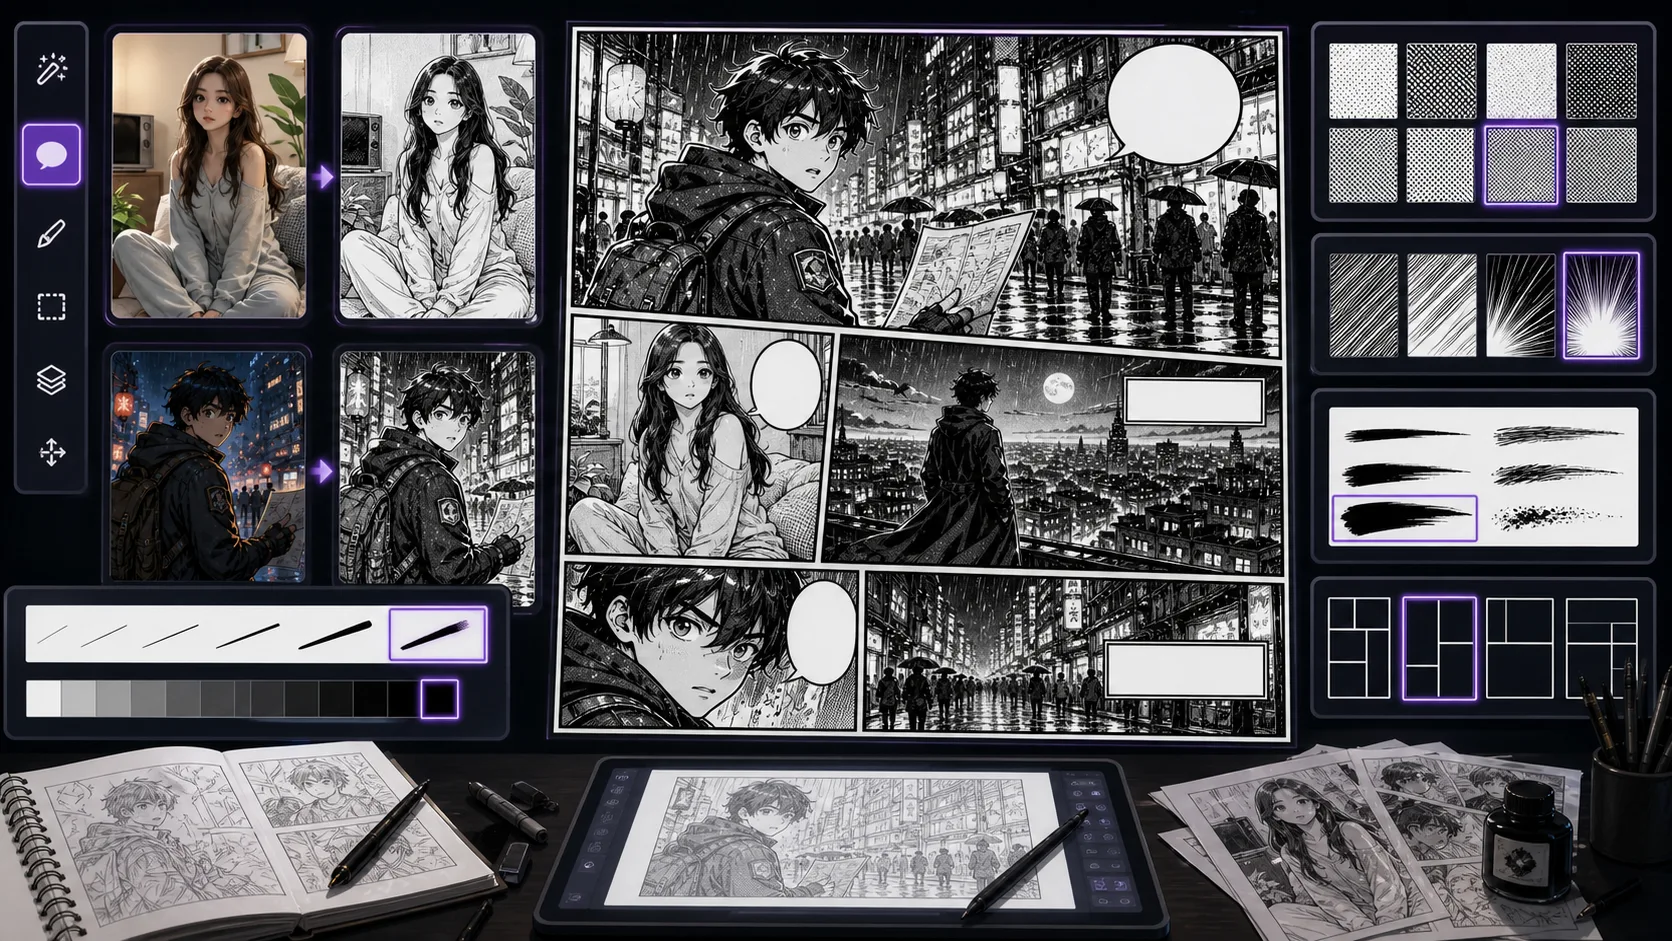
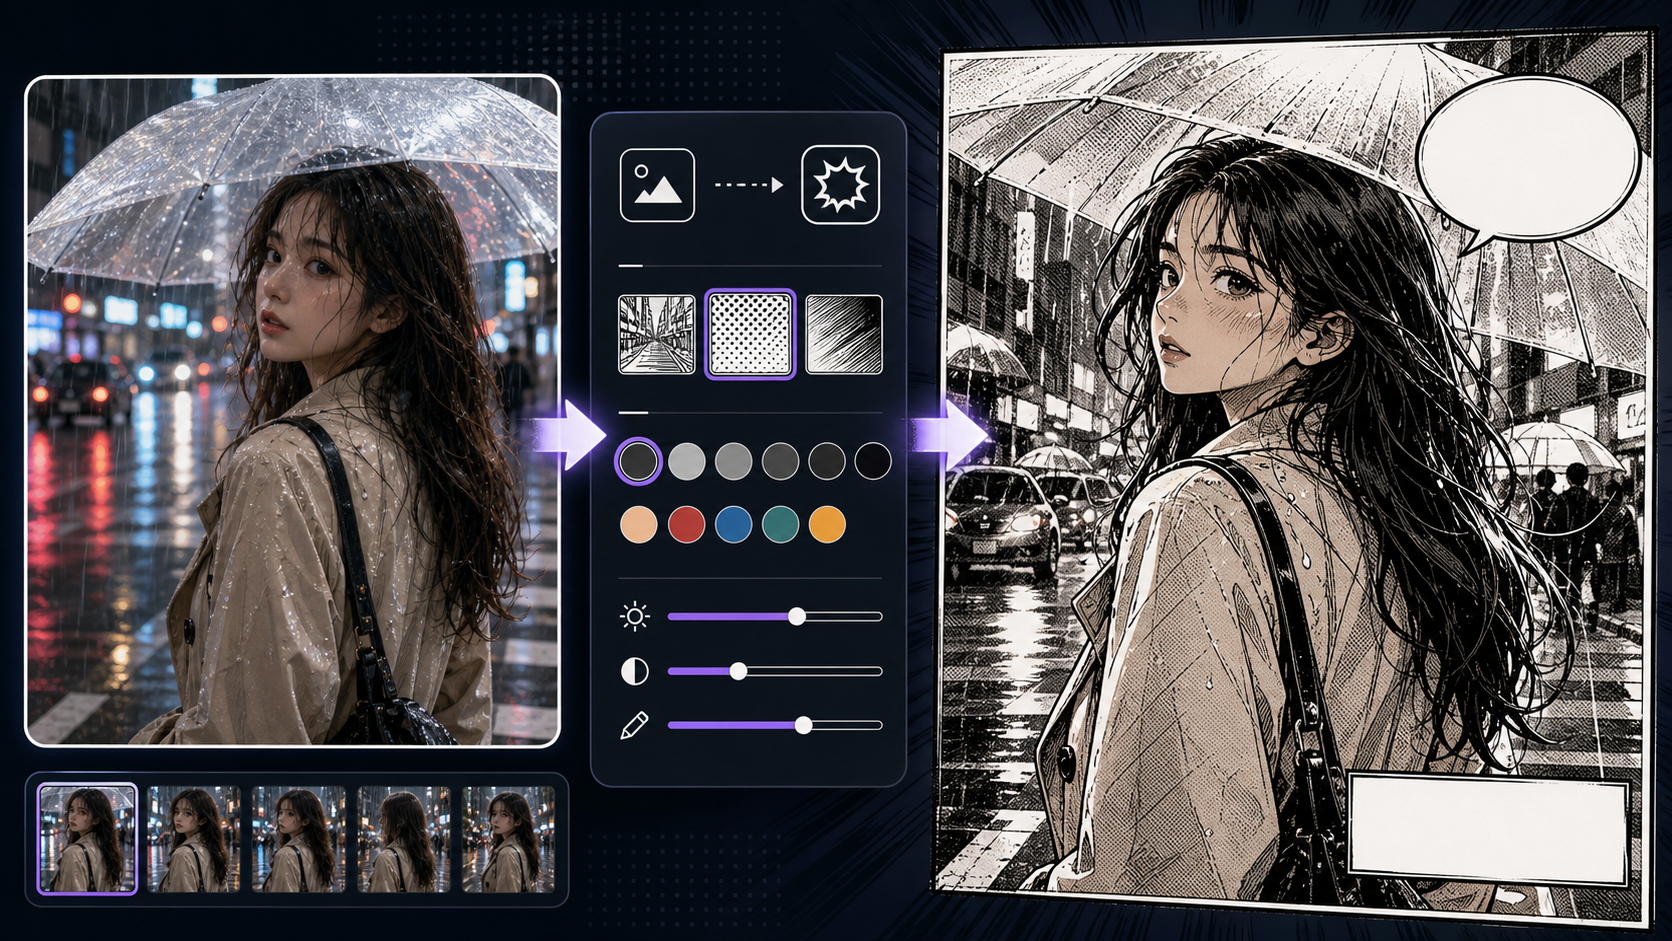
Generate manga-style scenes with ink contrast, spot blacks, hatching, and controlled screentone for readable black-and-white drafts. Black and White Manga Generator is strongest when the creator already knows the decision they need to make. Use it for black-and-white manga scenes and panel drafts, then judge the result by black-white balance, panel rhythm, eye path, expression clarity, tone density, and speech space. That keeps the page grounded in manga page production rather than broad image generation. The honest limitation is this: flat gray output can look muddy and become hard to letter. In practice, the draft can imitate manga surface marks while missing panel hierarchy, screentone discipline, or readable action. Stronger results come from the first decision: choose whether the moment needs contrast, speed, silence, impact, or character intimacy. The working constraint is: ask for contrast groups: white, black, and limited tone rather than endless gray.
The workflow below is specific to Black and White Manga Generator: define the manga page production decision, set the asset boundary, give visible evidence, then approve only the drafts that can move into a real next step.
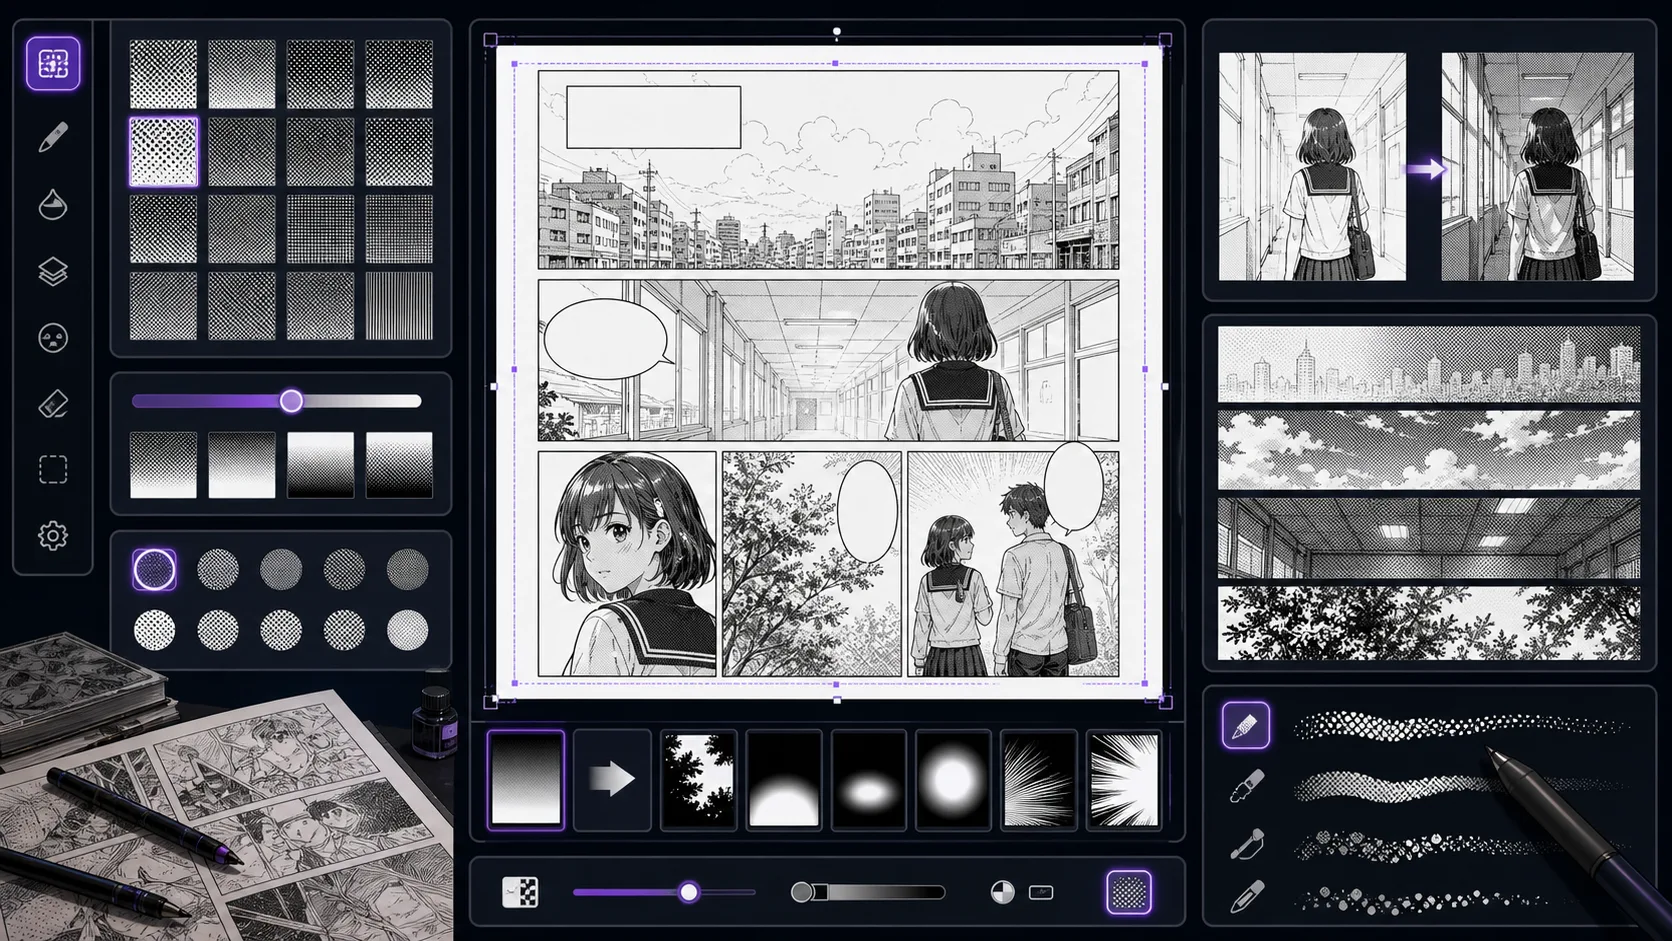
Create screentone-aware manga panels where dot tone, hatching, shadows, and clean dialogue zones support mood without hurting readability. Manga Screentone Generator is strongest when the creator already knows the decision they need to make. Use it for screentone-aware manga panels and texture studies, then judge the result by black-white balance, panel rhythm, eye path, expression clarity, tone density, and speech space. That keeps the page grounded in manga page production rather than broad image generation. The honest limitation is this: too much tone can flatten the face and make speech bubbles compete with the art. In practice, the draft can imitate manga surface marks while missing panel hierarchy, screentone discipline, or readable action. Stronger results come from the first decision: choose whether the moment needs contrast, speed, silence, impact, or character intimacy. The working constraint is: use tone for mood and depth, but keep faces and lettering zones clean.
The workflow below is specific to Manga Screentone Generator: define the manga page production decision, set the asset boundary, give visible evidence, then approve only the drafts that can move into a real next step.
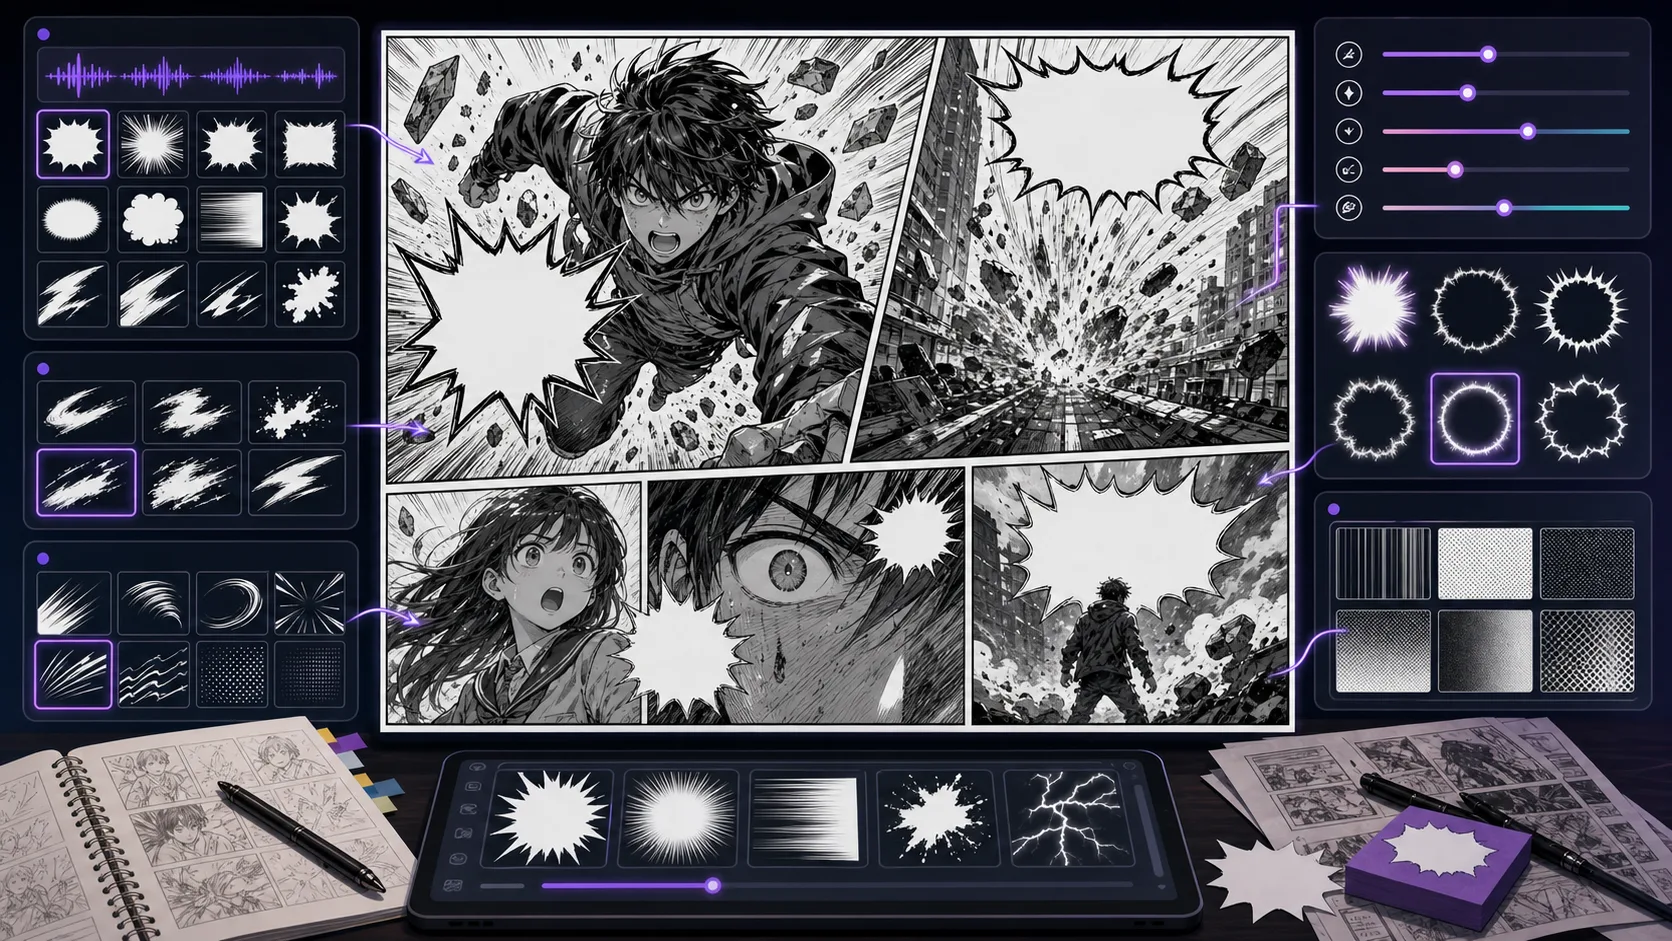
Plan manga sound effects, impact lettering, speed lines, and negative space so action typography supports the panel instead of covering it. Manga Sound Effect Generator is strongest when the creator already knows the decision they need to make. Use it for manga panels planned around sound effects and action typography, then judge the result by reading order, contrast, margin, bubble shape, title hierarchy, and whether the words can be edited later. That keeps the page grounded in lettering and finishing rather than broad image generation. The honest limitation is this: sound effects can cover the action if the prompt does not reserve space. In practice, the workflow can become harder to read if lettering is treated as decoration after the image is already crowded. Stronger results come from the first decision: decide where the reader's eye should travel before placing text. The working constraint is: decide whether the sound effect is background texture or the main graphic event.
The workflow below is specific to Manga Sound Effect Generator: define the lettering and finishing decision, set the asset boundary, give visible evidence, then approve only the drafts that can move into a real next step.
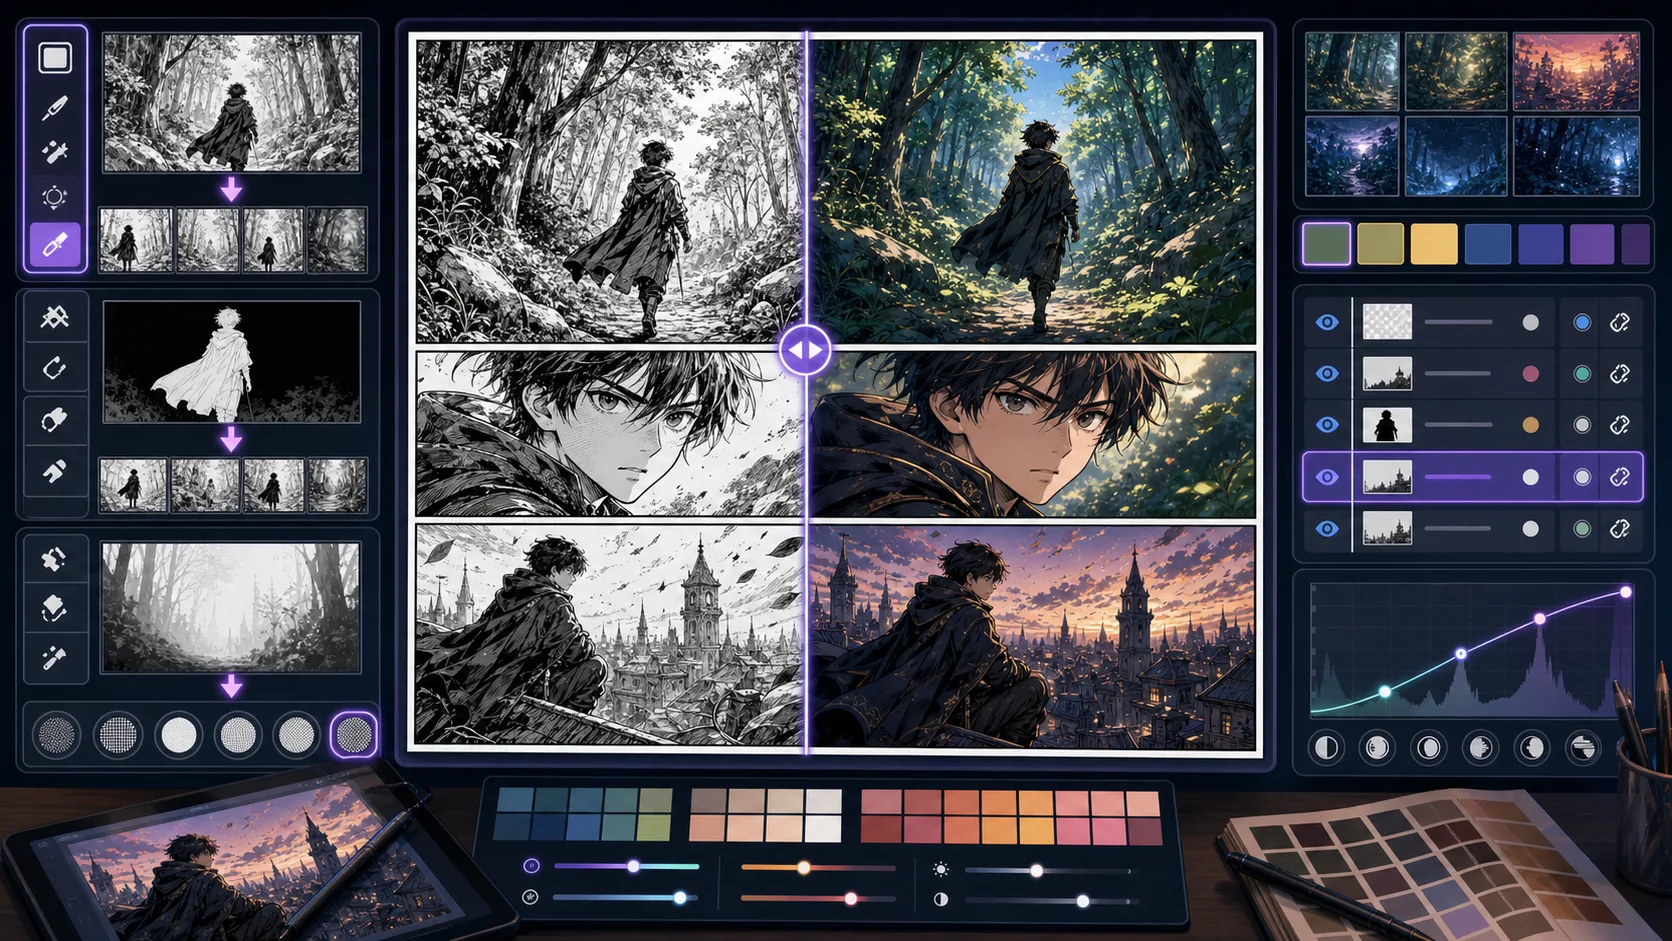
Turn black-and-white manga ideas into color studies with controlled palettes, focal accents, and line art preservation for covers or previews. Manga Colorizer is strongest when the creator already knows the decision they need to make. Use it for colored manga concepts with controlled palettes, then judge the result by black-white balance, panel rhythm, eye path, expression clarity, tone density, and speech space. That keeps the page grounded in manga page production rather than broad image generation. The honest limitation is this: color can weaken manga line work if every area becomes equally saturated. In practice, the draft can imitate manga surface marks while missing panel hierarchy, screentone discipline, or readable action. Stronger results come from the first decision: choose whether the moment needs contrast, speed, silence, impact, or character intimacy. The working constraint is: choose a palette role: mood, character branding, or focal guidance.
The workflow below is specific to Manga Colorizer: define the manga page production decision, set the asset boundary, give visible evidence, then approve only the drafts that can move into a real next step.
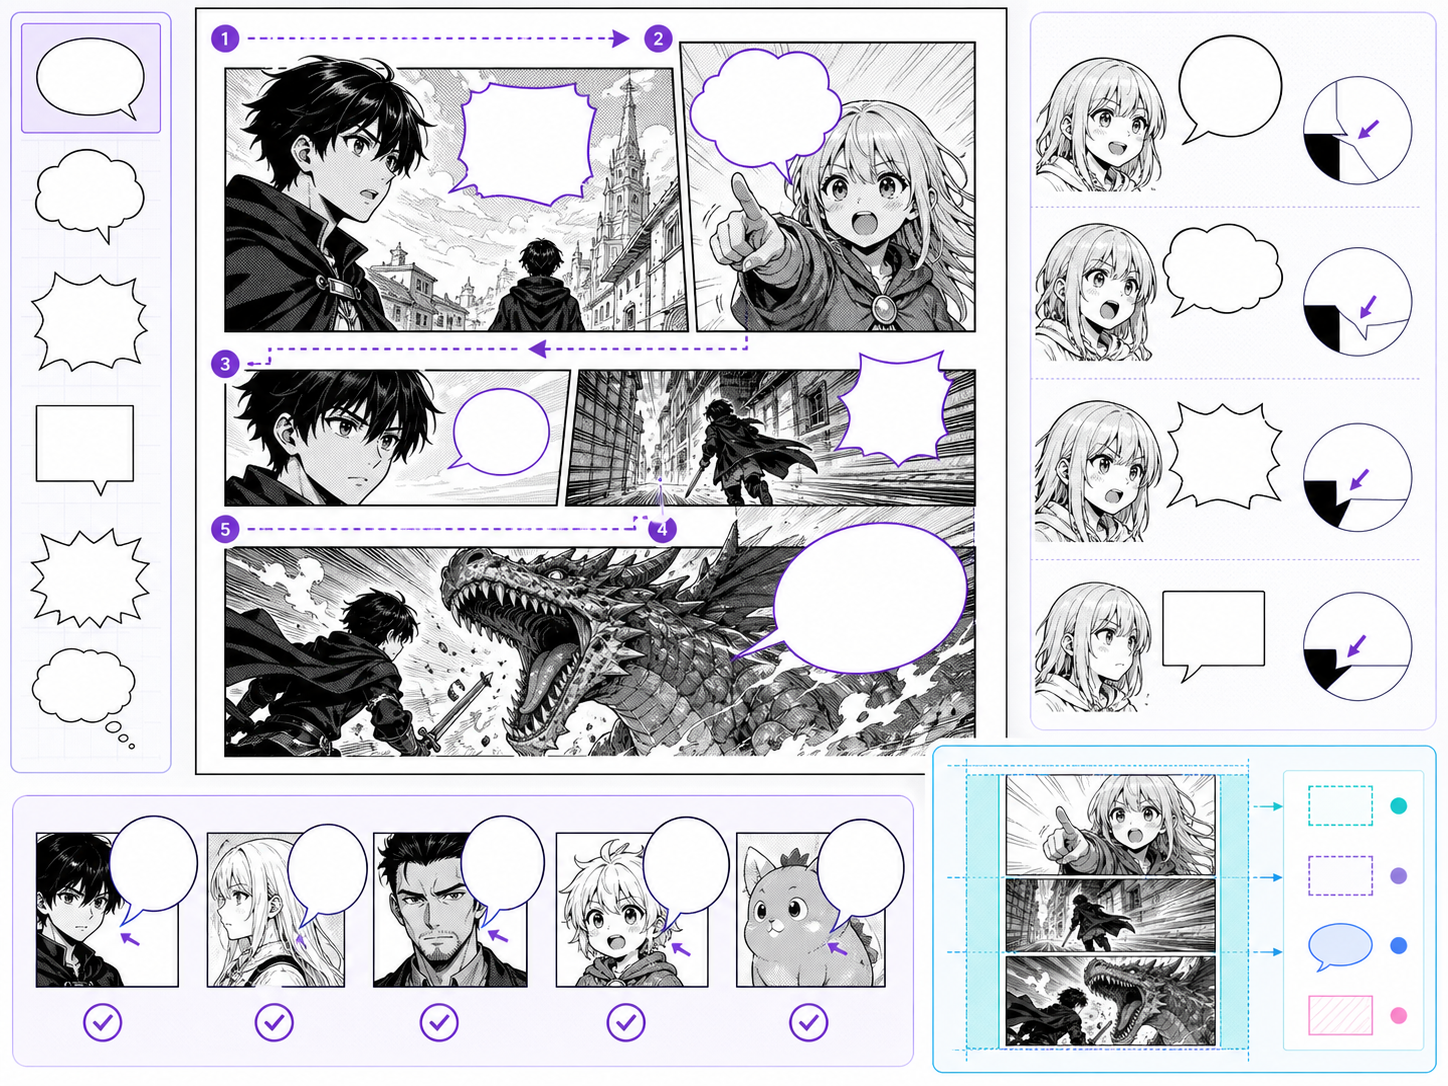
Use Manga Speech Bubble Generator to create speech-bubble-friendly panel compositions and dialogue layouts with clearer prompts, story focus, visual. Speech bubbles are page design, not decoration. The bubble shape, tail direction, line length, and placement all affect reading order. Use this page when a manga scene needs clearer dialogue flow or when a generated image needs text space planned before final layout. The common problem is adding words after the art is already crowded. Bubbles then cover faces, hands, or action. Better lettering begins before final image approval.
A speech bubble workflow starts with reading order, then bubble placement, then wording.
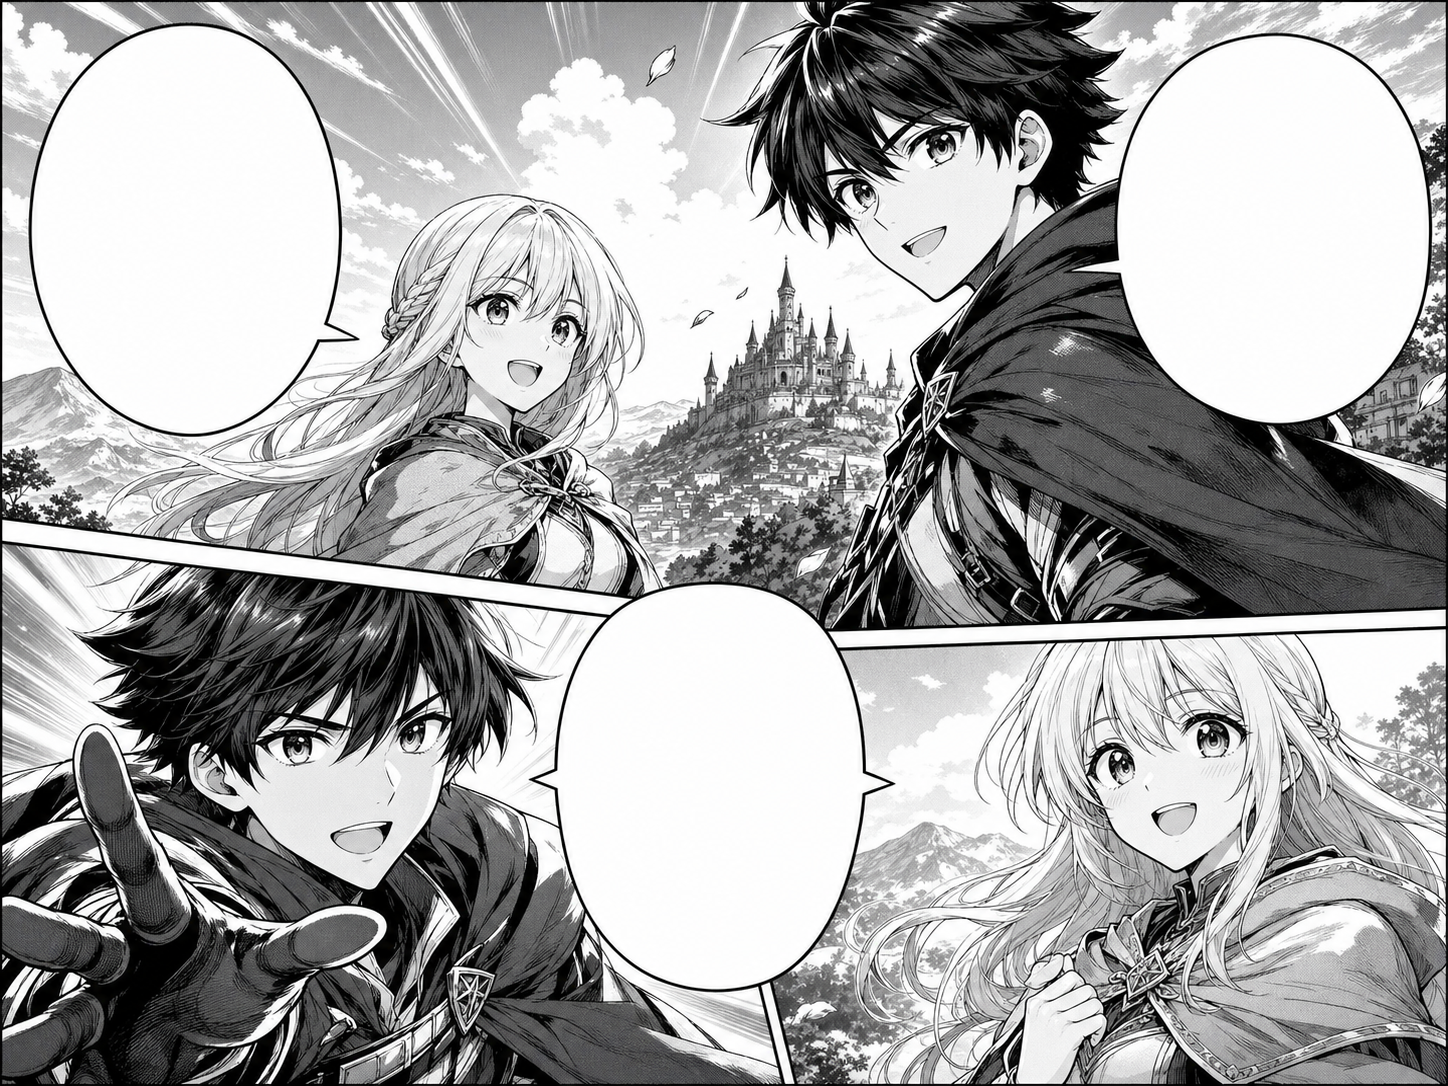
Use ComicsAI Manga Translator to translate manga images online. Upload Japanese manga pages, panels, or screenshots and generate an English translated image. Manga Translator is built around image translation, not plain text lookup. Upload a JPG, PNG, or WEBP manga page, set the source language or leave it on auto-detect, choose a target language, and create a translated manga image. The translation should respect speech bubble size, panel order, character voice, and the black-and-white manga artwork. AI manga translation works best with clean scans, readable bubbles, and uncropped pages. Vertical Japanese text, tiny SFX, heavy compression, or PDF pages converted at low resolution may need a cleaner upload or a manual review pass.
Use this manga translator workflow when you want image-in, image-out translation for manga pages, panels, screenshots, or exported PDF pages.
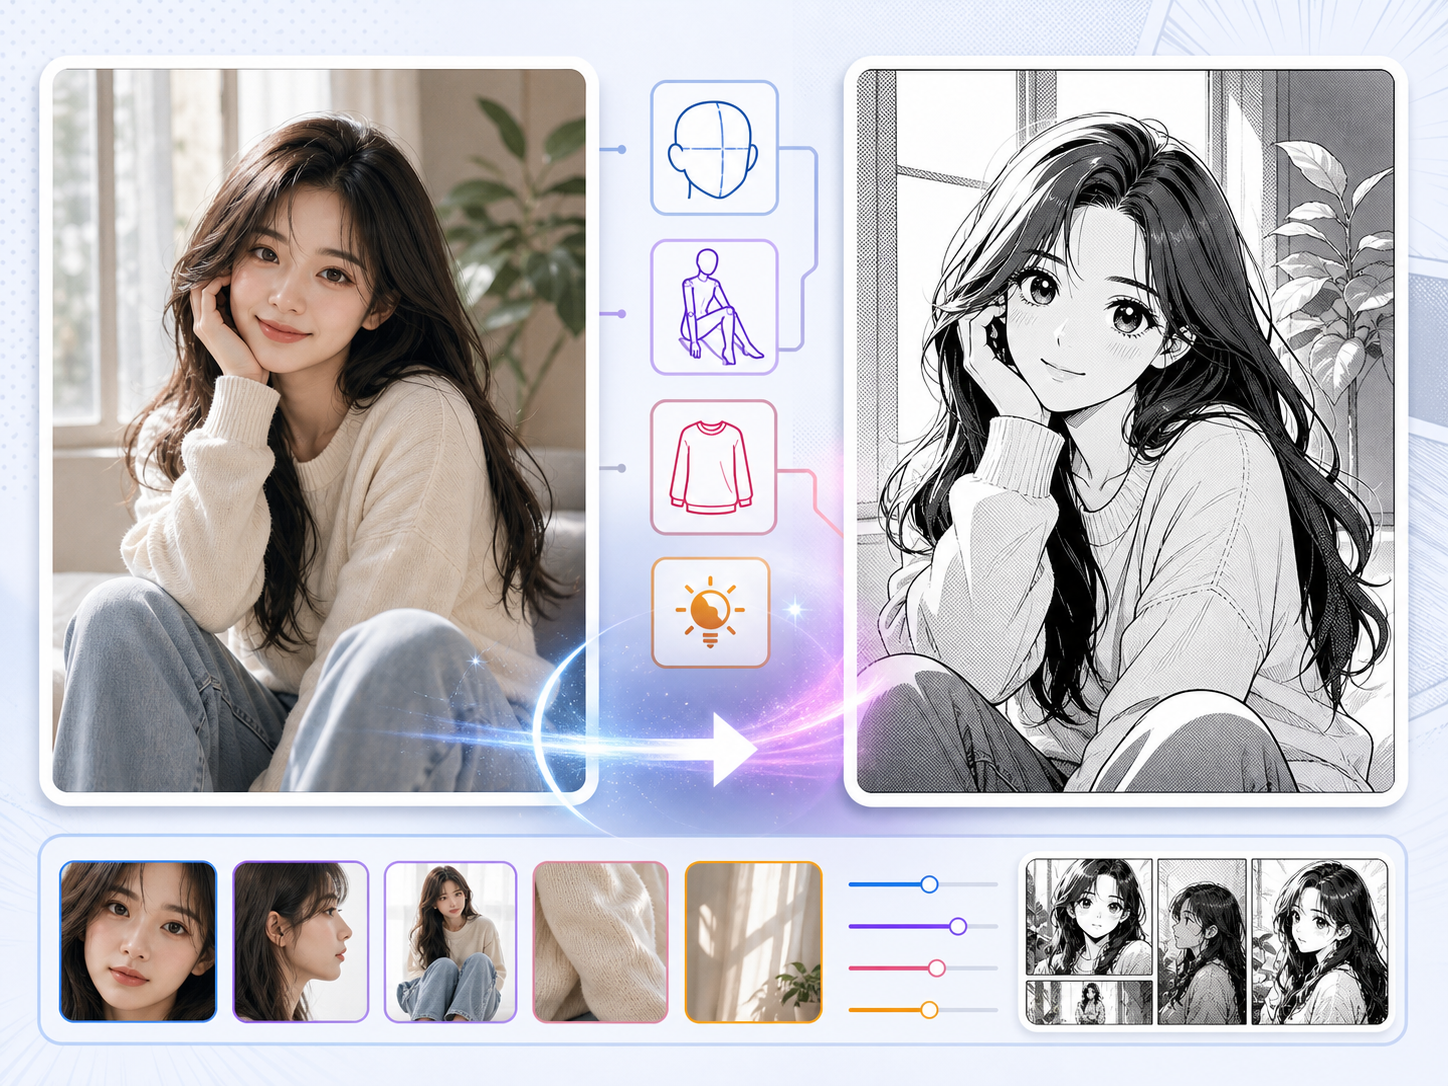
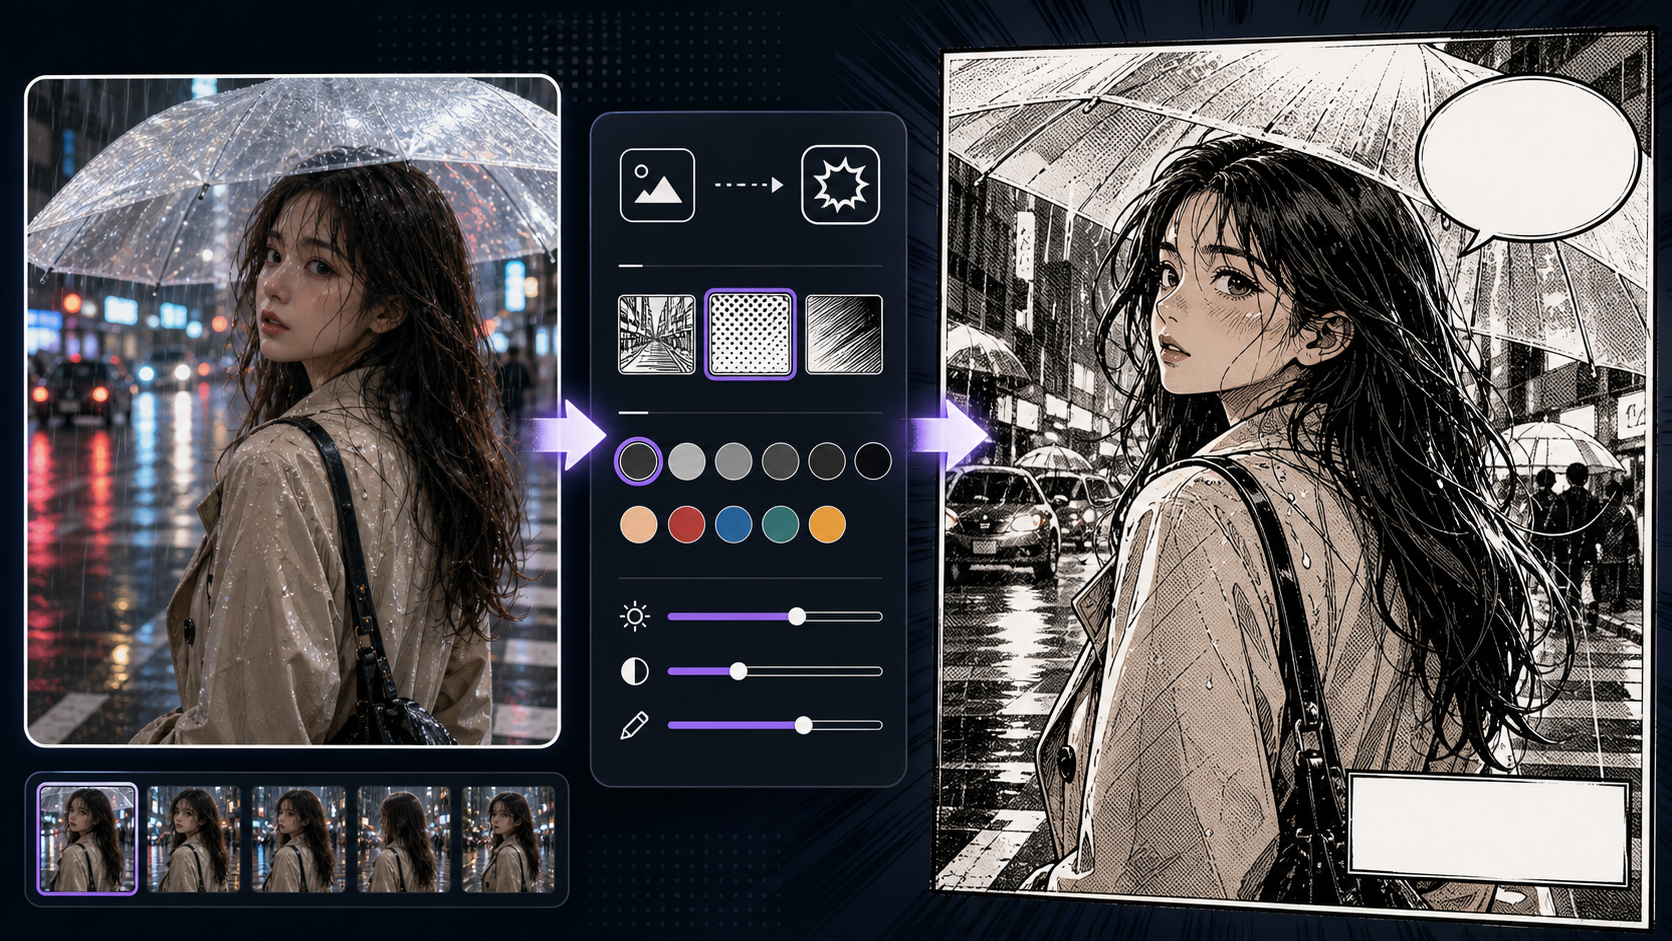
Use Photo to Manga to create manga-style interpretations of portraits with clearer prompts, story focus, visual direction, and production checks for. Use this page when the source image already has something valuable: a pose, outfit, room layout, lighting idea, or facial angle. The job is not to copy the photo perfectly, but to keep the parts that help the manga scene. Photo conversion can fail when the prompt asks for too much style replacement. If the manga version ignores the pose or expression that made the photo useful, the conversion has lost its purpose.
A strong photo-to-manga workflow starts by deciding what must survive the conversion.
9 focused tools
Character tools help you define reusable cast material before generating a long comic or webtoon. They are useful for locking down identity anchors such as silhouette, outfit pieces, expression range, poses, color accents, and reference views so future panels feel related instead of randomly reinvented.
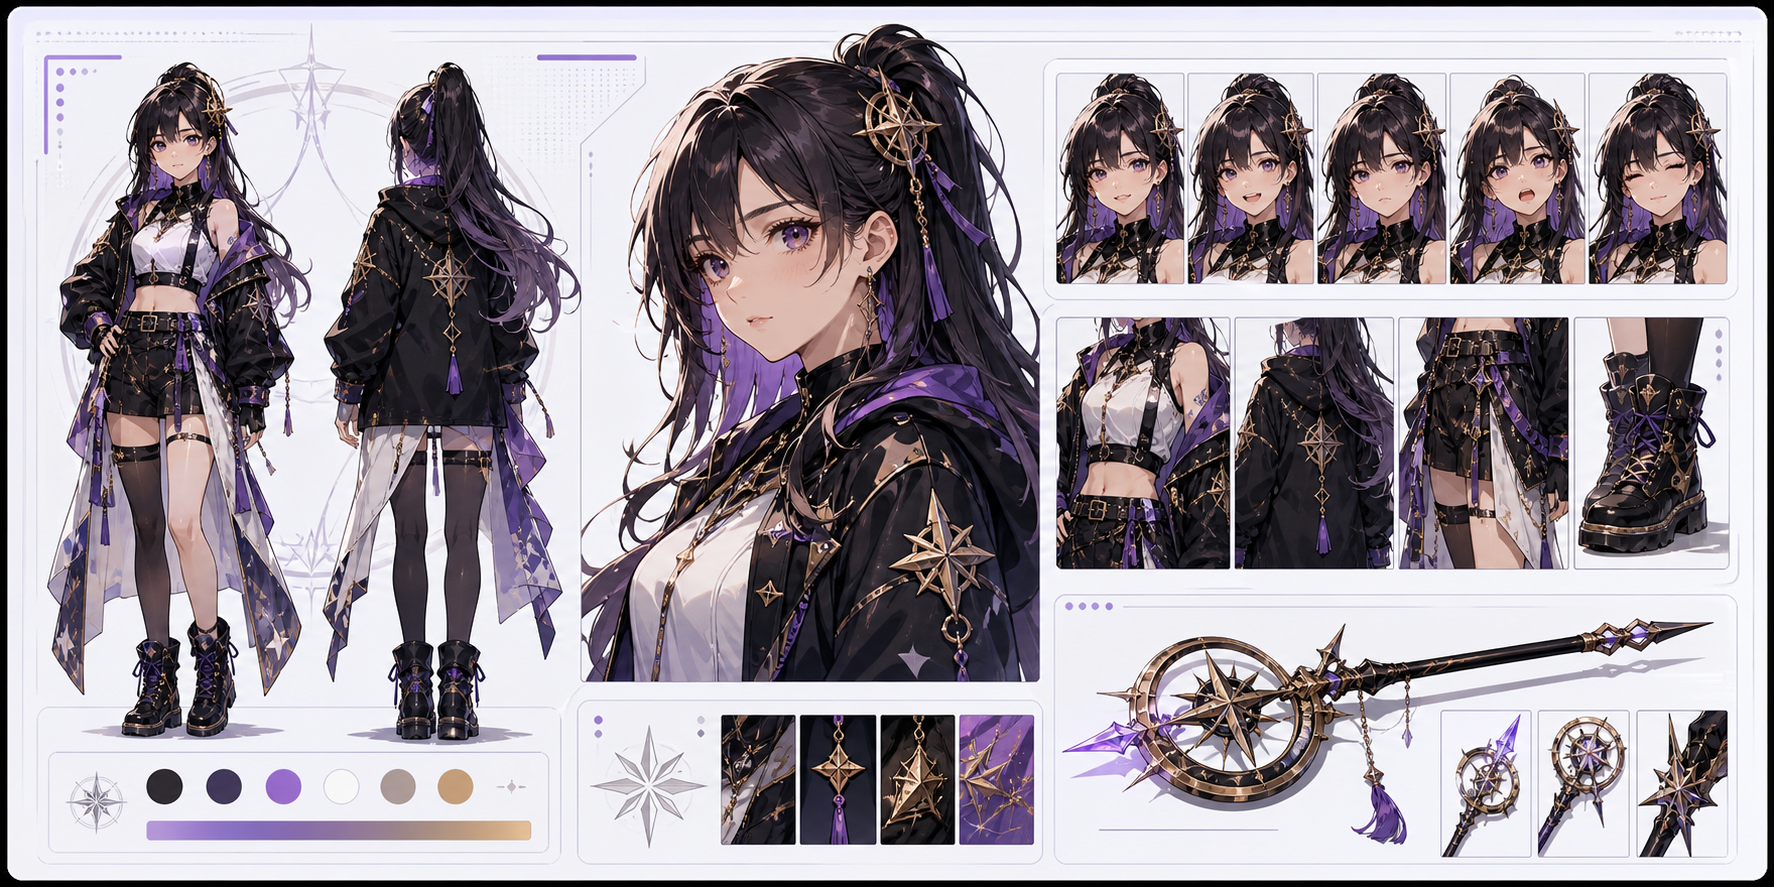
Use AI Character Generator to create character concepts with visual identity and story signals with clearer prompts, story focus, visual direction, and. This page is about cast design. A strong character is not only a pretty portrait; it has a silhouette, outfit logic, expression range, color anchors, and a reason to exist in the story. The main risk is design drift. If the first image does not establish repeatable anchors, future panels may reinvent the character.
Character generation should create a reusable identity kit before the character appears in many scenes.
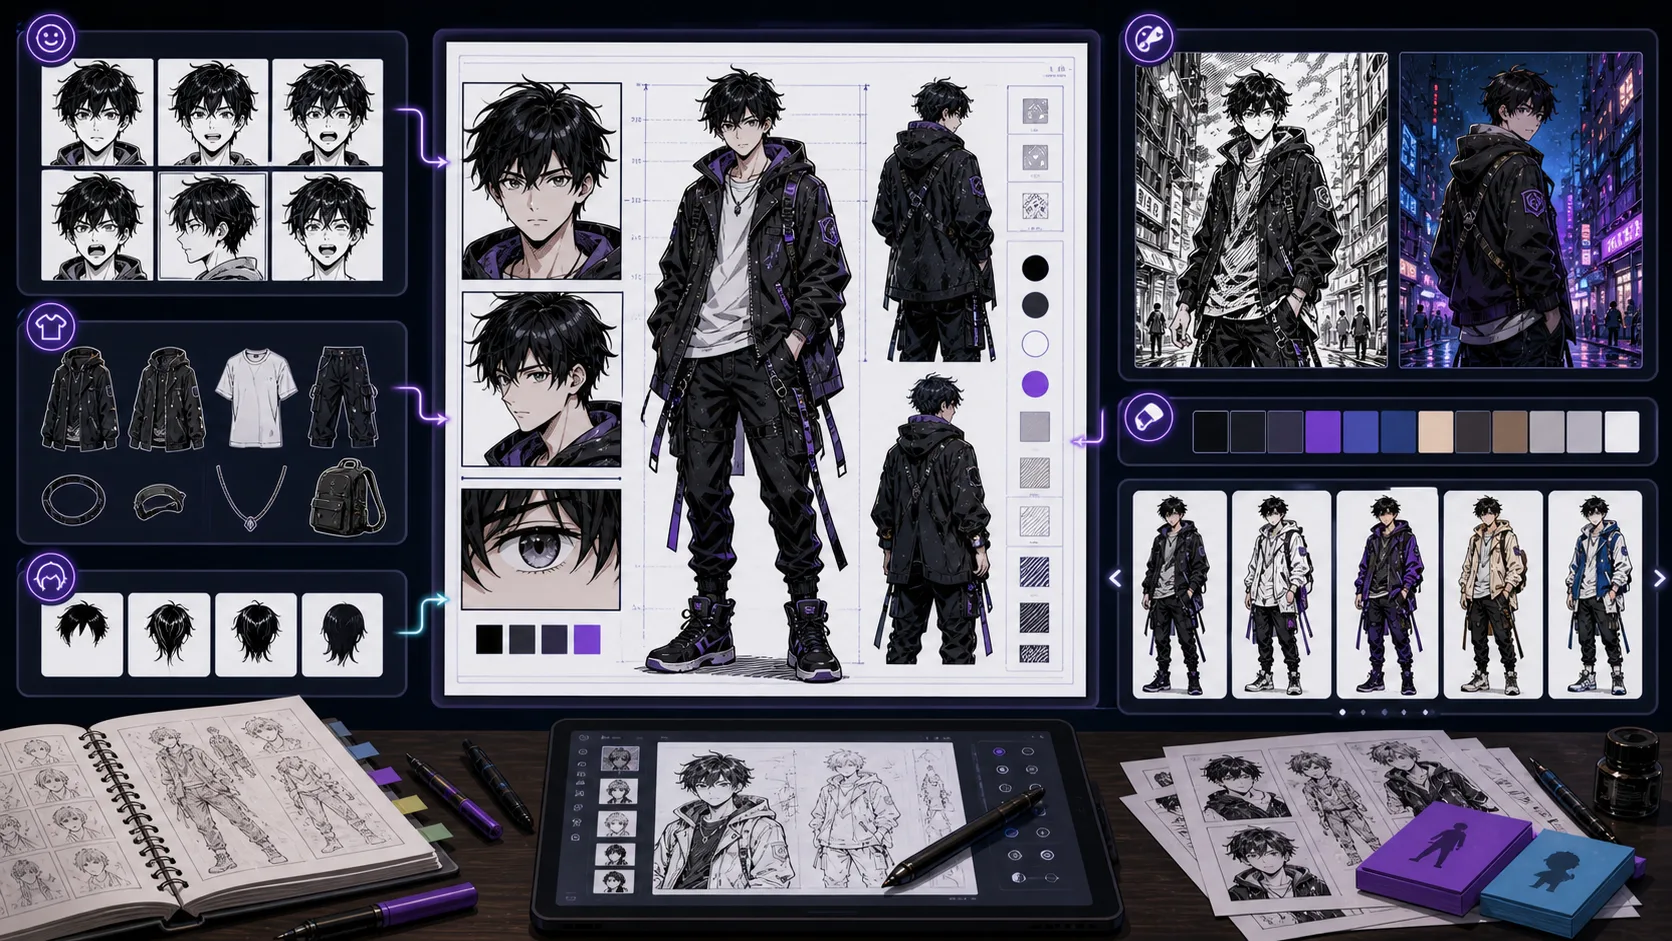
Design manga characters with genre cues, expression range, costume anchors, and panel-ready silhouettes for recurring cast members. Manga Character Generator is strongest when the creator already knows the decision they need to make. Use it for manga character concepts with expression and genre cues, then judge the result by silhouette, outfit logic, face shape, color anchors, expression range, and repeatable props. That keeps the page grounded in character design rather than broad image generation. The honest limitation is this: generic anime styling can erase the specific role the character plays in the story. In practice, the design may look attractive once but drift badly when reused in a different pose, crop, or episode. Stronger results come from the first decision: separate permanent identity anchors from details that can change scene by scene. The working constraint is: tie the design to a manga genre and one clear story function.
The workflow below is specific to Manga Character Generator: define the character design decision, set the asset boundary, give visible evidence, then approve only the drafts that can move into a real next step.
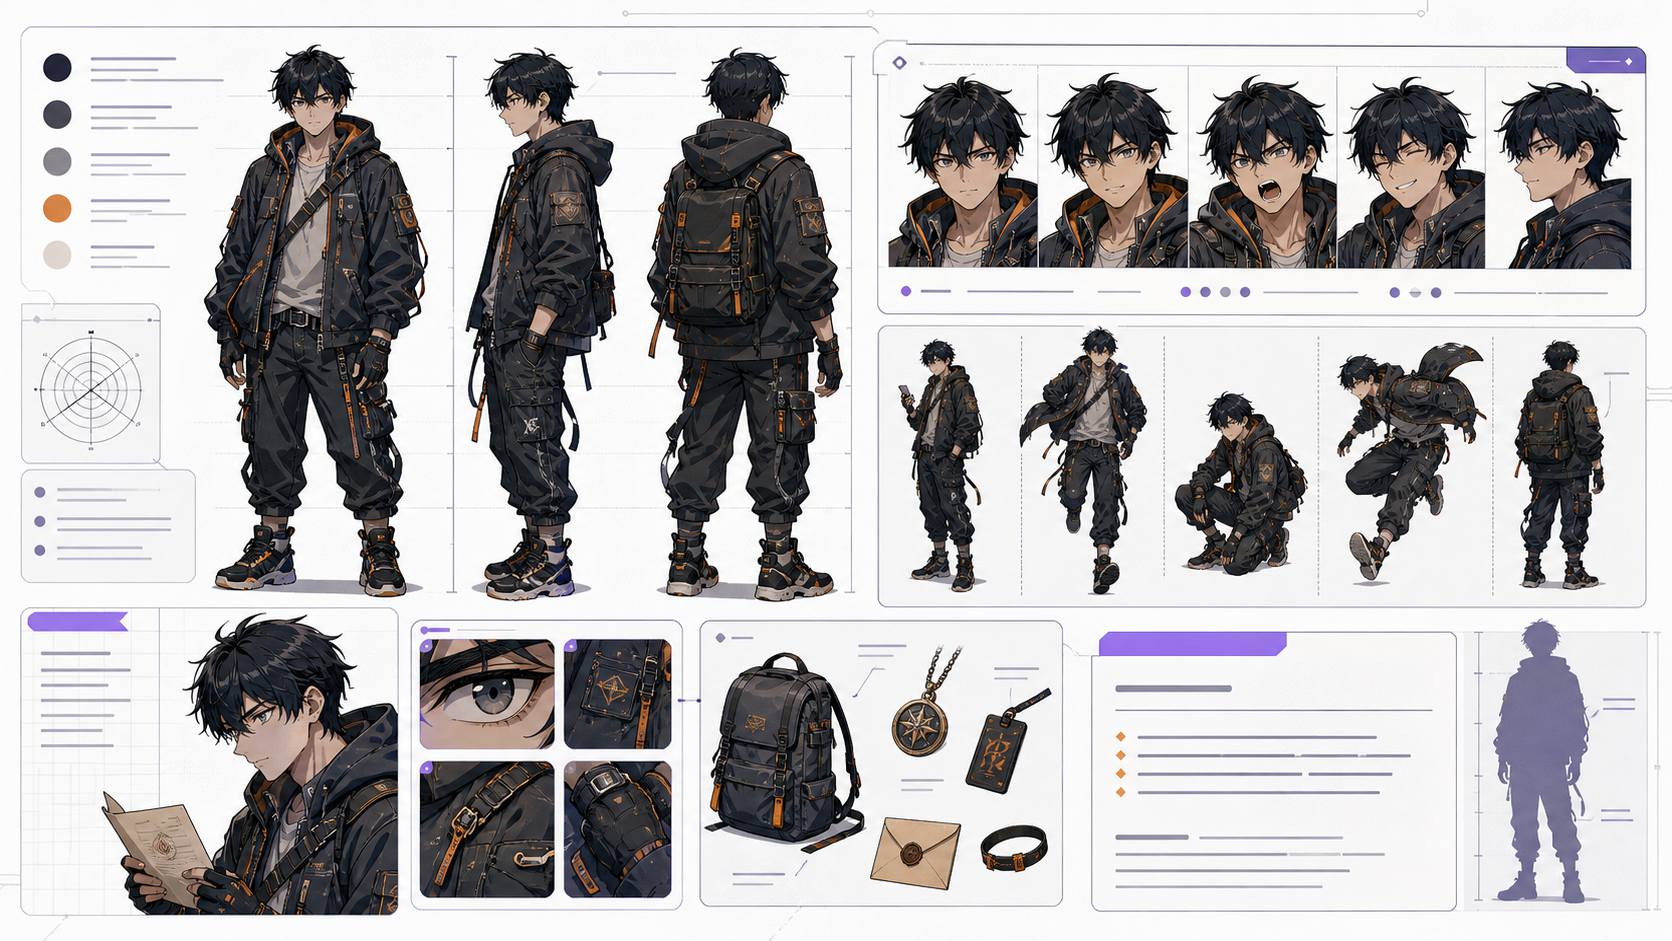
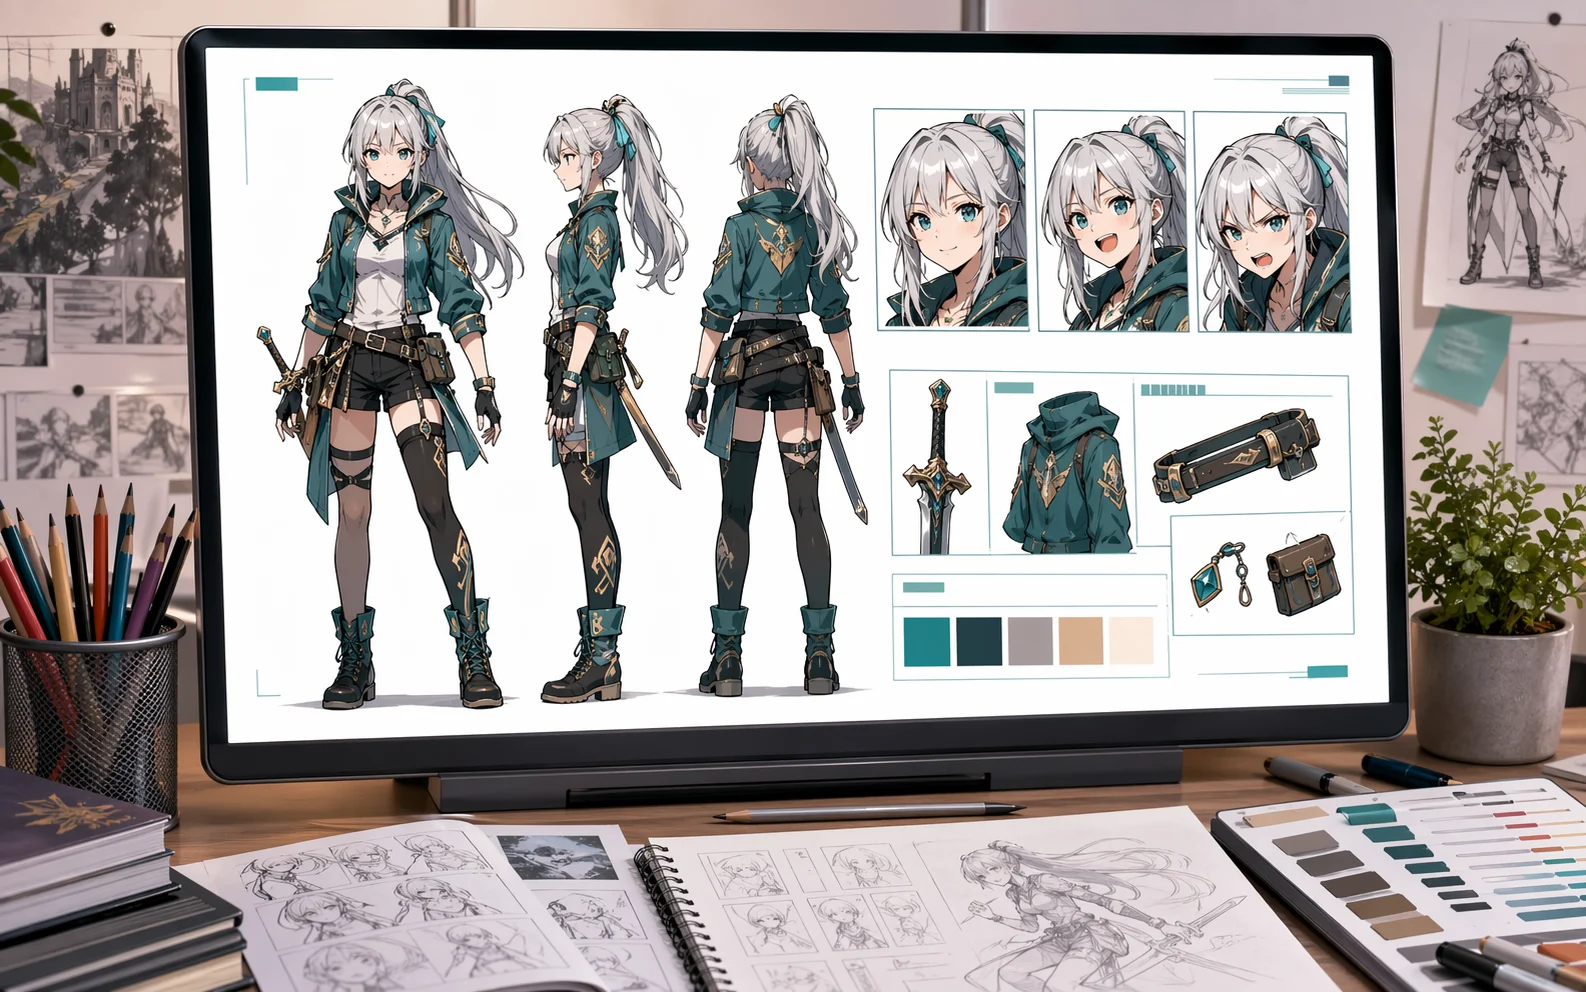
Create AI character sheets with front, side, expression, pose, outfit, and prop references. Build reusable comic character guides in ComicsAI. Use this page when a character needs to appear more than once. A strong AI character sheet is more than a portrait: it gives you view angles, expression choices, costume anchors, prop notes, and a reusable character sheet prompt for later panels. The common mistake is treating a character sheet like a gallery image. A useful sheet works as production memory: it records what must stay fixed, what can change by scene, and which details should be repeated in future AI prompts.
Build the sheet as a reference document first, then use it as prompt memory for future comic panels, covers, dialogue scenes, and webtoon episodes.
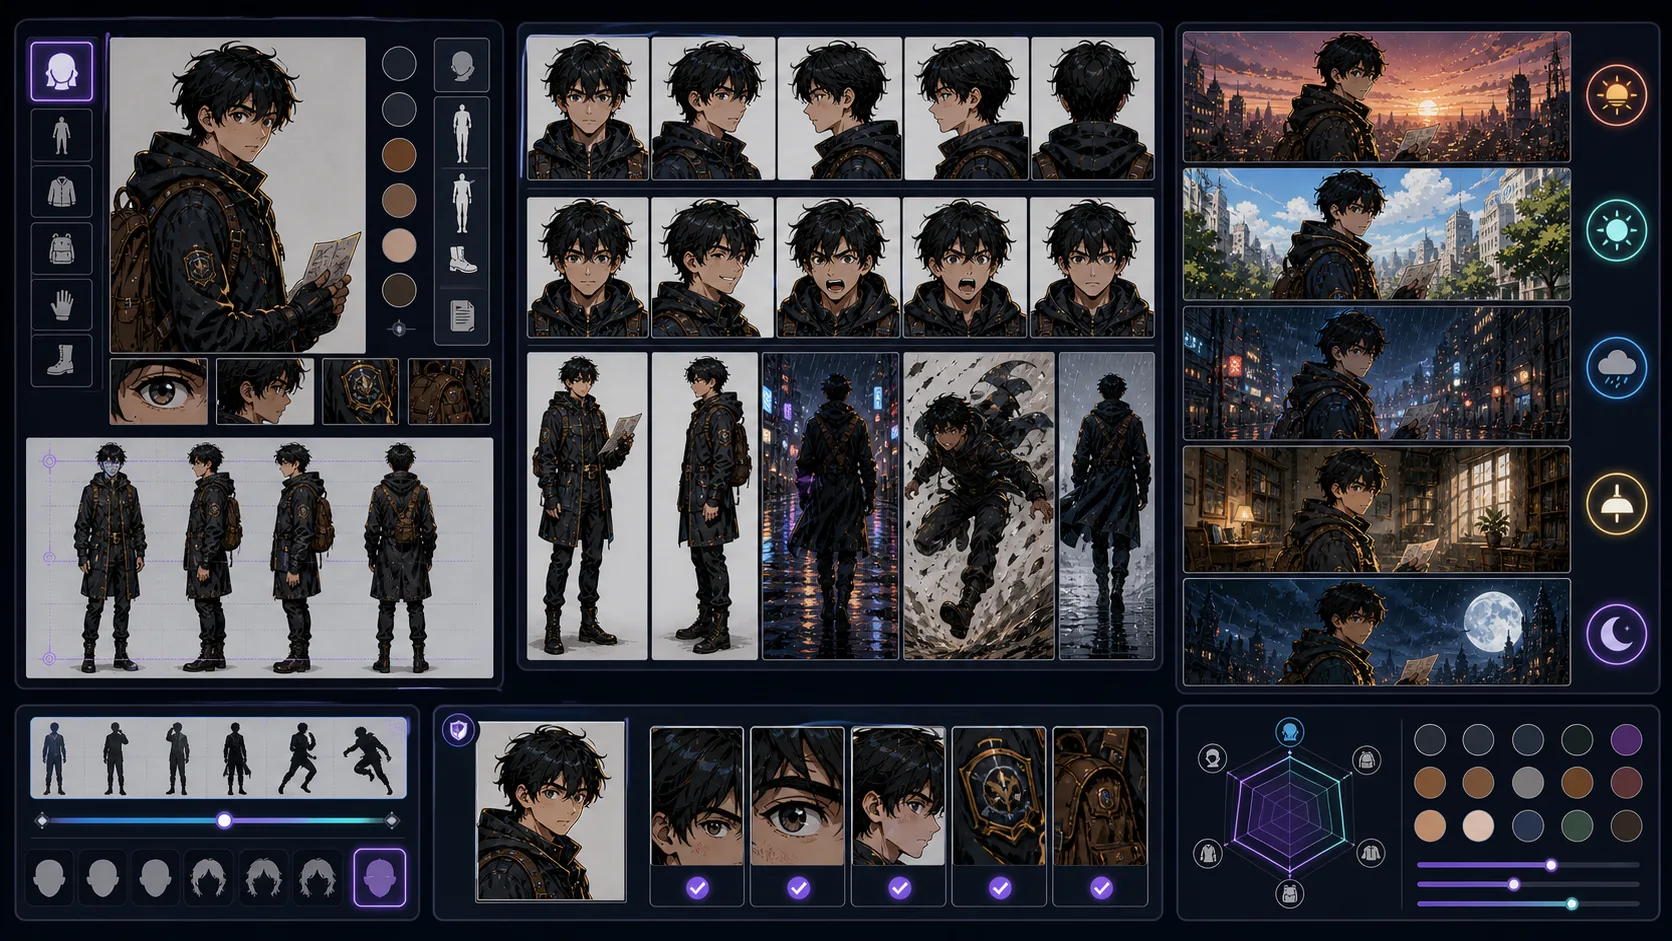
Keep comic characters recognizable across poses, emotions, cameras, and scenes with stable identity anchors and controlled variation. Consistent Character Generator is strongest when the creator already knows the decision they need to make. Use it for repeatable character prompts and reference-driven variations, then judge the result by silhouette, outfit logic, face shape, color anchors, expression range, and repeatable props. That keeps the page grounded in character design rather than broad image generation. The honest limitation is this: AI can drift when the prompt changes too many identity details at once. In practice, the design may look attractive once but drift badly when reused in a different pose, crop, or episode. Stronger results come from the first decision: separate permanent identity anchors from details that can change scene by scene. The working constraint is: change one production variable at a time while keeping the identity note stable.
The workflow below is specific to Consistent Character Generator: define the character design decision, set the asset boundary, give visible evidence, then approve only the drafts that can move into a real next step.
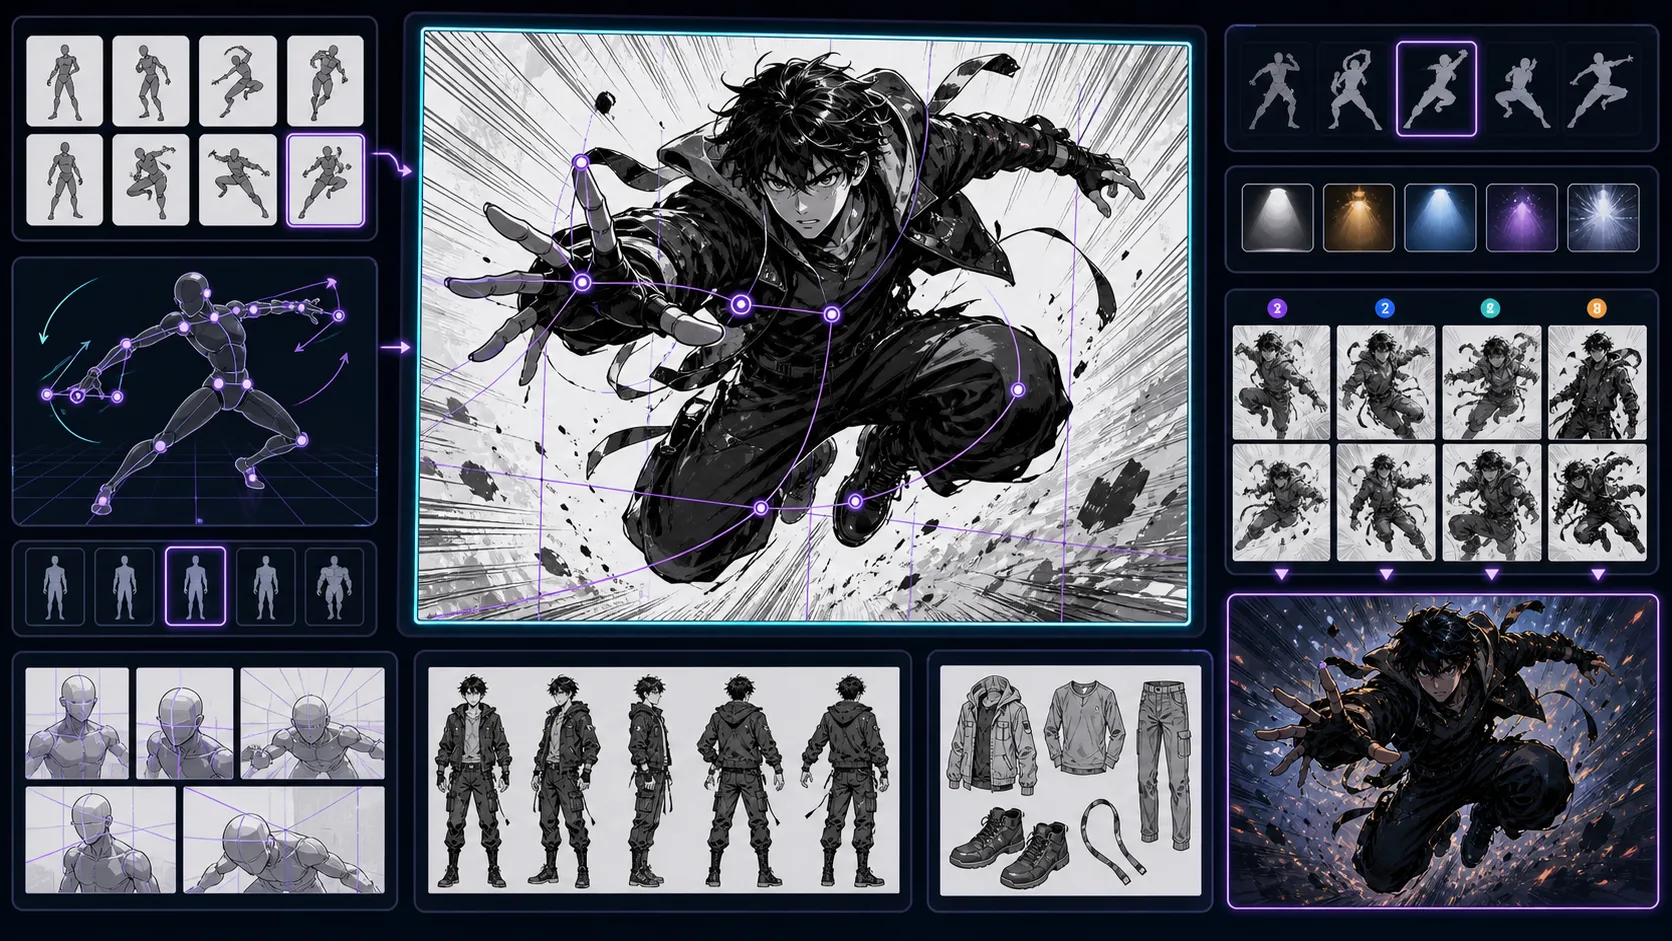
Explore character poses with line of action, weight, balance, silhouette, and camera direction before turning the idea into comic panels. Character Pose Generator is strongest when the creator already knows the decision they need to make. Use it for pose concepts for characters in scenes and references, then judge the result by silhouette, outfit logic, face shape, color anchors, expression range, and repeatable props. That keeps the page grounded in character design rather than broad image generation. The honest limitation is this: poses can look stiff when the prompt names an action but not weight or direction. In practice, the design may look attractive once but drift badly when reused in a different pose, crop, or episode. Stronger results come from the first decision: separate permanent identity anchors from details that can change scene by scene. The working constraint is: describe force, balance, and where the character is looking.
The workflow below is specific to Character Pose Generator: define the character design decision, set the asset boundary, give visible evidence, then approve only the drafts that can move into a real next step.
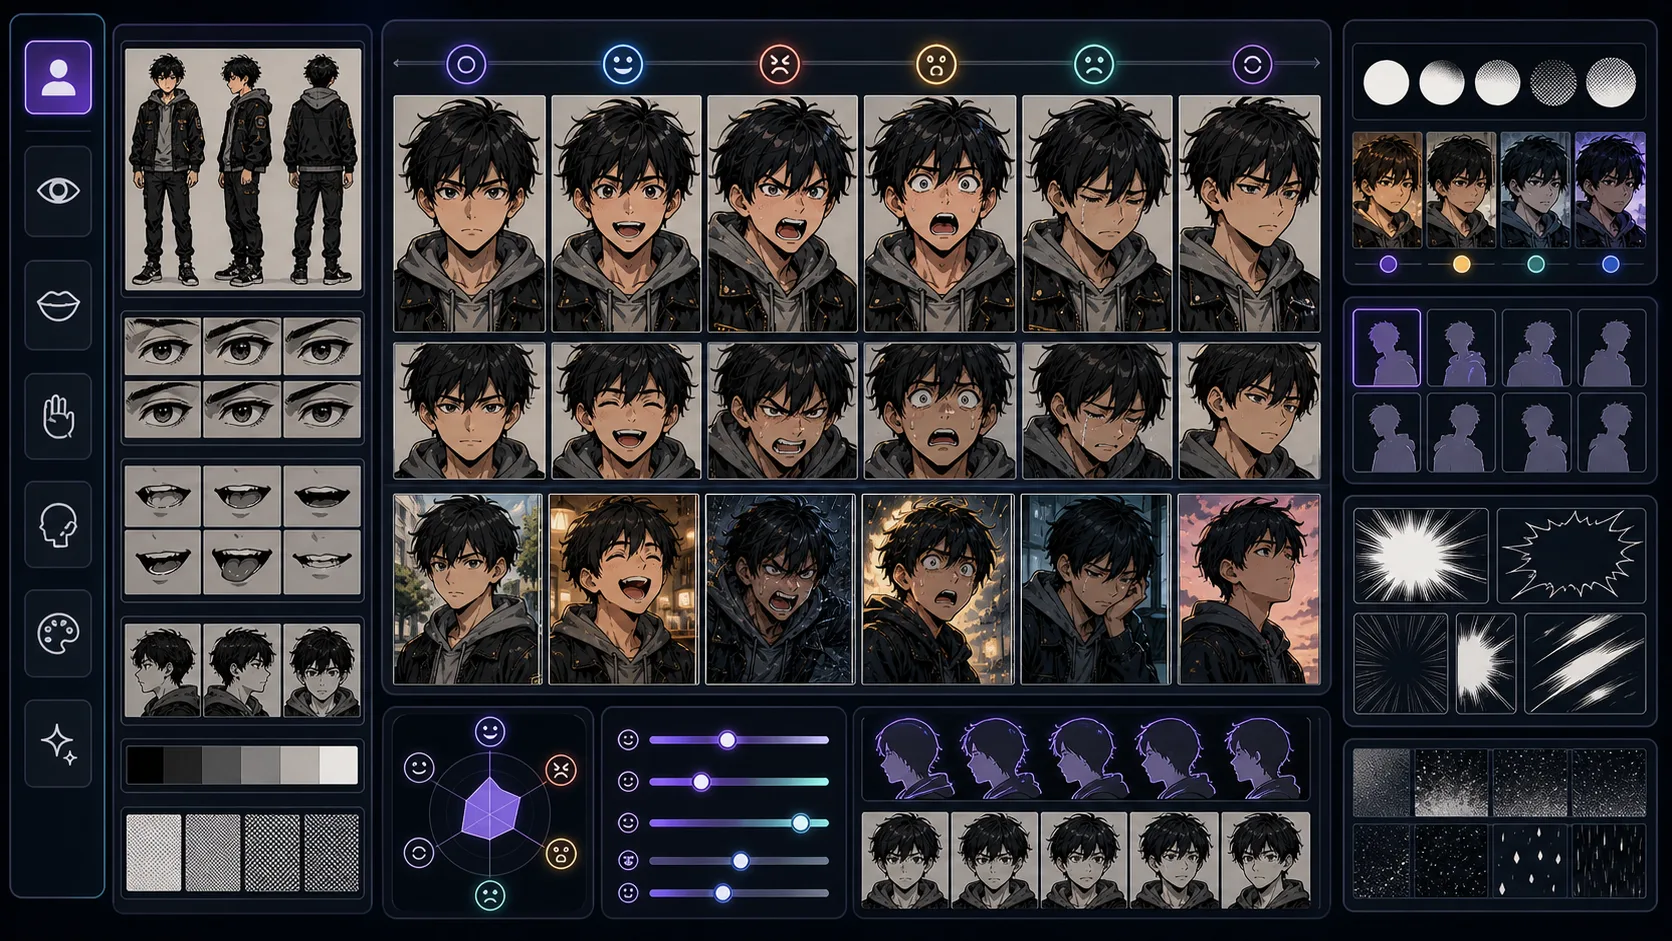
Create expression studies and reaction references that keep a character's emotion readable in manga close-ups, dialogue, and panel sequences. Character Expression Generator is strongest when the creator already knows the decision they need to make. Use it for expression studies and emotion references, then judge the result by silhouette, outfit logic, face shape, color anchors, expression range, and repeatable props. That keeps the page grounded in character design rather than broad image generation. The honest limitation is this: emotion labels alone can produce generic faces without the character's personality. In practice, the design may look attractive once but drift badly when reused in a different pose, crop, or episode. Stronger results come from the first decision: separate permanent identity anchors from details that can change scene by scene. The working constraint is: describe how this specific character hides, exaggerates, or reveals emotion.
The workflow below is specific to Character Expression Generator: define the character design decision, set the asset boundary, give visible evidence, then approve only the drafts that can move into a real next step.
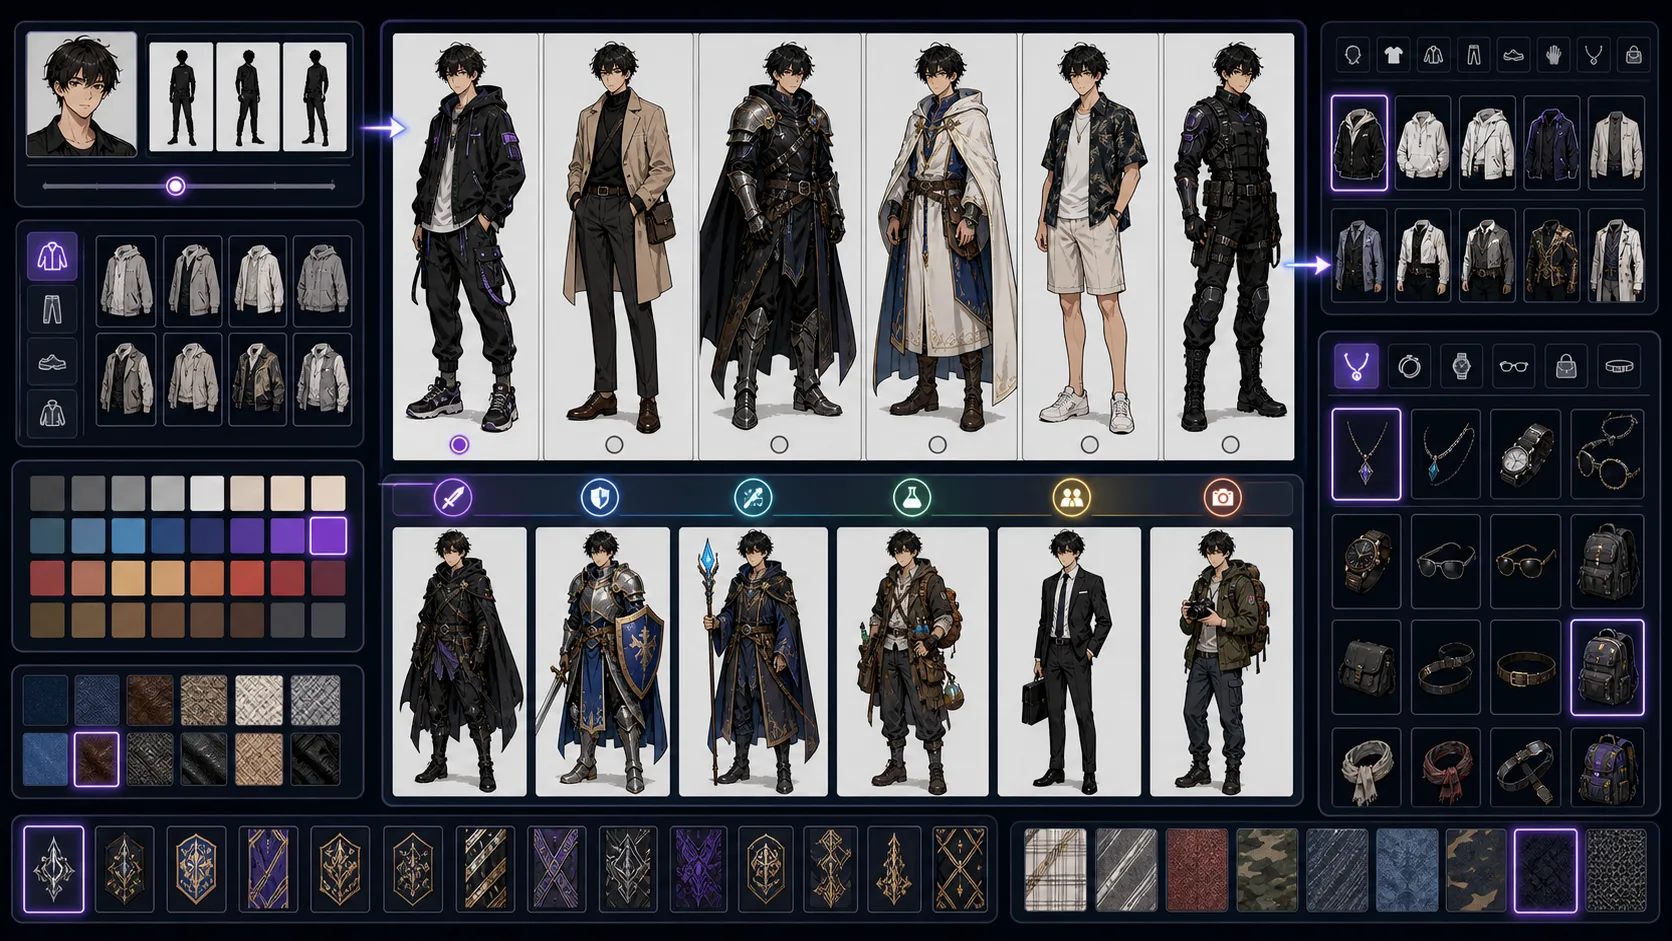
Design character outfits with role, setting, silhouette, material logic, and repeatable costume anchors for comics, manga, and webtoons. Outfit Generator is strongest when the creator already knows the decision they need to make. Use it for outfit concepts with role, setting, and silhouette logic, then judge the result by silhouette, outfit logic, face shape, color anchors, expression range, and repeatable props. That keeps the page grounded in character design rather than broad image generation. The honest limitation is this: overdesigned outfits are hard to repeat and can distract from face and action. In practice, the design may look attractive once but drift badly when reused in a different pose, crop, or episode. Stronger results come from the first decision: separate permanent identity anchors from details that can change scene by scene. The working constraint is: choose one statement detail and keep the rest functional.
The workflow below is specific to Outfit Generator: define the character design decision, set the asset boundary, give visible evidence, then approve only the drafts that can move into a real next step.
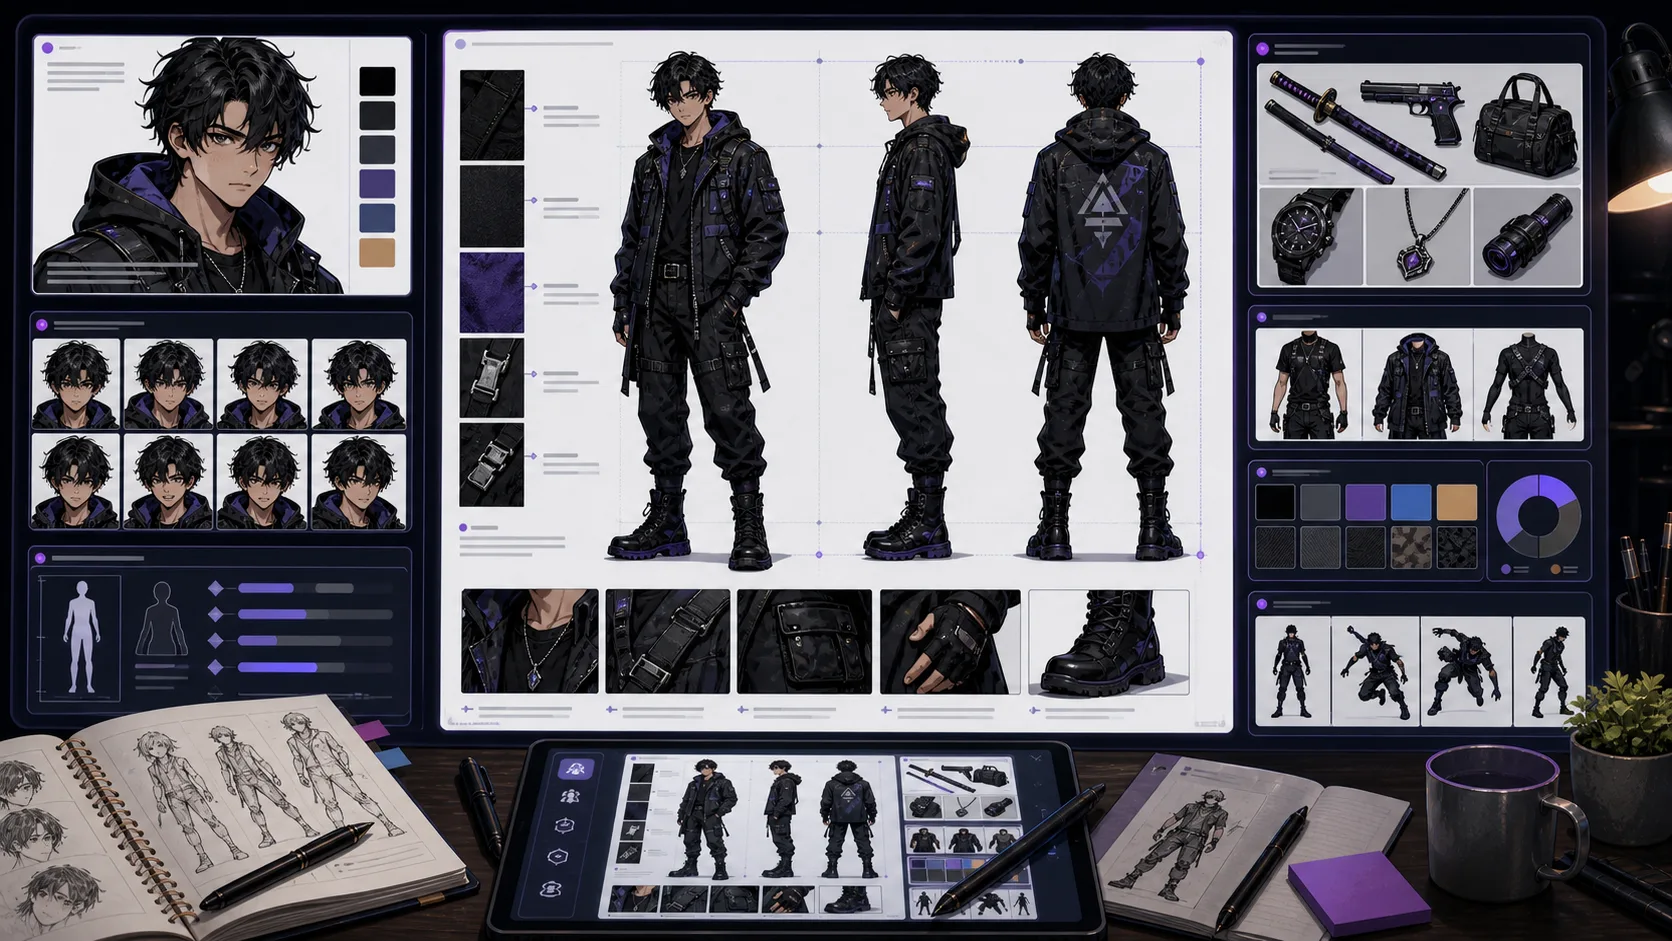
Build character reference boards with visible anchors, costume notes, color cues, props, and prompt details for repeatable comic production. Character Reference Maker is strongest when the creator already knows the decision they need to make. Use it for visual and written reference material for repeatable characters, then judge the result by silhouette, outfit logic, face shape, color anchors, expression range, and repeatable props. That keeps the page grounded in character design rather than broad image generation. The honest limitation is this: references fail when they describe mood but not visible design details. In practice, the design may look attractive once but drift badly when reused in a different pose, crop, or episode. Stronger results come from the first decision: separate permanent identity anchors from details that can change scene by scene. The working constraint is: write references in observable terms: shape, color, material, scale, and placement.
The workflow below is specific to Character Reference Maker: define the character design decision, set the asset boundary, give visible evidence, then approve only the drafts that can move into a real next step.
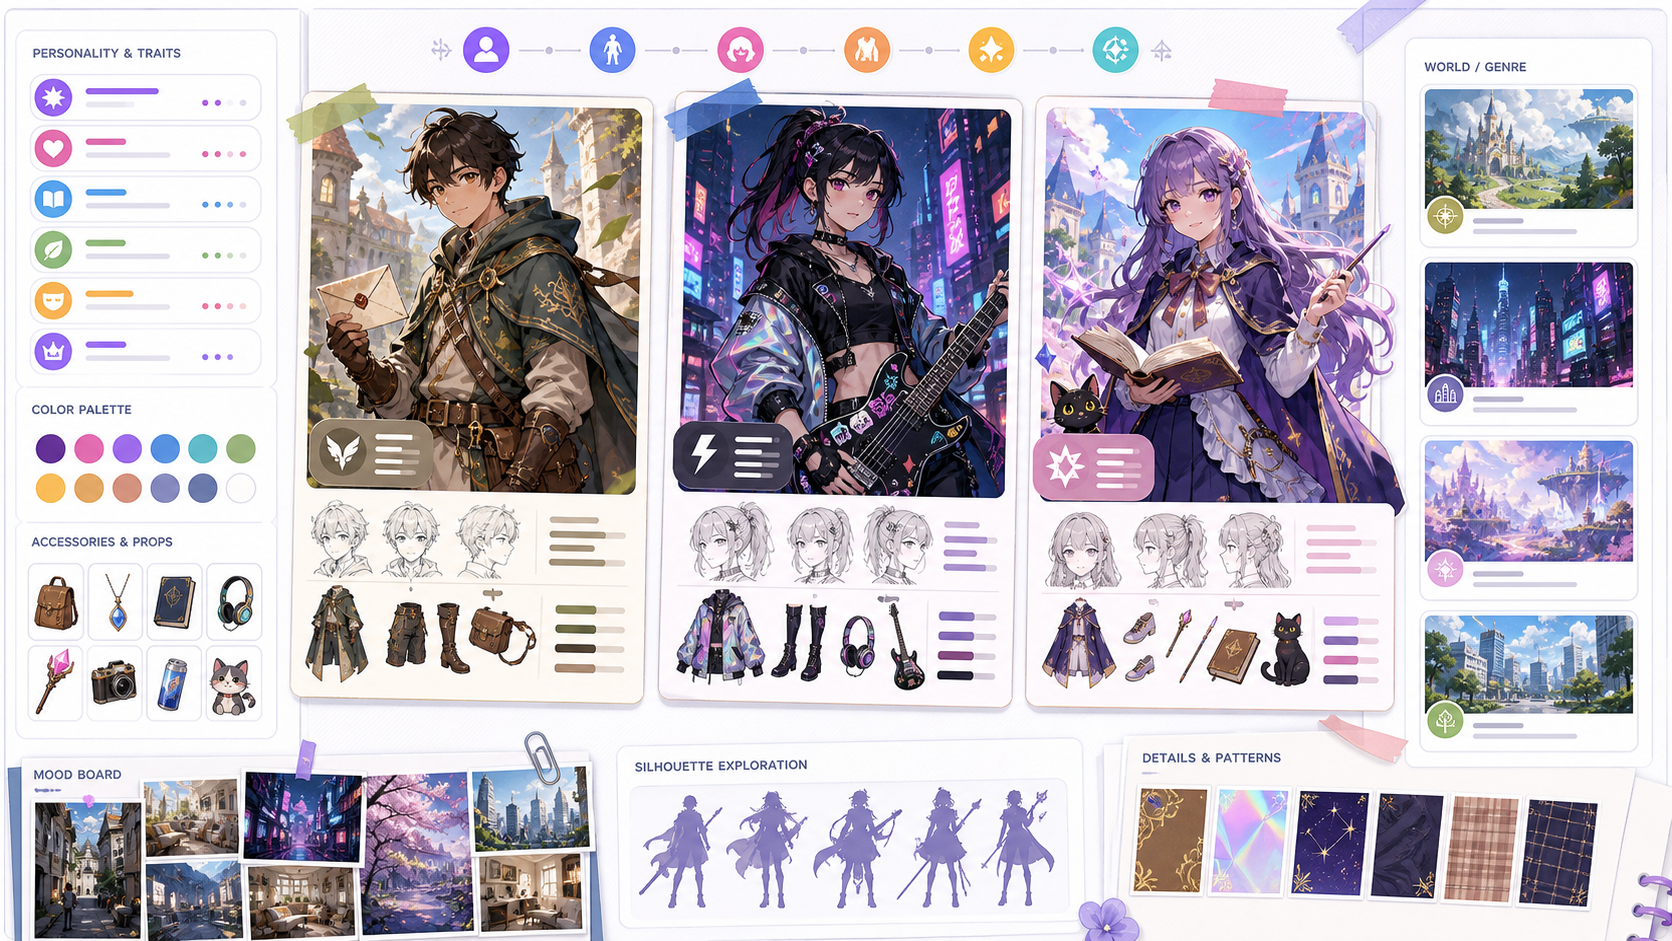
Use OC Maker to create original character concepts with story hooks with clearer prompts, story focus, visual direction, and production checks for ComicsAI. An OC works when the design suggests a life beyond the image. Use this page to connect personality with visible choices: posture, outfit, prop, color, expression, and the kind of scenes the character belongs in. The weak OC prompt is only a list of aesthetics. A stronger OC brief explains role, contradiction, motivation, and how those ideas show up visually.
OC creation should balance story identity with visual repeatability.
11 focused tools
Image conversion tools are for creators starting from photos, sketches, line art, or rough visual references. They help translate existing material into comic, manga, or webtoon directions while preserving the practical intent of the source image: pose, lighting, composition, or subject relationship.
Convert photos to comic art with source-aware prompts. Preserve pose, lighting, likeness cues, and panel space for comic-ready drafts. Use Photo to Comic when the photo already contains something worth keeping. A good conversion protects the pose, face angle, lighting, outfit, room layout, or focal object, then simplifies texture into comic line, color, shadow, and panel-ready composition. The product challenge is expectation split. A quick comic filter can be playful, while photo to comic and image to comic users expect a useful conversion. The workflow should cover filter-style results without becoming only a novelty effect.
Start by auditing the source photo. Decide what must stay recognizable, then choose the comic treatment and panel role.
Convert photos to cartoon art online with ComicsAI. Keep likeness, choose cute or clean styles, and make avatars, family keepsakes, and social images. Photo to Cartoon is for everyday image conversion. Use it when the photo already has a good smile, pose, outfit, pet moment, or family grouping, and you want a cartoon version that still feels connected to the original picture. A cartoon converter should not promise magic from every upload. Blurry faces, busy backgrounds, harsh shadows, and tiny group photos need more guidance. Free use and downloads can depend on account limits, so begin with a simple photo and review the final image before using it publicly.
The best photo-to-cartoon results start with a clear choice: what should stay recognizable, and how playful should the cartoon style become?
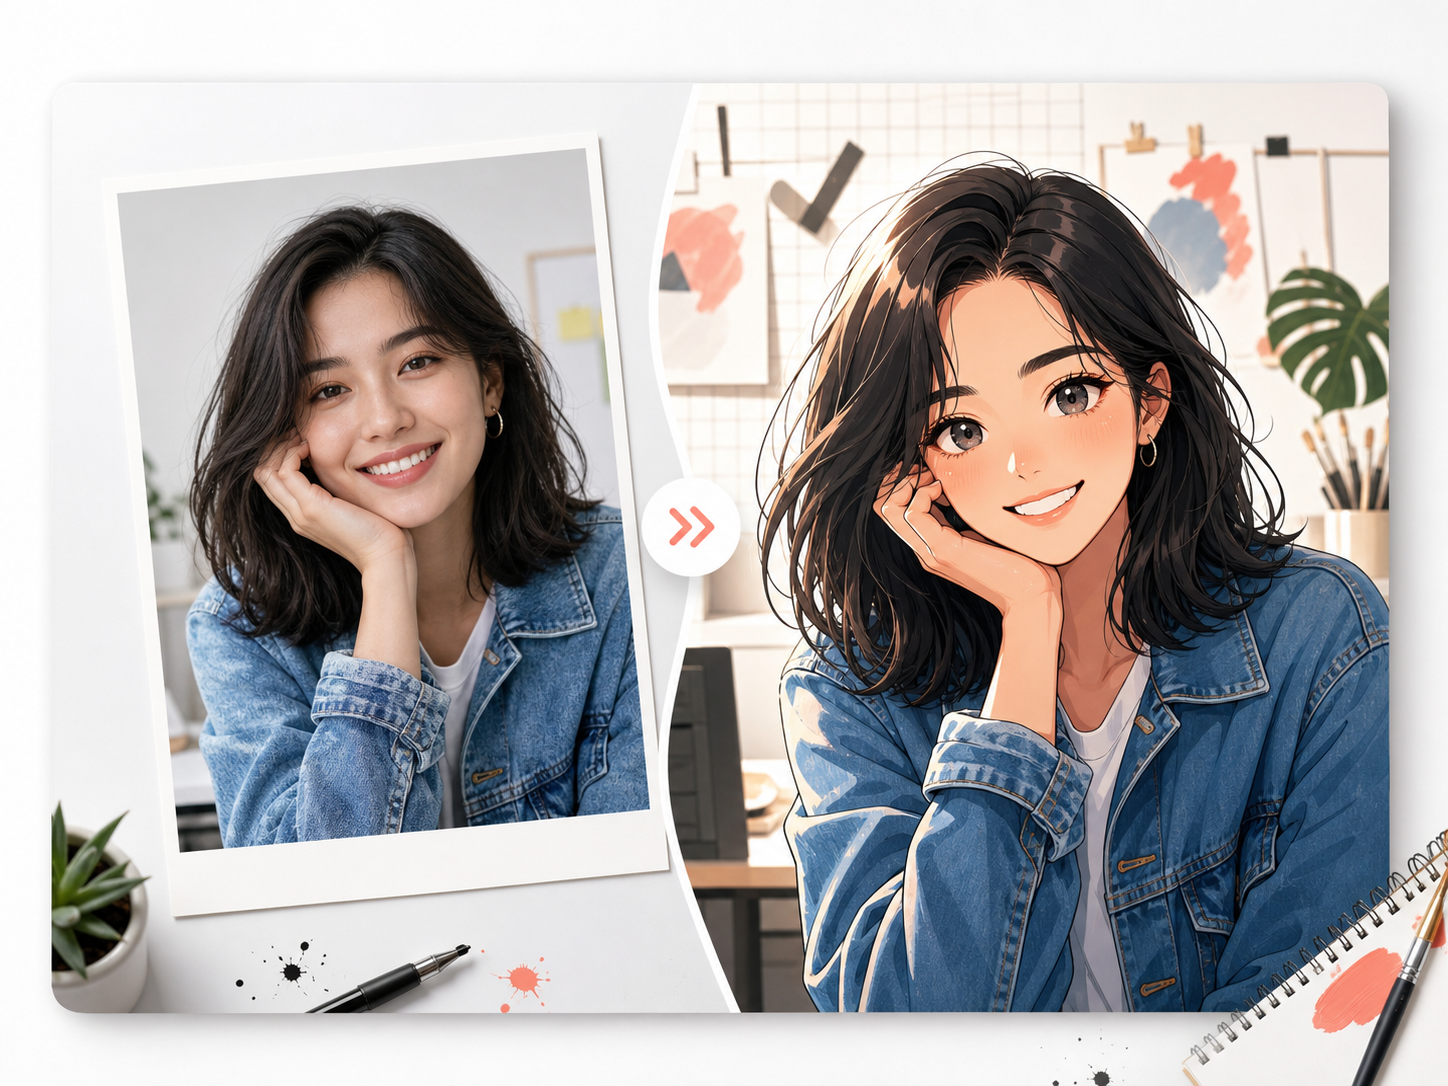
Turn photos into original anime-style art online. Upload a portrait or snapshot, choose a style, preserve likeness cues, and create avatars or story references. Photo to Anime converts a real photo into original anime-style art. It is useful when the source photo already has a pose, face angle, outfit, pet, or scene you want to keep, but you want the final image to feel illustrated rather than filtered. A good anime conversion should not copy a named character, studio, show, or celebrity. It should preserve the useful source cues and redraw them in an original anime direction with clean lines, expressive eyes, controlled shading, and a simple background.
The simplest photo-to-anime workflow is preservation first, style second, export review last. That keeps the anime result personal instead of generic.
Turn photos into pencil, ink, or storyboard sketches with AI. Preserve pose, likeness cues, object shape, and lighting for usable drafts. Photo to Sketch AI is most useful when you start with a clear source image and a clear reason for using it. A portrait photo may need recognizable hair, face angle, and expression. A product photo may need the silhouette and material edges. A room or street photo may need perspective and light direction. The honest limit is that AI sketch conversion still needs review. Blurry uploads, busy backgrounds, tiny faces, and low-contrast products can turn into vague lines. Better results come from naming what should stay, then asking the sketch style to simplify the rest.
The workflow is simple: choose the source value, select the drawing treatment, then review the sketch as a working draft.
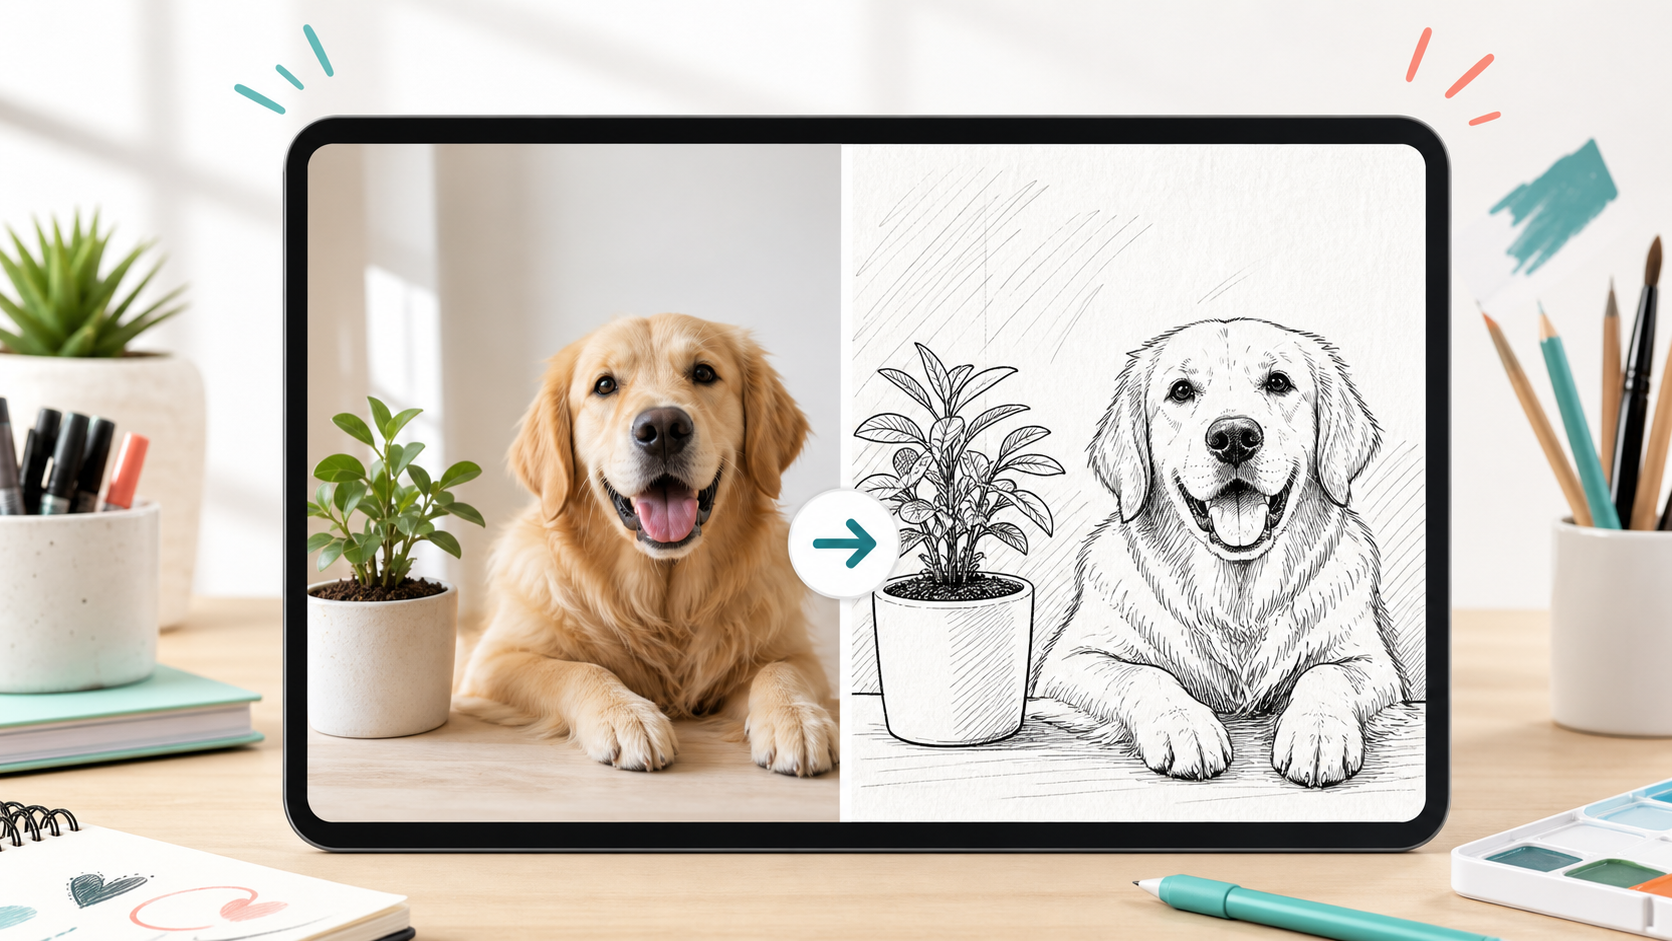
Turn photos into clean doodle drawings online. Keep the subject recognizable, choose line style, and make coloring pages, wall art, or share-ready sketches. A good doodle conversion is simpler than a sketch and lighter than a comic redraw. It keeps the main subject, pose, object shape, or room layout, then removes photo noise so the result reads as friendly lines on paper. Not every photo converts well on the first try. Busy backgrounds, tiny faces, dark lighting, and overlapping objects can create crowded lines. Better prompts say what should stay recognizable and what can be simplified into open white space.
The doodle workflow works best when the source image has one clear job: preserve the useful part, simplify the rest, then review the drawing as a printable or shareable asset.
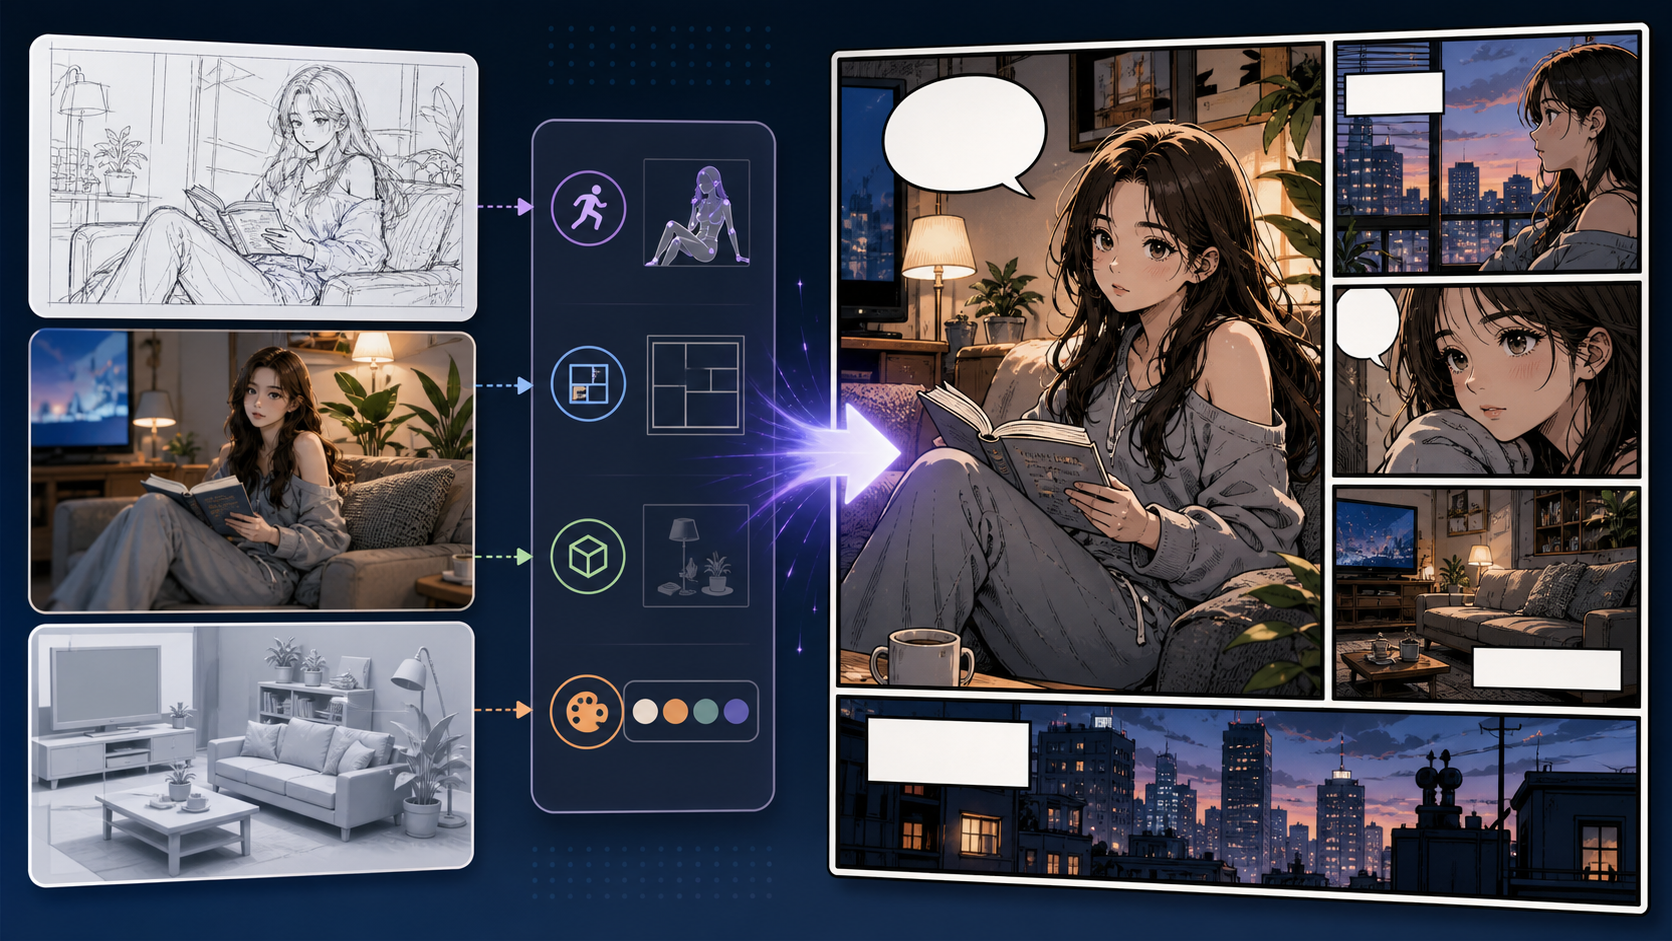
Use Image to Comic to create comic-style versions of existing images with clearer prompts, story focus, visual direction, and production checks for ComicsAI. This page is broader than photo conversion. The input might be a sketch, mood board, reference image, rough concept, or rendered scene. The task is to keep the useful structure and translate the image into comic storytelling language. The risk is over-stylization. If the comic version loses the composition, object placement, or character pose that made the source useful, the conversion is not doing its job.
Image to Comic should begin with an audit of the source image and the comic role it needs to play.
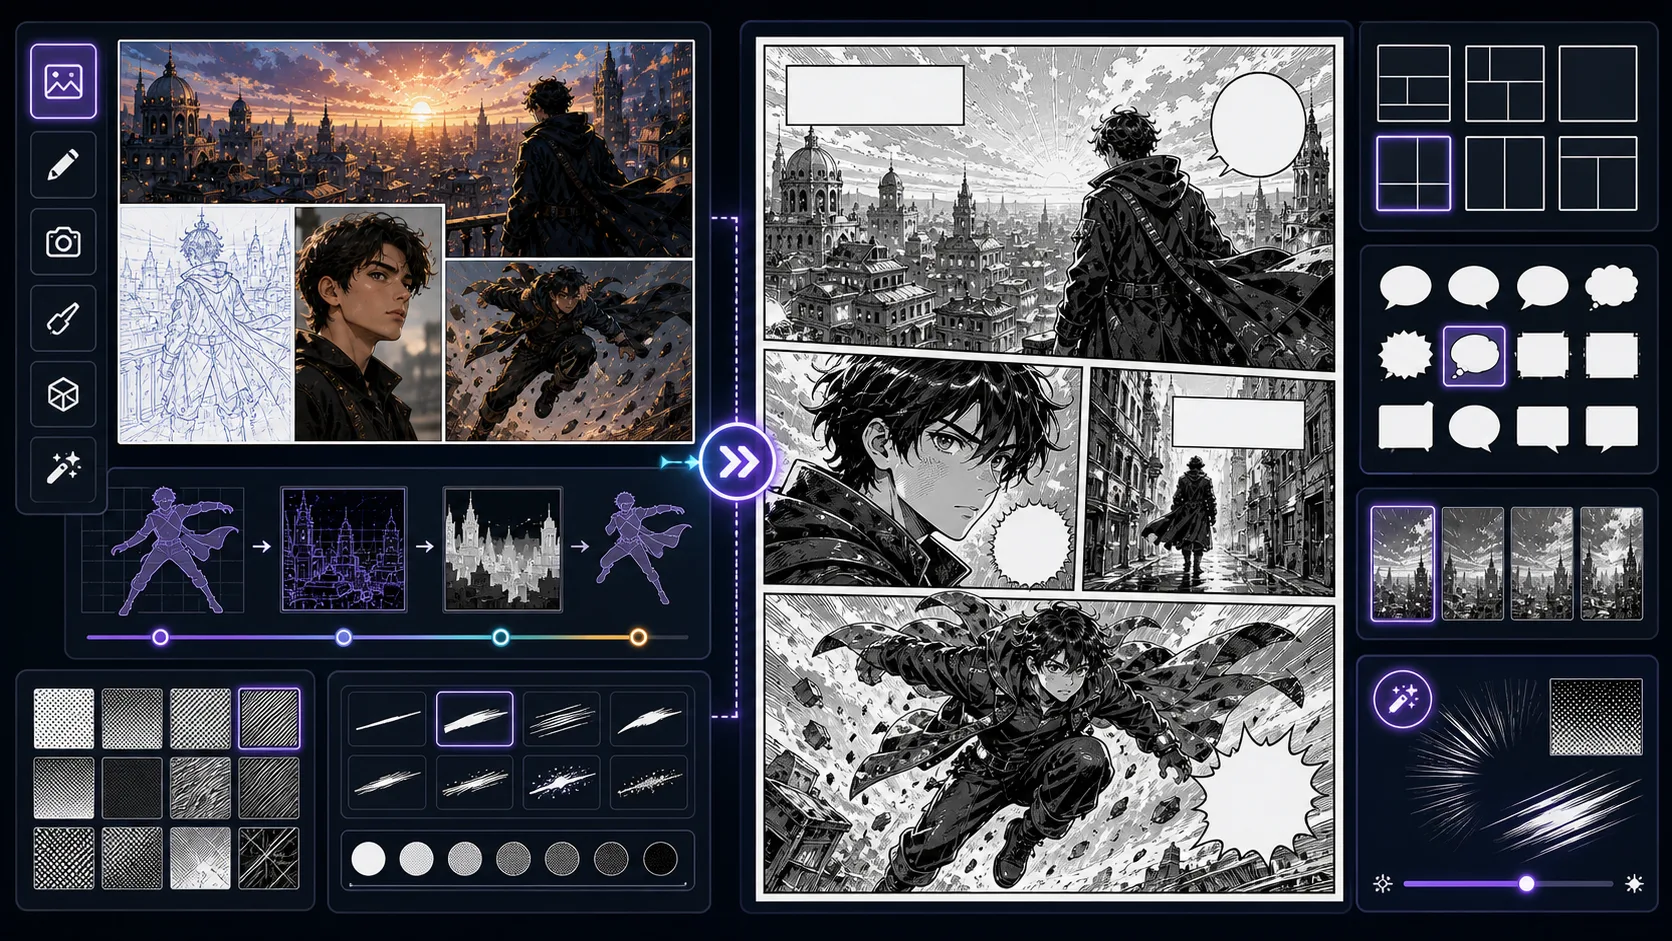
Convert source images into manga-style redraws with line simplification, tone control, expression focus, and panel-ready framing. Image to Manga is strongest when the creator already knows the decision they need to make. Use it for manga-style redraws from source images, then judge the result by source fidelity, crop, lighting simplification, stylized edges, and whether the converted image still has a clear subject. That keeps the page grounded in image conversion rather than broad image generation. The honest limitation is this: keeping too much photo texture can fight against manga clarity. In practice, the output may copy surface style while losing likeness, pose readability, or the reason the source was useful. Stronger results come from the first decision: choose which parts of the source image must be preserved and which can be stylized. The working constraint is: ask for manga simplification and name the panel mood.
The workflow below is specific to Image to Manga: define the image conversion decision, set the asset boundary, give visible evidence, then approve only the drafts that can move into a real next step.
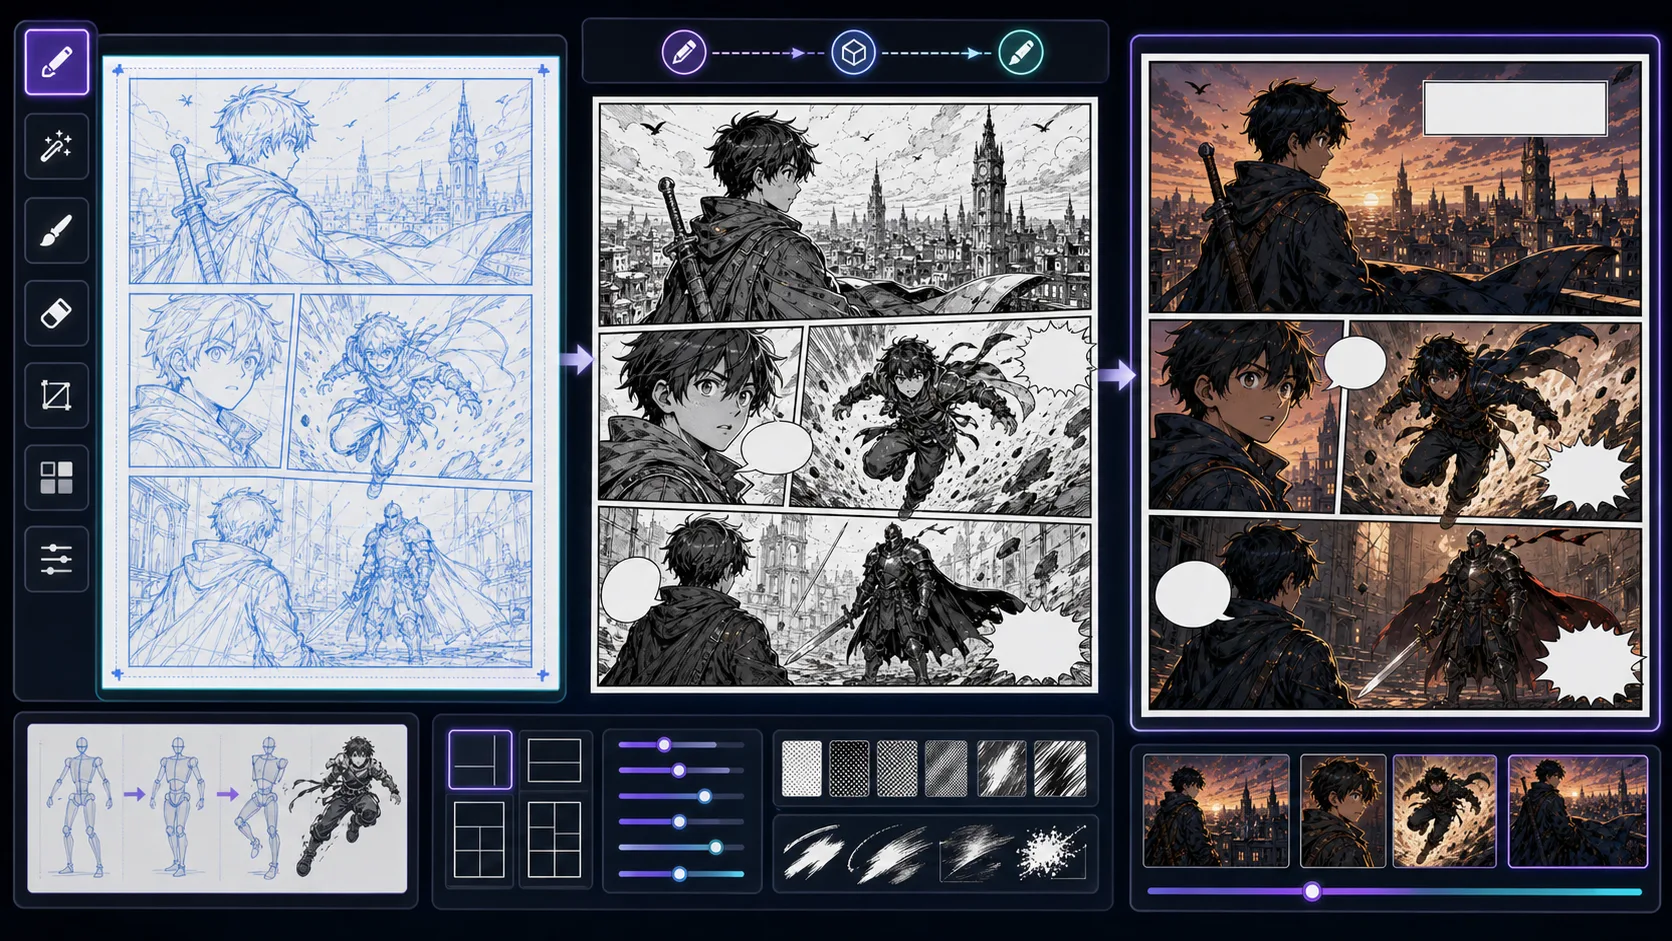
Turn rough sketches into comic-style drafts while preserving gesture, layout intent, silhouettes, and the energy of the original drawing. Sketch to Comic is strongest when the creator already knows the decision they need to make. Use it for comic art based on sketch structure, then judge the result by source fidelity, crop, lighting simplification, stylized edges, and whether the converted image still has a clear subject. That keeps the page grounded in image conversion rather than broad image generation. The honest limitation is this: over-polishing a sketch can erase the energy that made it useful. In practice, the output may copy surface style while losing likeness, pose readability, or the reason the source was useful. Stronger results come from the first decision: choose which parts of the source image must be preserved and which can be stylized. The working constraint is: tell the tool which parts of the sketch must stay and which can be redesigned.
The workflow below is specific to Sketch to Comic: define the image conversion decision, set the asset boundary, give visible evidence, then approve only the drafts that can move into a real next step.
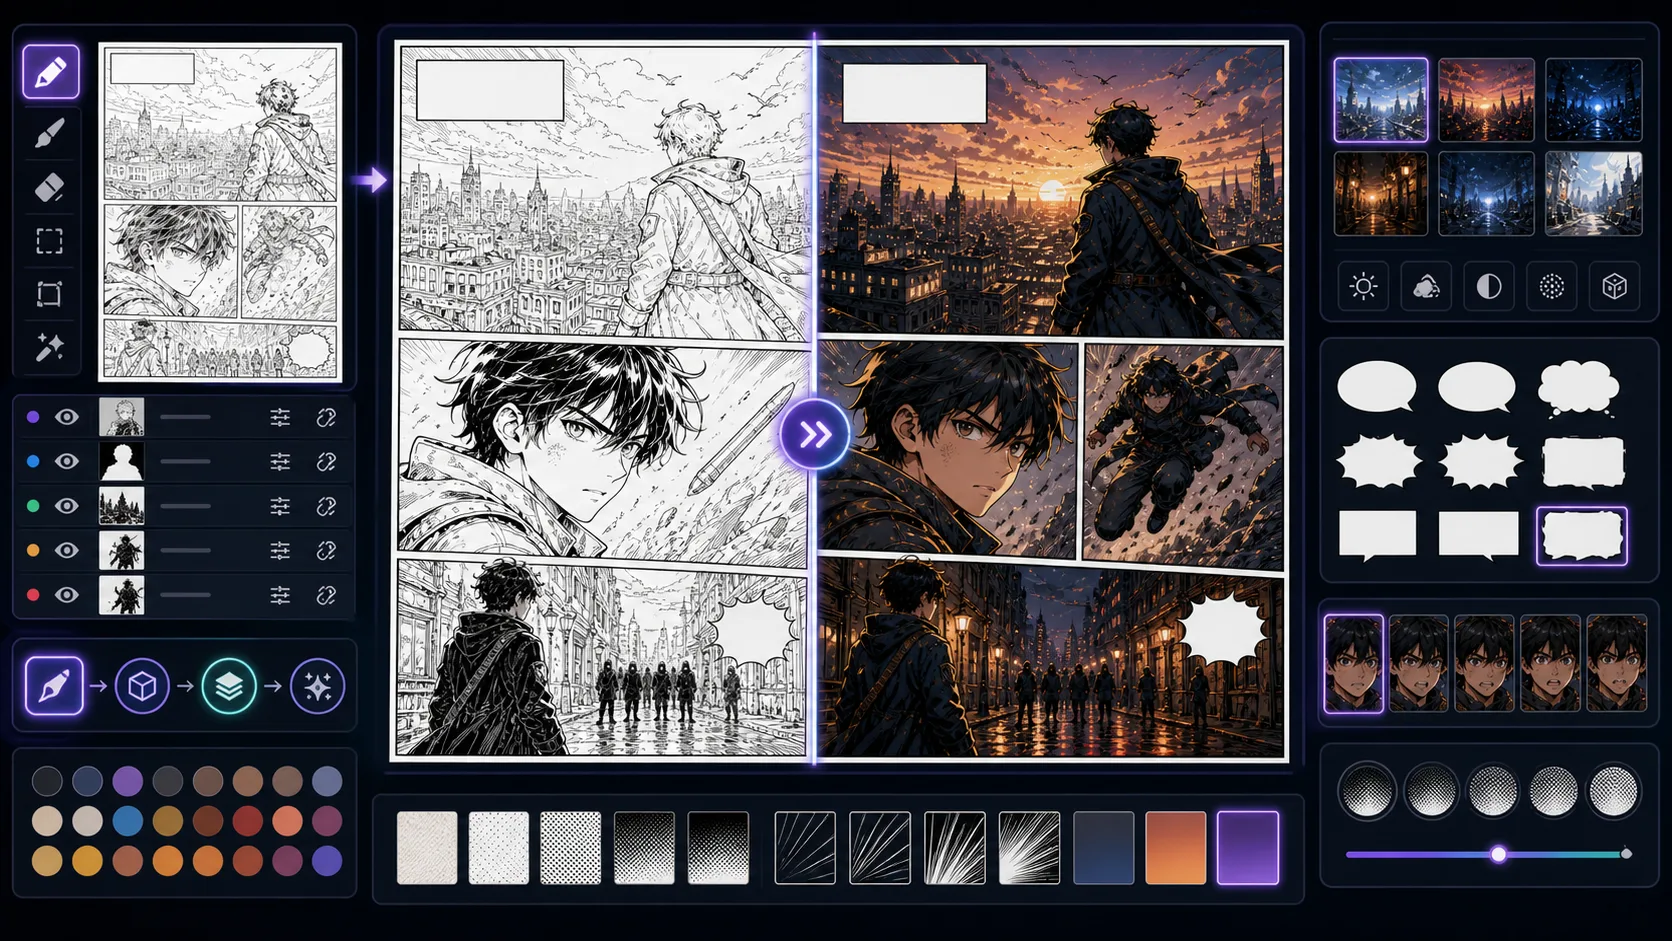
Finish line art with comic colors, cel shading, value control, and mood direction while keeping the original drawing readable. Line Art to Comic is strongest when the creator already knows the decision they need to make. Use it for finished comic looks from line art, then judge the result by source fidelity, crop, lighting simplification, stylized edges, and whether the converted image still has a clear subject. That keeps the page grounded in image conversion rather than broad image generation. The honest limitation is this: color can overpower the line art if the palette has no hierarchy. In practice, the output may copy surface style while losing likeness, pose readability, or the reason the source was useful. Stronger results come from the first decision: choose which parts of the source image must be preserved and which can be stylized. The working constraint is: choose the light source and color mood before adding effects.
The workflow below is specific to Line Art to Comic: define the image conversion decision, set the asset boundary, give visible evidence, then approve only the drafts that can move into a real next step.
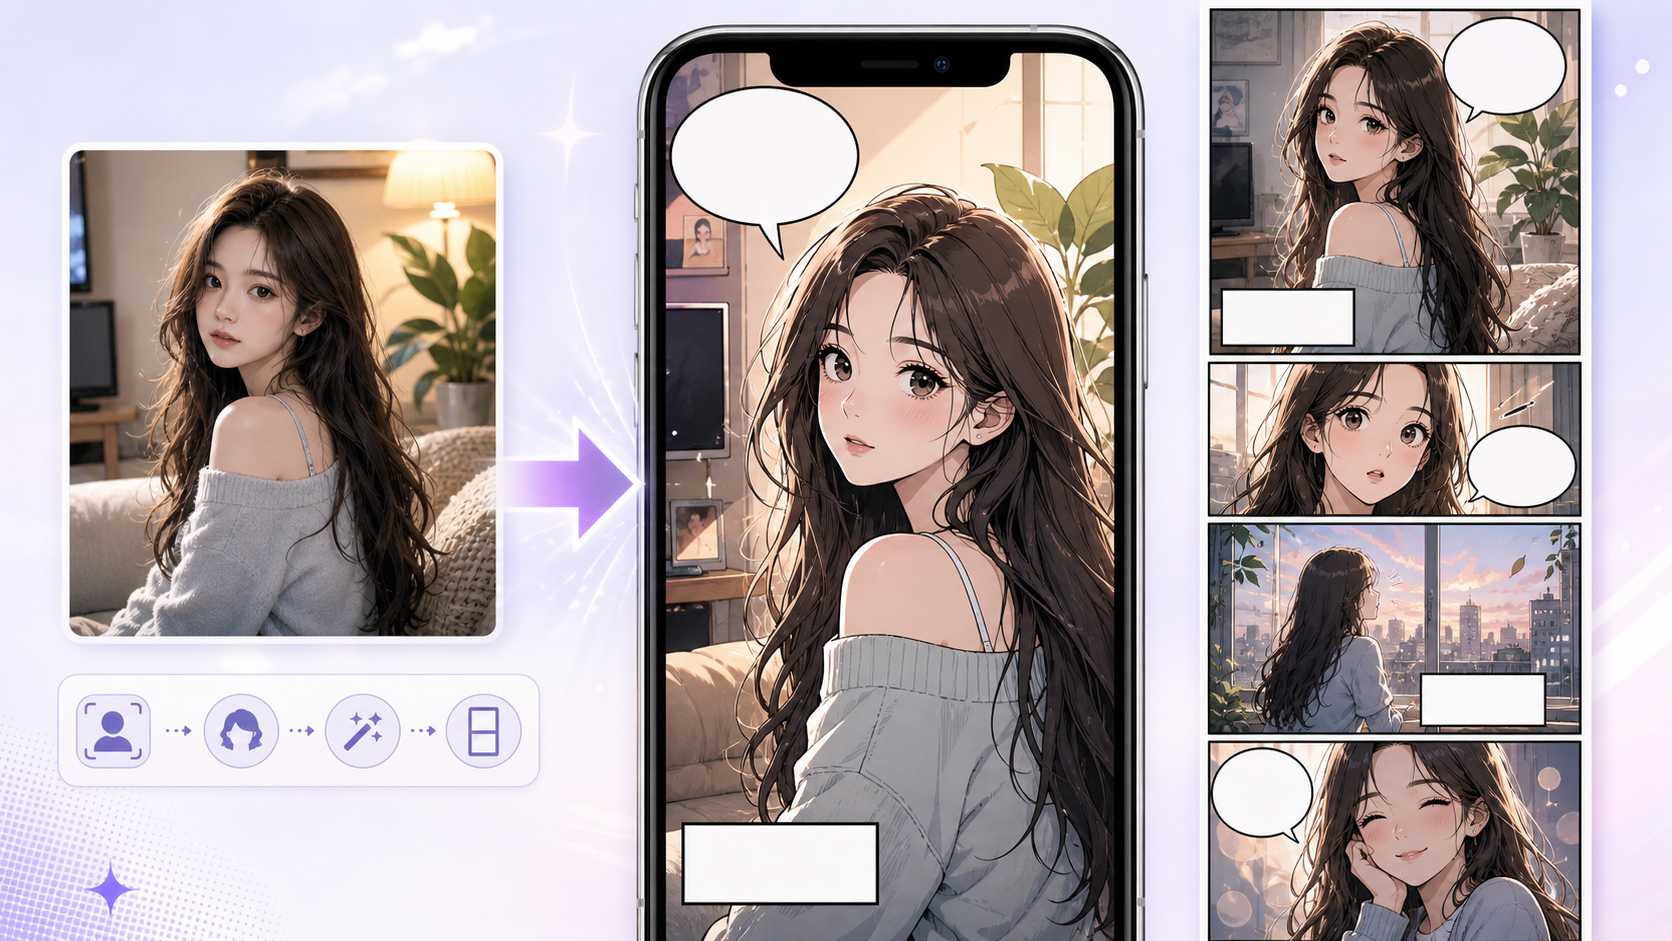
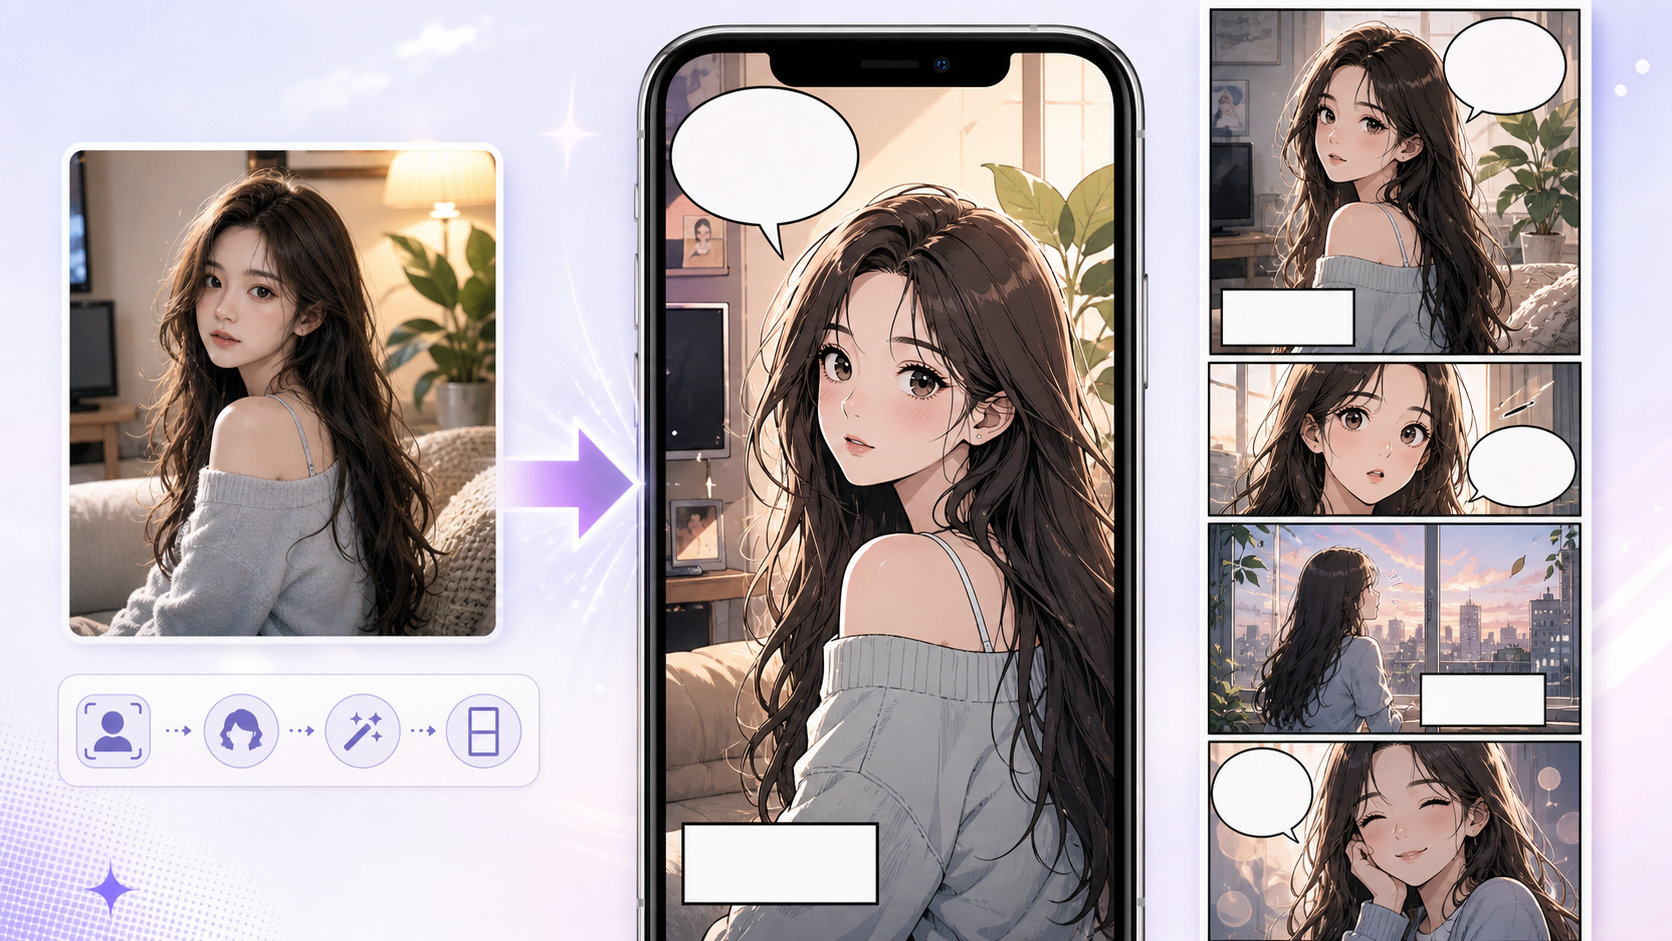
Use Photo to Webtoon to create webtoon-style scenes from photos and references with clearer prompts, story focus, visual direction, and production checks. A webtoon conversion is not just a softer cartoon look. It has to survive phone screens, vertical pacing, and episode presentation. Use this page when a photo should become a mobile-friendly webtoon asset. The main problem is keeping a horizontal photo composition that does not work in vertical reading. Webtoon adaptation often needs crop changes, cleaner faces, and more breathing room.
Photo to Webtoon should convert the image and rethink the crop for scroll reading.
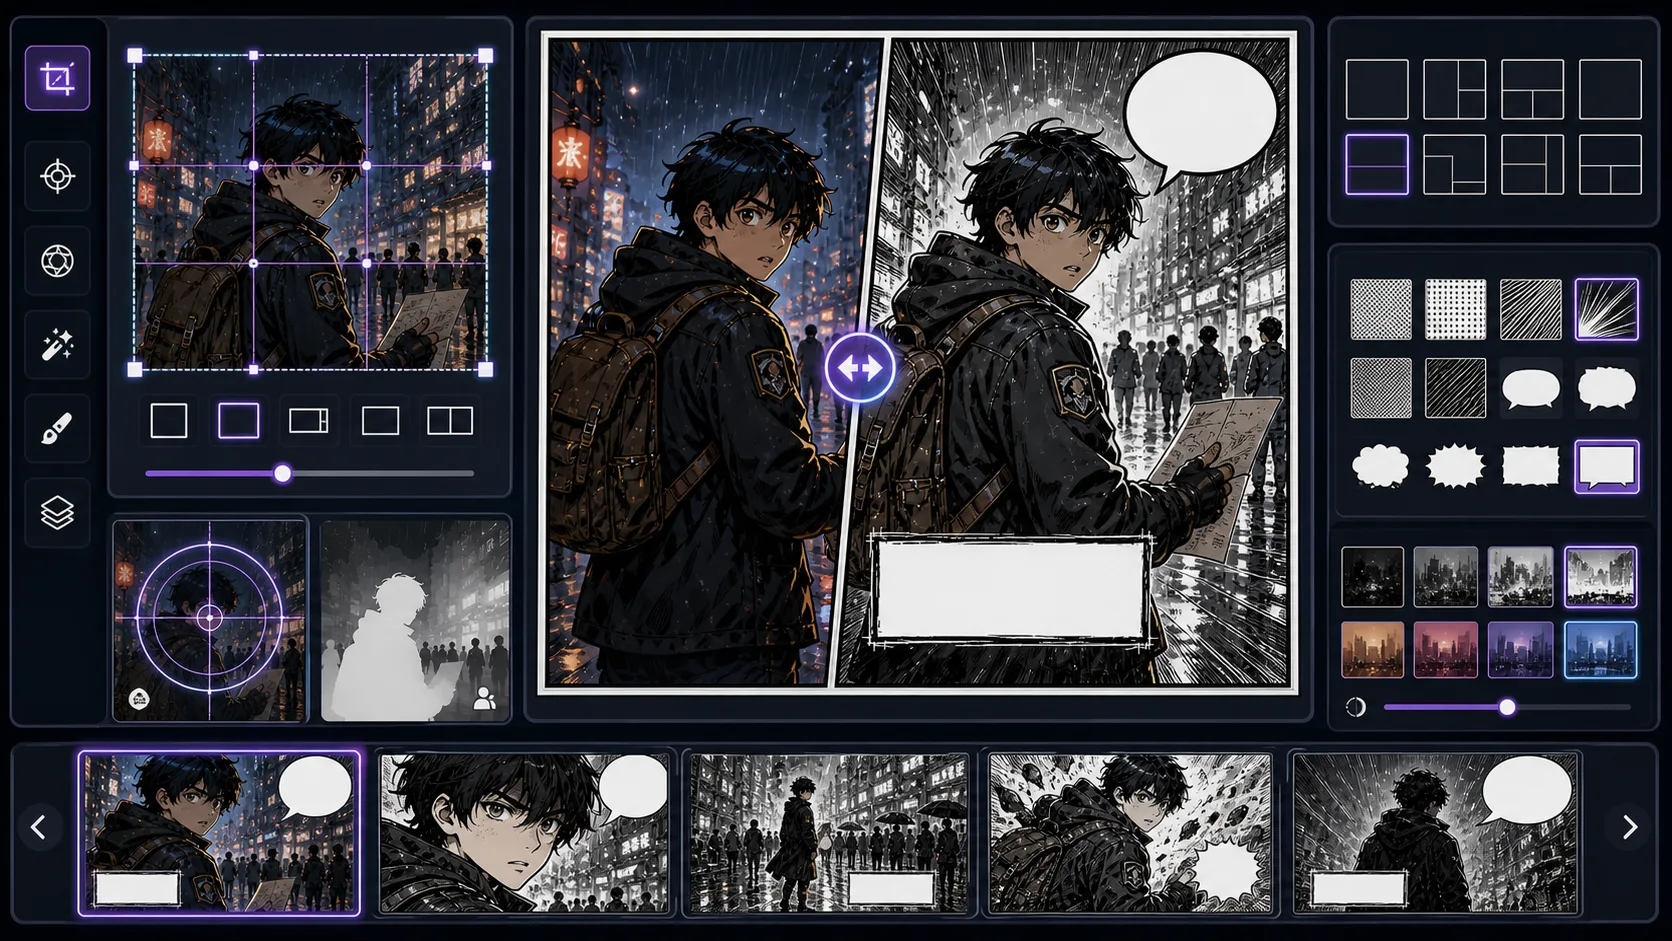
Convert a source image into one focused comic panel with story purpose, crop control, focal hierarchy, and clean lettering space. Image to Comic Panel is strongest when the creator already knows the decision they need to make. Use it for panel-ready comic images based on references, then judge the result by source fidelity, crop, lighting simplification, stylized edges, and whether the converted image still has a clear subject. That keeps the page grounded in image conversion rather than broad image generation. The honest limitation is this: source images rarely arrive with the right crop for sequential reading. In practice, the output may copy surface style while losing likeness, pose readability, or the reason the source was useful. Stronger results come from the first decision: choose which parts of the source image must be preserved and which can be stylized. The working constraint is: define the panel job and crop before asking for a style pass.
The workflow below is specific to Image to Comic Panel: define the image conversion decision, set the asset boundary, give visible evidence, then approve only the drafts that can move into a real next step.
6 focused tools
Editor tools cover the finishing layer around the artwork: panel layout, captions, logo direction, title treatment, background planning, and readable comic typography. They are especially helpful after the first image draft, when the question shifts from “can I make art?” to “can this become a page people can read?”
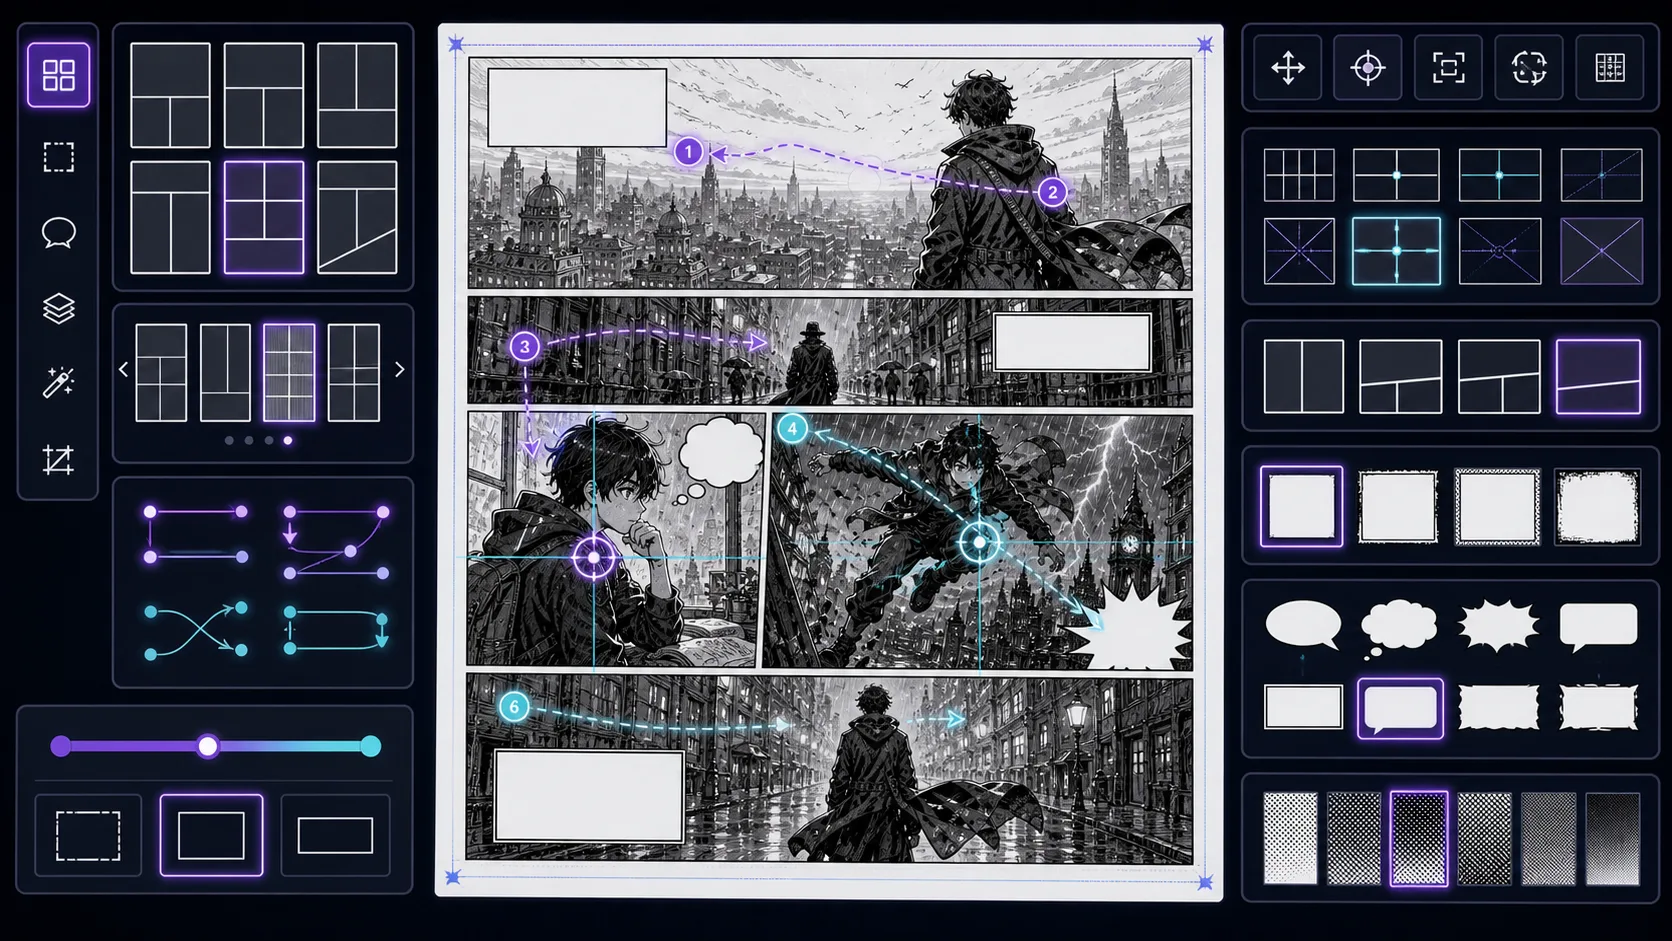
Plan comic, manga, and webtoon layouts with panel hierarchy, gutters, scroll rhythm, page turns, and story-weighted composition. Panel Layout Maker is strongest when the creator already knows the decision they need to make. Use it for panel grids, page rhythms, and layout concepts, then judge the result by focal point, crop, panel hierarchy, gutter logic, caption space, and how the image connects to the next beat. That keeps the page grounded in comic layout rather than broad image generation. The honest limitation is this: layout can look balanced while still giving the wrong story beat the most weight. In practice, the result may look polished but fail to guide the reader through action, reaction, and payoff. Stronger results come from the first decision: choose the panel job before choosing the style. The working constraint is: assign importance to each beat before choosing panel sizes.
The workflow below is specific to Panel Layout Maker: define the comic layout decision, set the asset boundary, give visible evidence, then approve only the drafts that can move into a real next step.
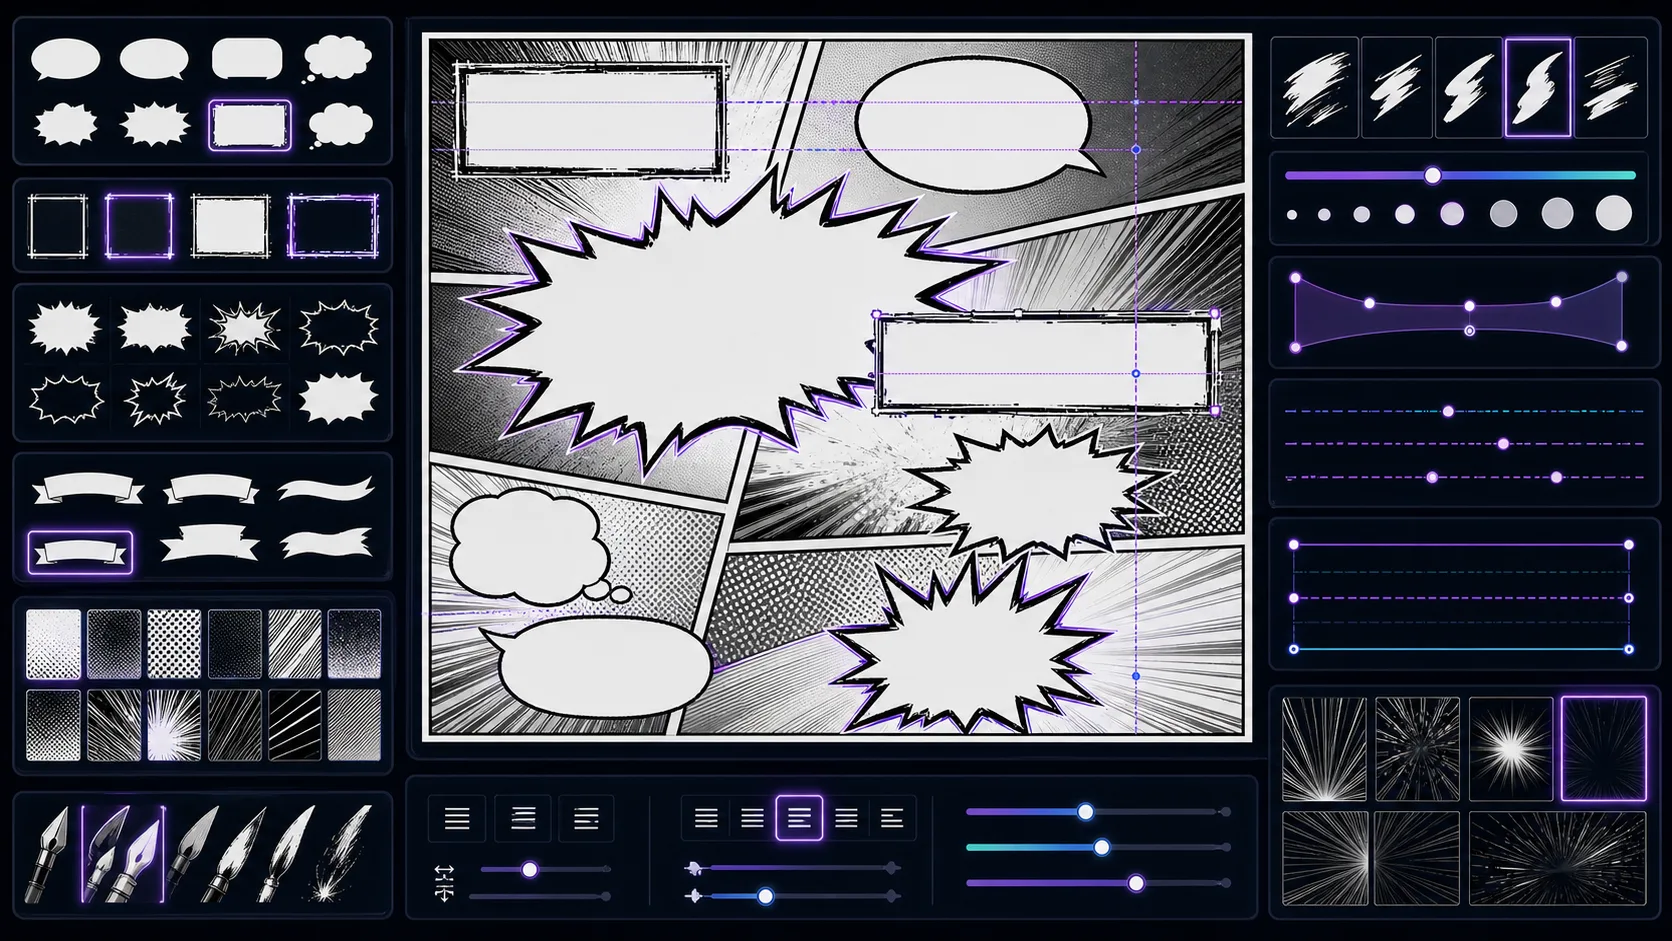
Explore comic lettering directions for titles, captions, and sound effects with readability checks for covers, panels, and thumbnails. Comic Font Generator is strongest when the creator already knows the decision they need to make. Use it for comic lettering directions and typography concepts, then judge the result by reading order, contrast, margin, bubble shape, title hierarchy, and whether the words can be edited later. That keeps the page grounded in lettering and finishing rather than broad image generation. The honest limitation is this: decorative fonts can become unreadable at mobile thumbnail size. In practice, the workflow can become harder to read if lettering is treated as decoration after the image is already crowded. Stronger results come from the first decision: decide where the reader's eye should travel before placing text. The working constraint is: test the font at the smallest size where readers will see it.
The workflow below is specific to Comic Font Generator: define the lettering and finishing decision, set the asset boundary, give visible evidence, then approve only the drafts that can move into a real next step.
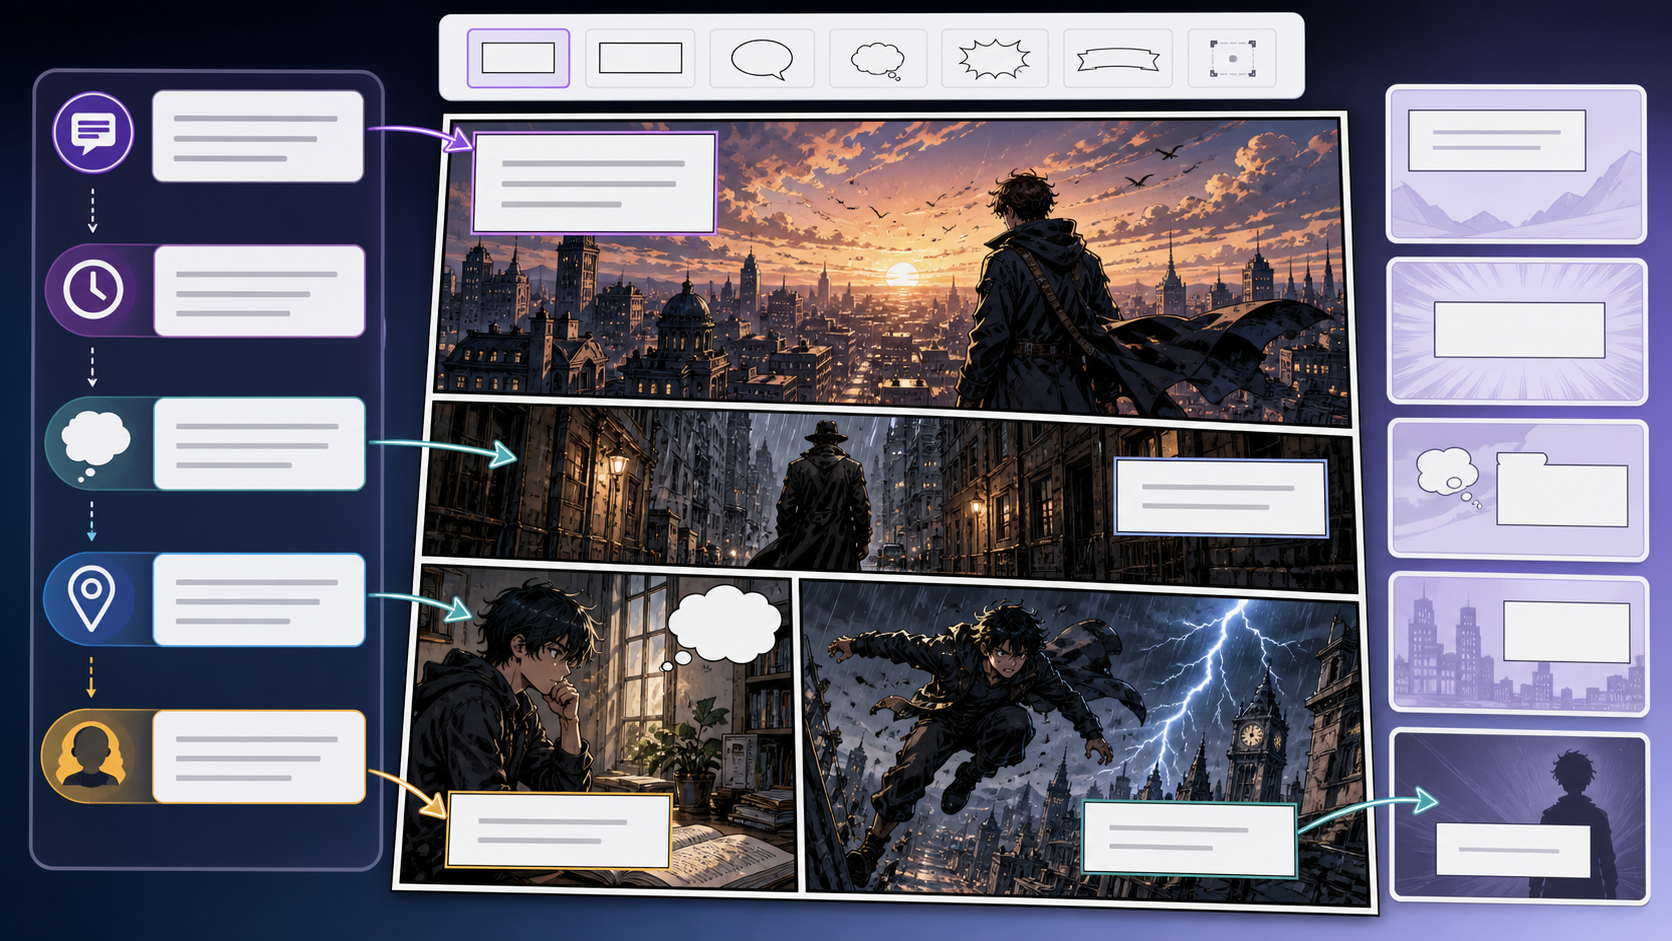
Use Comic Caption Generator to create captions that clarify story without overexplaining the image with clearer prompts, story focus, visual direction, and. Captions are not filler. In comics they can control time, reveal viewpoint, compress action, or create contrast with the image. Use this page when the panel needs a voice layer that makes the scene clearer or sharper. The common mistake is using captions to describe what the reader already sees. Strong captions add time, irony, memory, tone, or missing context.
Caption writing starts by deciding why the panel needs words at all.
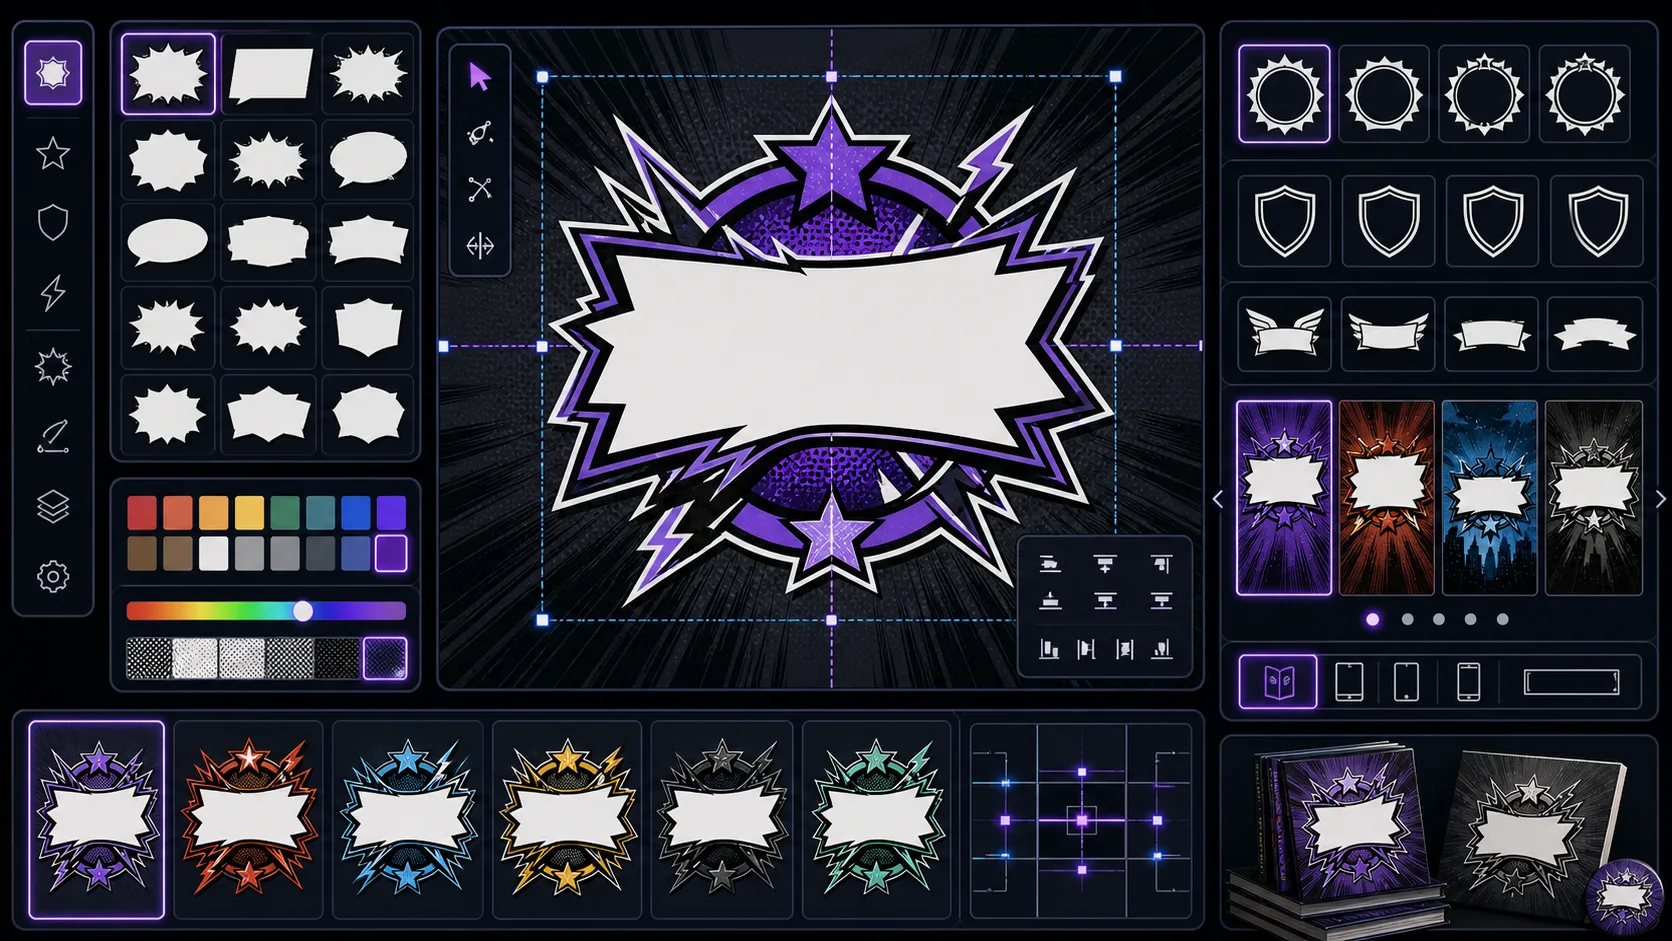
Create comic logo directions with genre signal, readable letter shapes, outline weight, symbol ideas, and cover-safe spacing. Comic Logo Generator is strongest when the creator already knows the decision they need to make. Use it for logo directions for comics, manga, and webtoons, then judge the result by reading order, contrast, margin, bubble shape, title hierarchy, and whether the words can be edited later. That keeps the page grounded in lettering and finishing rather than broad image generation. The honest limitation is this: a logo can look impressive full-size but collapse in a thumbnail. In practice, the workflow can become harder to read if lettering is treated as decoration after the image is already crowded. Stronger results come from the first decision: decide where the reader's eye should travel before placing text. The working constraint is: design for the smallest realistic placement first.
The workflow below is specific to Comic Logo Generator: define the lettering and finishing decision, set the asset boundary, give visible evidence, then approve only the drafts that can move into a real next step.
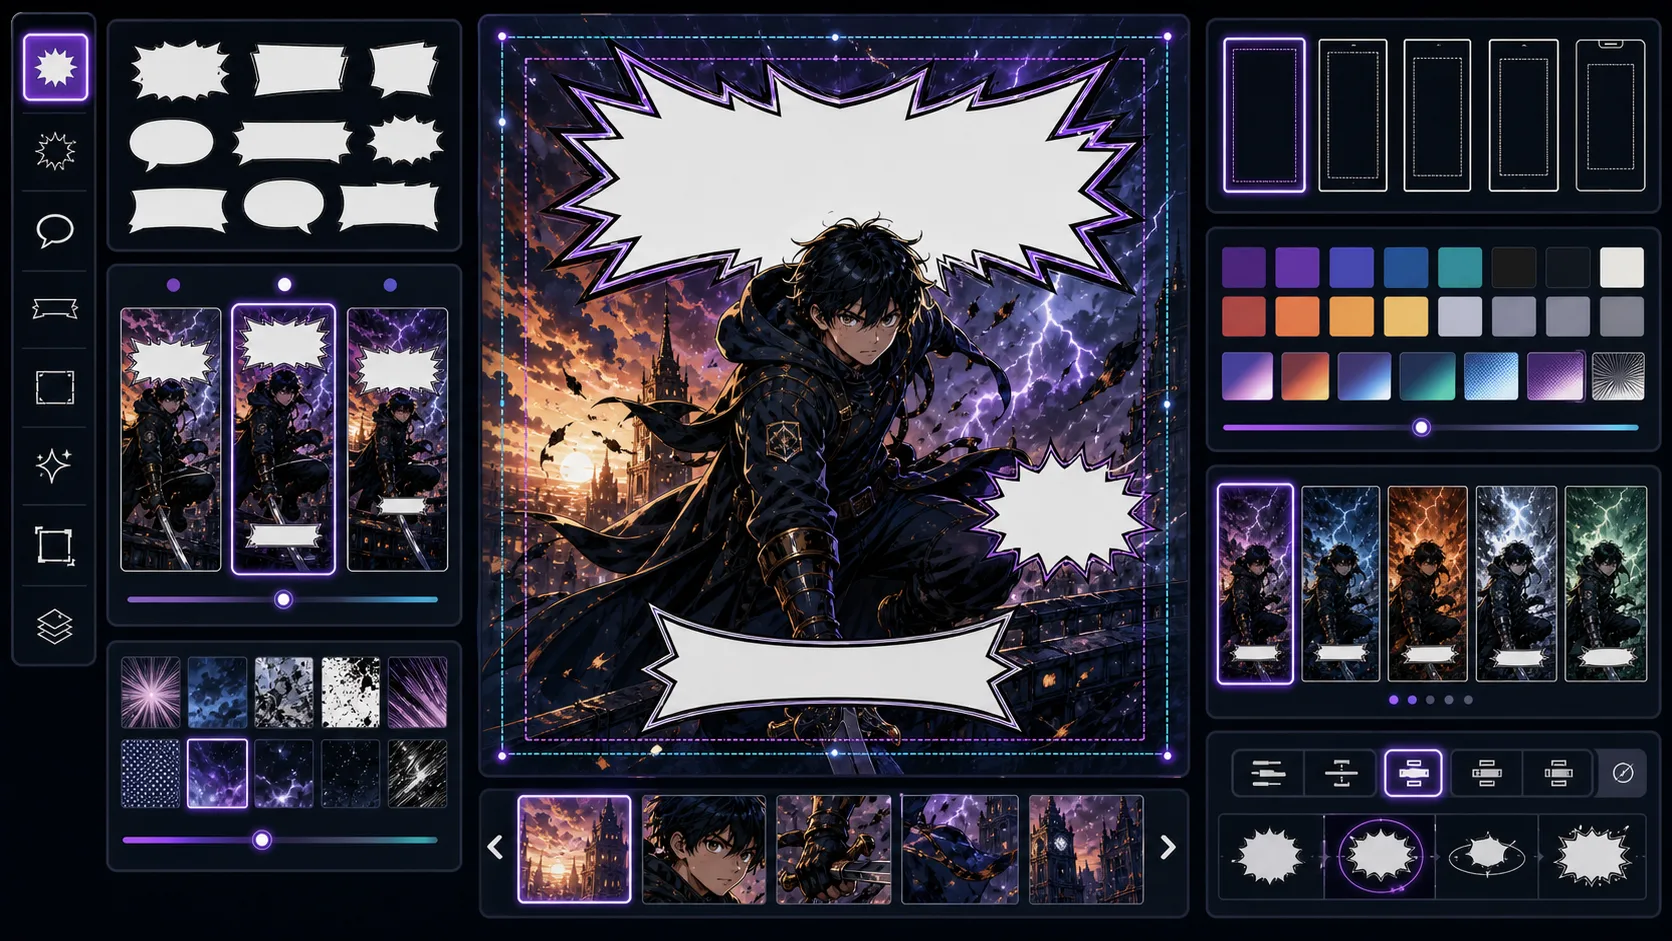
Generate comic titles, episode names, taglines, and cover copy that signal genre, conflict, and reader promise without clutter. Cover Title Generator is strongest when the creator already knows the decision they need to make. Use it for title ideas and cover copy directions, then judge the result by reading order, contrast, margin, bubble shape, title hierarchy, and whether the words can be edited later. That keeps the page grounded in lettering and finishing rather than broad image generation. The honest limitation is this: clever titles can fail if they do not tell the target reader what kind of story this is. In practice, the workflow can become harder to read if lettering is treated as decoration after the image is already crowded. Stronger results come from the first decision: decide where the reader's eye should travel before placing text. The working constraint is: make the title easy to read, say, and place on a cover.
The workflow below is specific to Cover Title Generator: define the lettering and finishing decision, set the asset boundary, give visible evidence, then approve only the drafts that can move into a real next step.
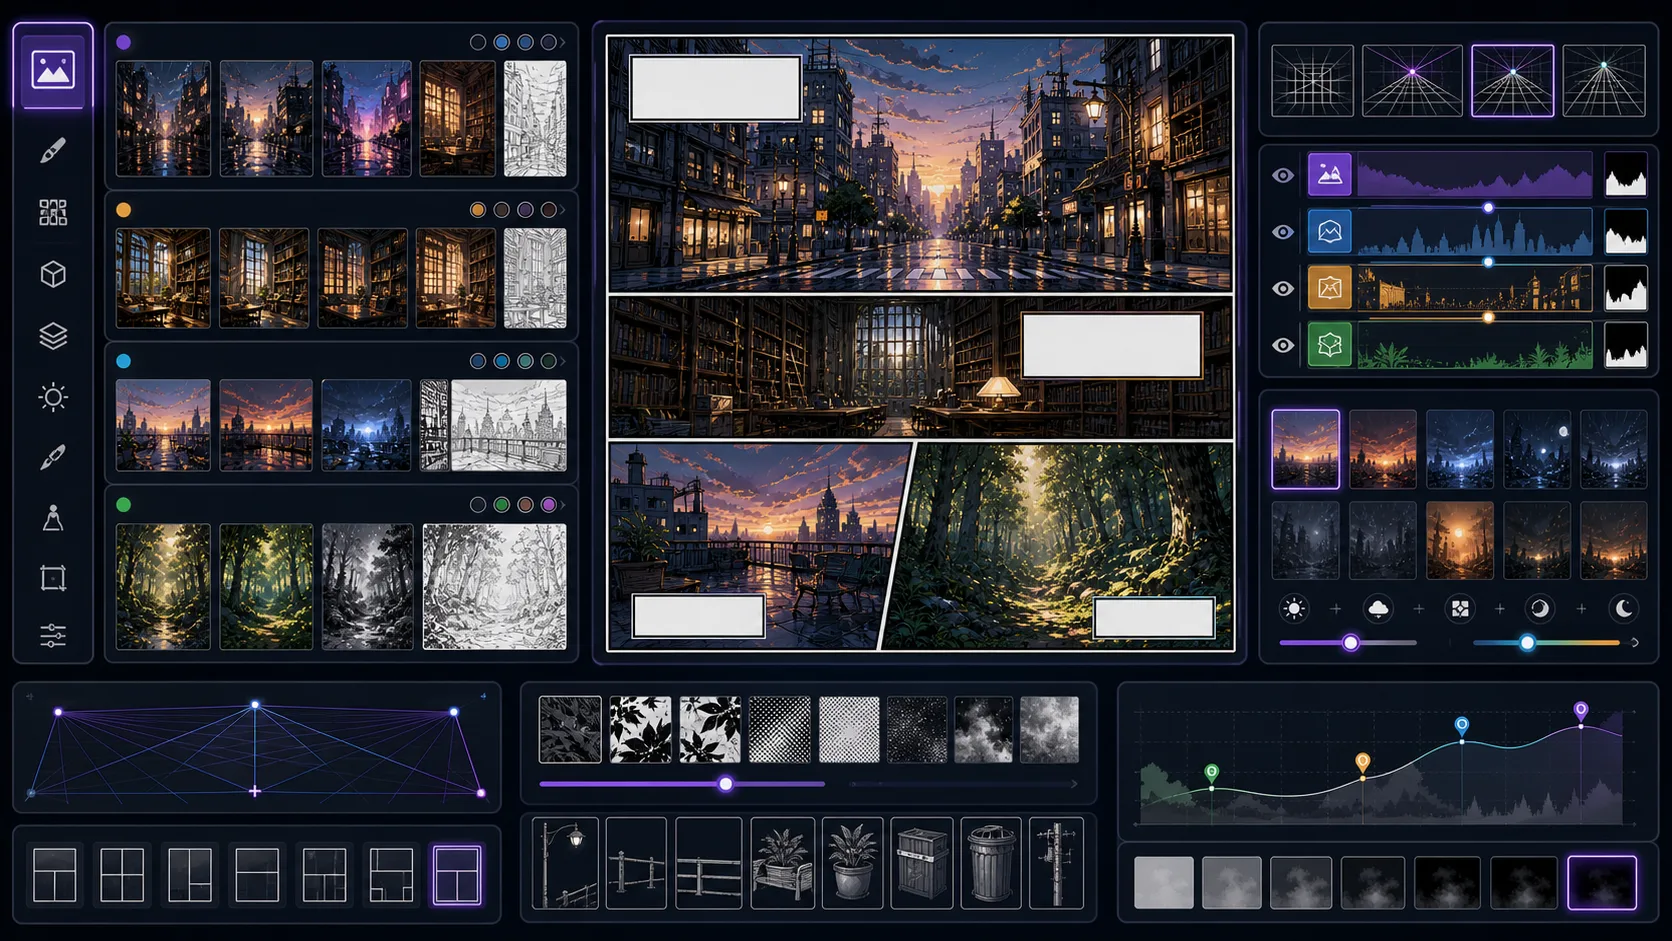
Create comic backgrounds with perspective, mood, environmental storytelling, and open character space for panels and establishing shots. Comic Background Generator is strongest when the creator already knows the decision they need to make. Use it for backgrounds and environments for comic scenes, then judge the result by story clarity, character intent, composition, text space, and whether the result can connect to another panel. That keeps the page grounded in comic generation rather than broad image generation. The honest limitation is this: busy backgrounds can pull attention away from faces and action. In practice, the model may produce an attractive image that does not function as part of a comic sequence. Stronger results come from the first decision: name the reader effect before describing art style. The working constraint is: design backgrounds with a clear foreground area for characters.
The workflow below is specific to Comic Background Generator: define the comic generation decision, set the asset boundary, give visible evidence, then approve only the drafts that can move into a real next step.
4 focused tools
Webtoon tools are built around vertical pacing, scroll rhythm, episode hooks, mobile readability, cover presentation, and long-format planning. They work best when you think in scenes, reveals, and screen-height beats instead of traditional print-page composition.
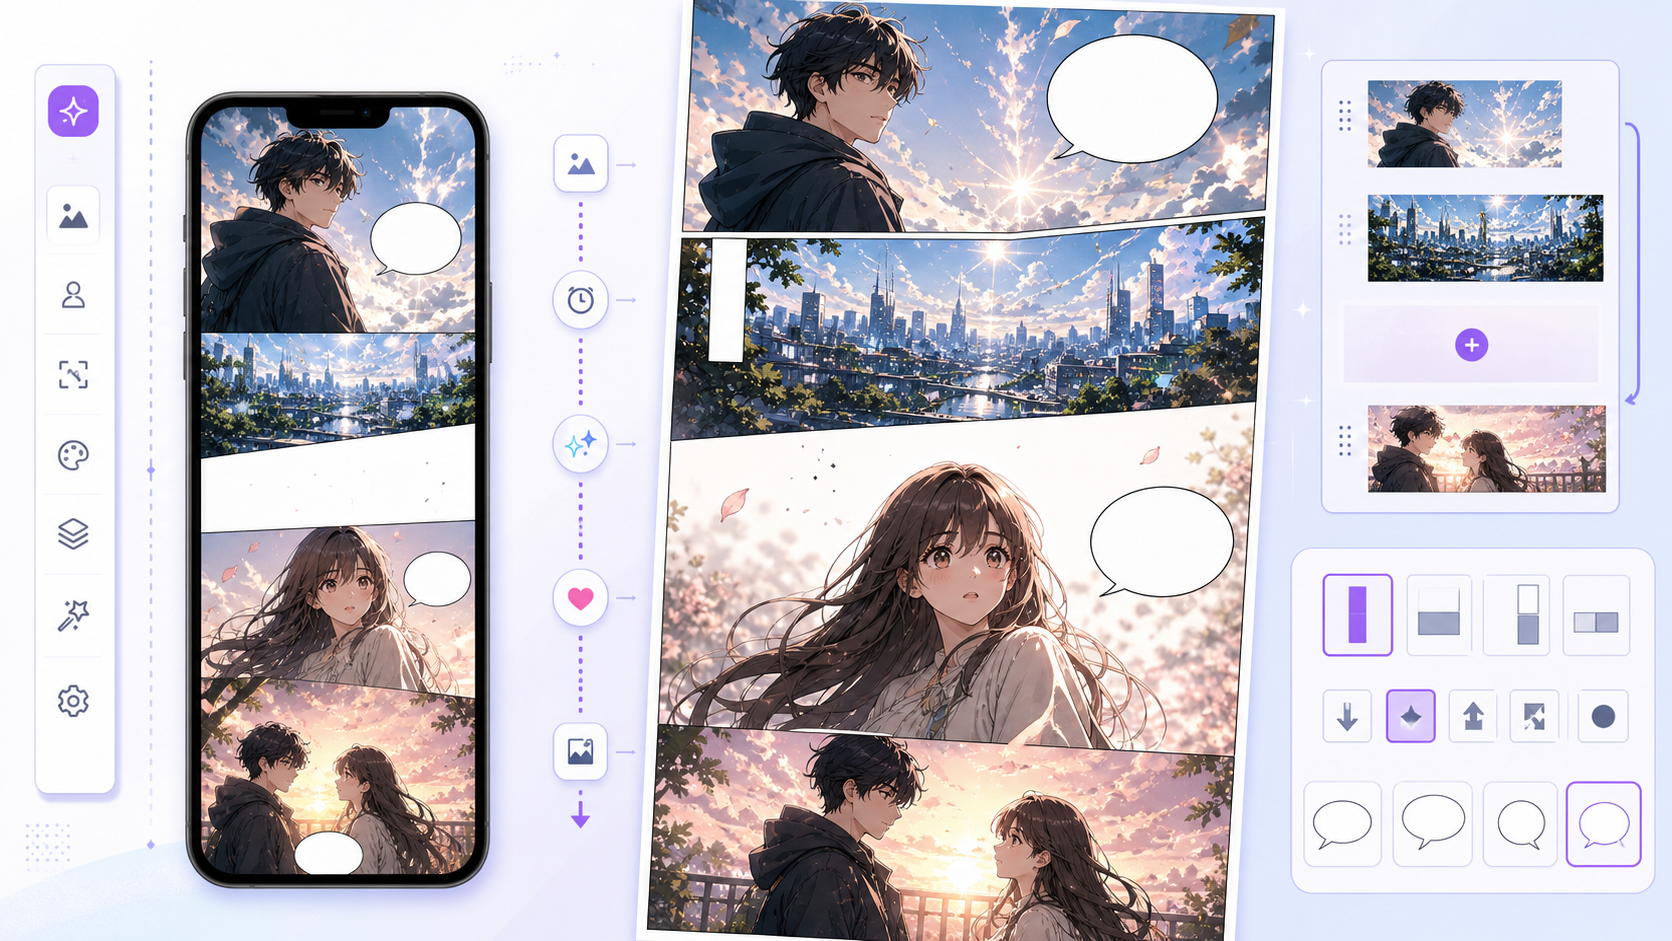
Create vertical webtoon panels from prompts with AI. Plan scroll pacing, readable characters, episode beats, and mobile-ready scenes in ComicsAI. AI Webtoon Generator is for prompt-to-webtoon work: a tall panel, scene beat, reaction, reveal, or episode asset. It is not only a webtoon style filter. The page helps turn a written direction into a vertical comic draft that can move into layout, captions, dialogue, or episode planning. A webtoon page fails when it is treated like a wide comic image. The useful draft has phone readability, vertical timing, and space for dialogue. If you start from an existing photo, use Photo to Webtoon; if you need episode structure, use Webtoon Episode Planner.
Start with the real creative job: turn a written scene into a readable vertical panel that can belong to an episode.
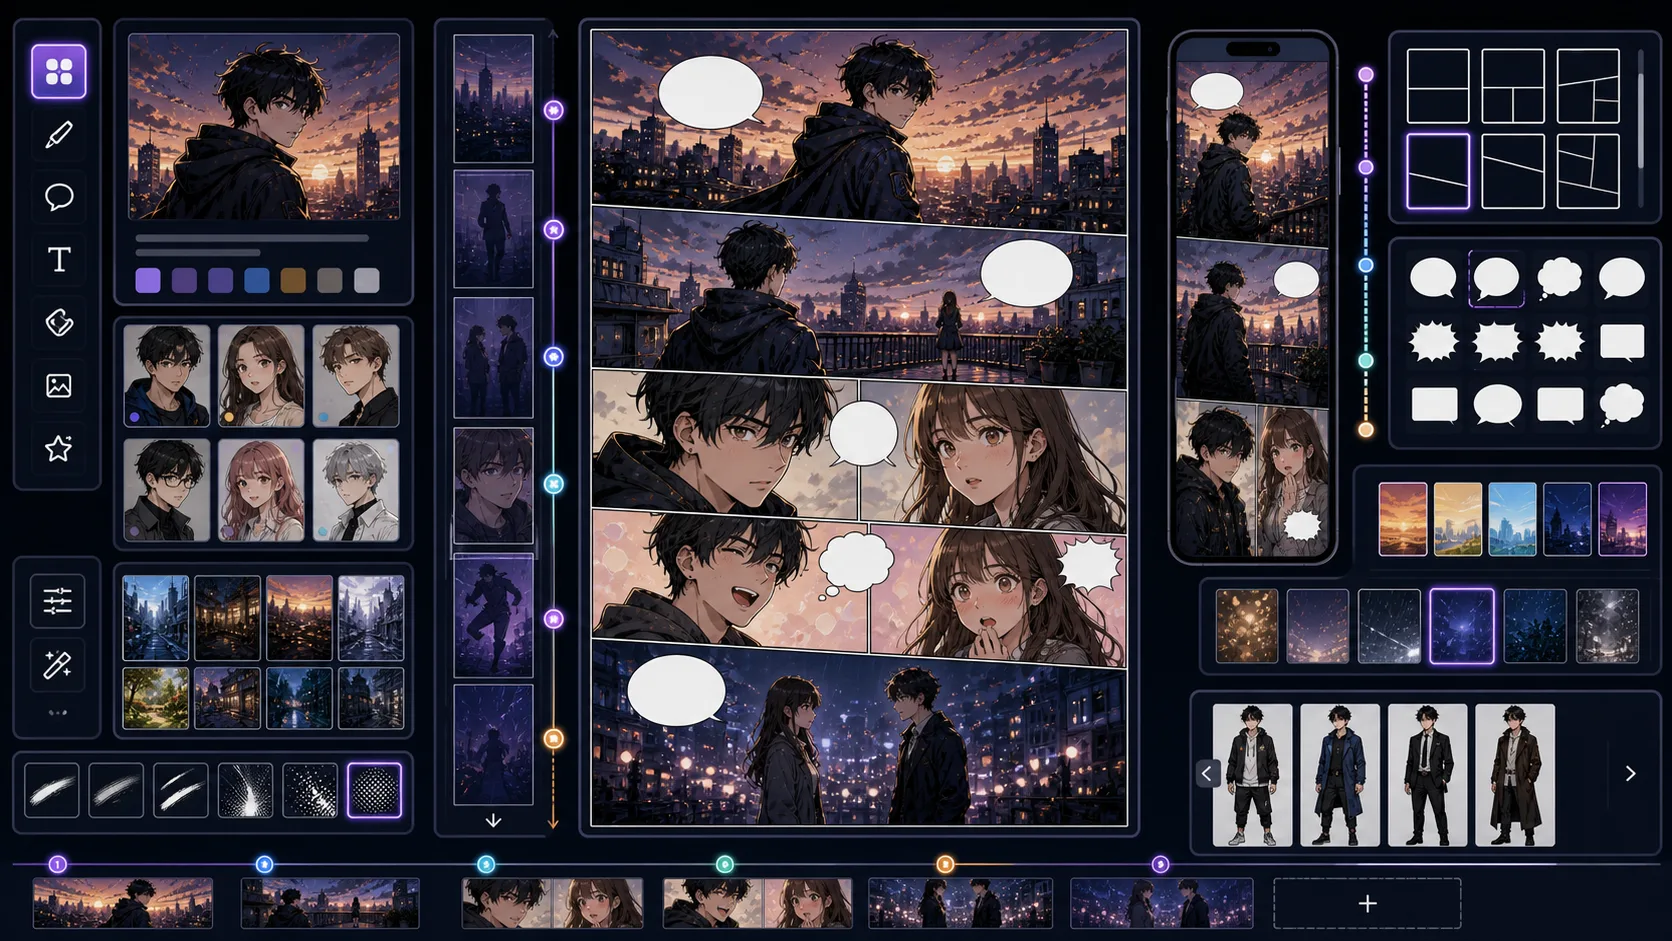
Plan webtoon scenes, panels, hooks, and scroll-friendly episode drafts with mobile-readable expressions and vertical pacing. Webtoon Maker is strongest when the creator already knows the decision they need to make. Use it for webtoon scenes, panels, and episode drafts, then judge the result by mobile crop, breathing space, reveal timing, panel height, and whether the reader has a reason to keep scrolling. That keeps the page grounded in vertical episode production rather than broad image generation. The honest limitation is this: a webtoon can feel like separate images if the scroll rhythm is not planned. In practice, a strong image may still fail if it ignores vertical rhythm or places the payoff too early in the scroll. Stronger results come from the first decision: choose the scroll beat: reveal, pause, reaction, impact, transition, or cliffhanger. The working constraint is: plan how each panel connects to the next down the page.
The workflow below is specific to Webtoon Maker: define the vertical episode production decision, set the asset boundary, give visible evidence, then approve only the drafts that can move into a real next step.
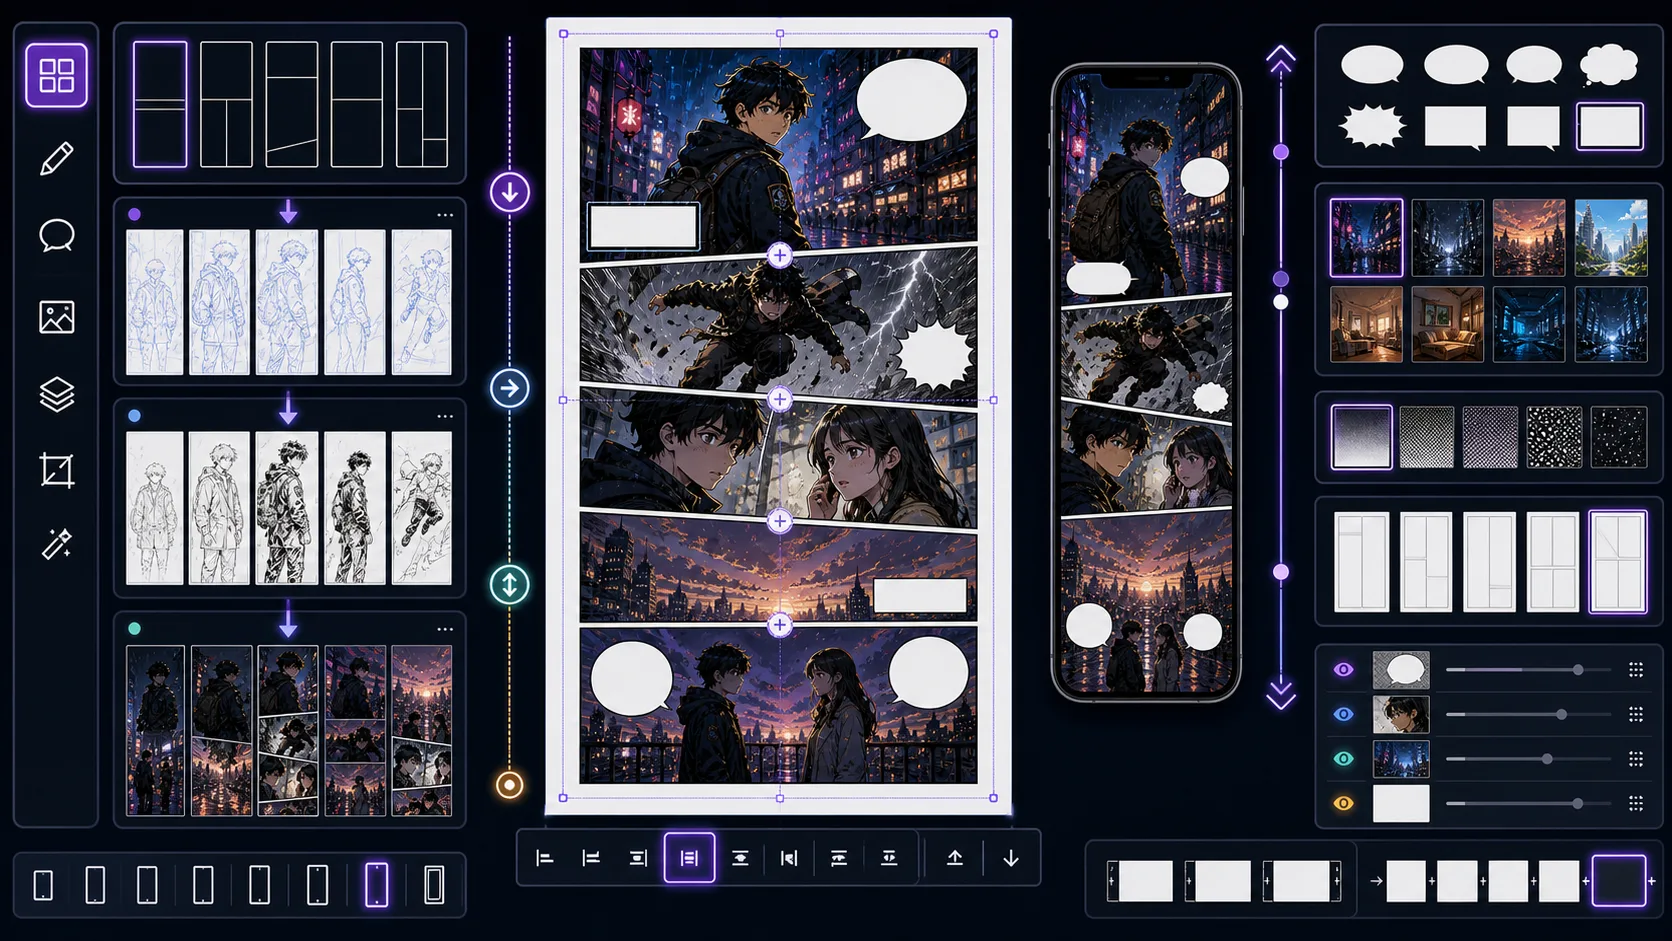
Turn story beats into vertical comic sequences with scroll gaps, reveal timing, mobile crops, and panel transitions for phone readers. Vertical Comic Maker is strongest when the creator already knows the decision they need to make. Use it for vertical comic sequences and panel plans, then judge the result by mobile crop, breathing space, reveal timing, panel height, and whether the reader has a reason to keep scrolling. That keeps the page grounded in vertical episode production rather than broad image generation. The honest limitation is this: stacking panels without pacing makes a vertical comic feel flat. In practice, a strong image may still fail if it ignores vertical rhythm or places the payoff too early in the scroll. Stronger results come from the first decision: choose the scroll beat: reveal, pause, reaction, impact, transition, or cliffhanger. The working constraint is: use vertical space to control surprise, silence, and action flow.
The workflow below is specific to Vertical Comic Maker: define the vertical episode production decision, set the asset boundary, give visible evidence, then approve only the drafts that can move into a real next step.
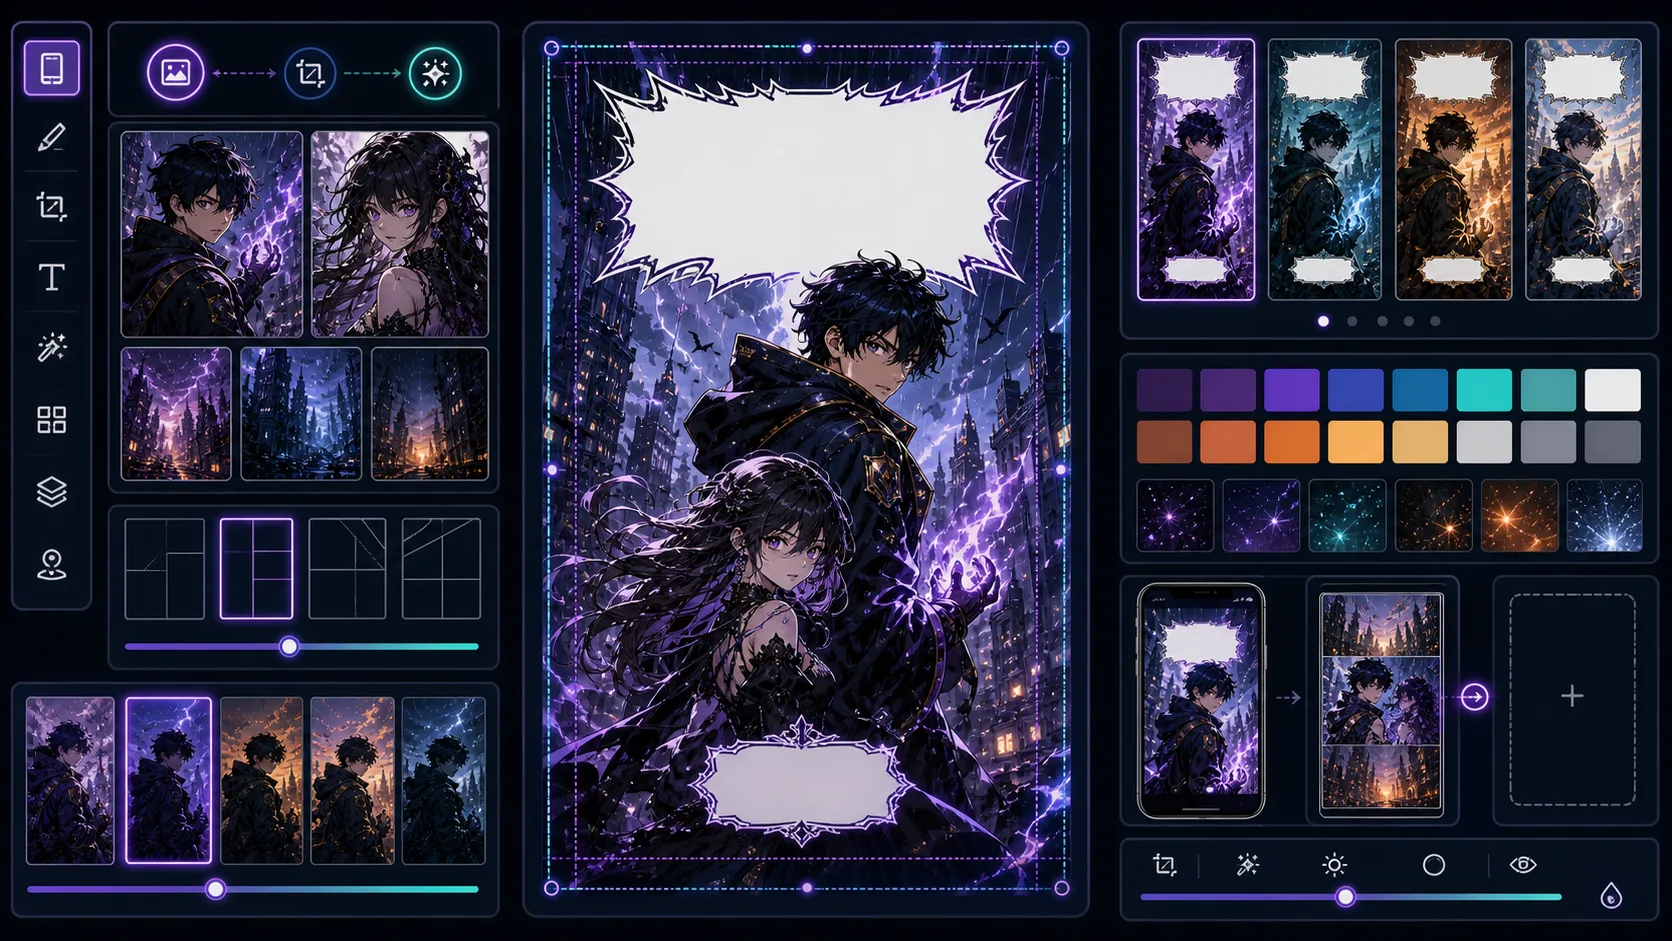
Create webtoon cover concepts with large faces, title-safe areas, strong genre signals, and thumbnail-readable color contrast. Webtoon Cover Generator is strongest when the creator already knows the decision they need to make. Use it for vertical cover concepts and mobile thumbnails, then judge the result by mobile crop, breathing space, reveal timing, panel height, and whether the reader has a reason to keep scrolling. That keeps the page grounded in vertical episode production rather than broad image generation. The honest limitation is this: detailed cover art can become unreadable at small mobile sizes. In practice, a strong image may still fail if it ignores vertical rhythm or places the payoff too early in the scroll. Stronger results come from the first decision: choose the scroll beat: reveal, pause, reaction, impact, transition, or cliffhanger. The working constraint is: optimize the face, title area, and color contrast for thumbnail use.
The workflow below is specific to Webtoon Cover Generator: define the vertical episode production decision, set the asset boundary, give visible evidence, then approve only the drafts that can move into a real next step.
7 focused tools
Story tools support the writing layer behind the visuals: scripts, prompts, captions, translations, dialogue, and episode planning. They help turn vague story material into production-ready inputs that image tools can actually use without overloading one panel with too many actions.
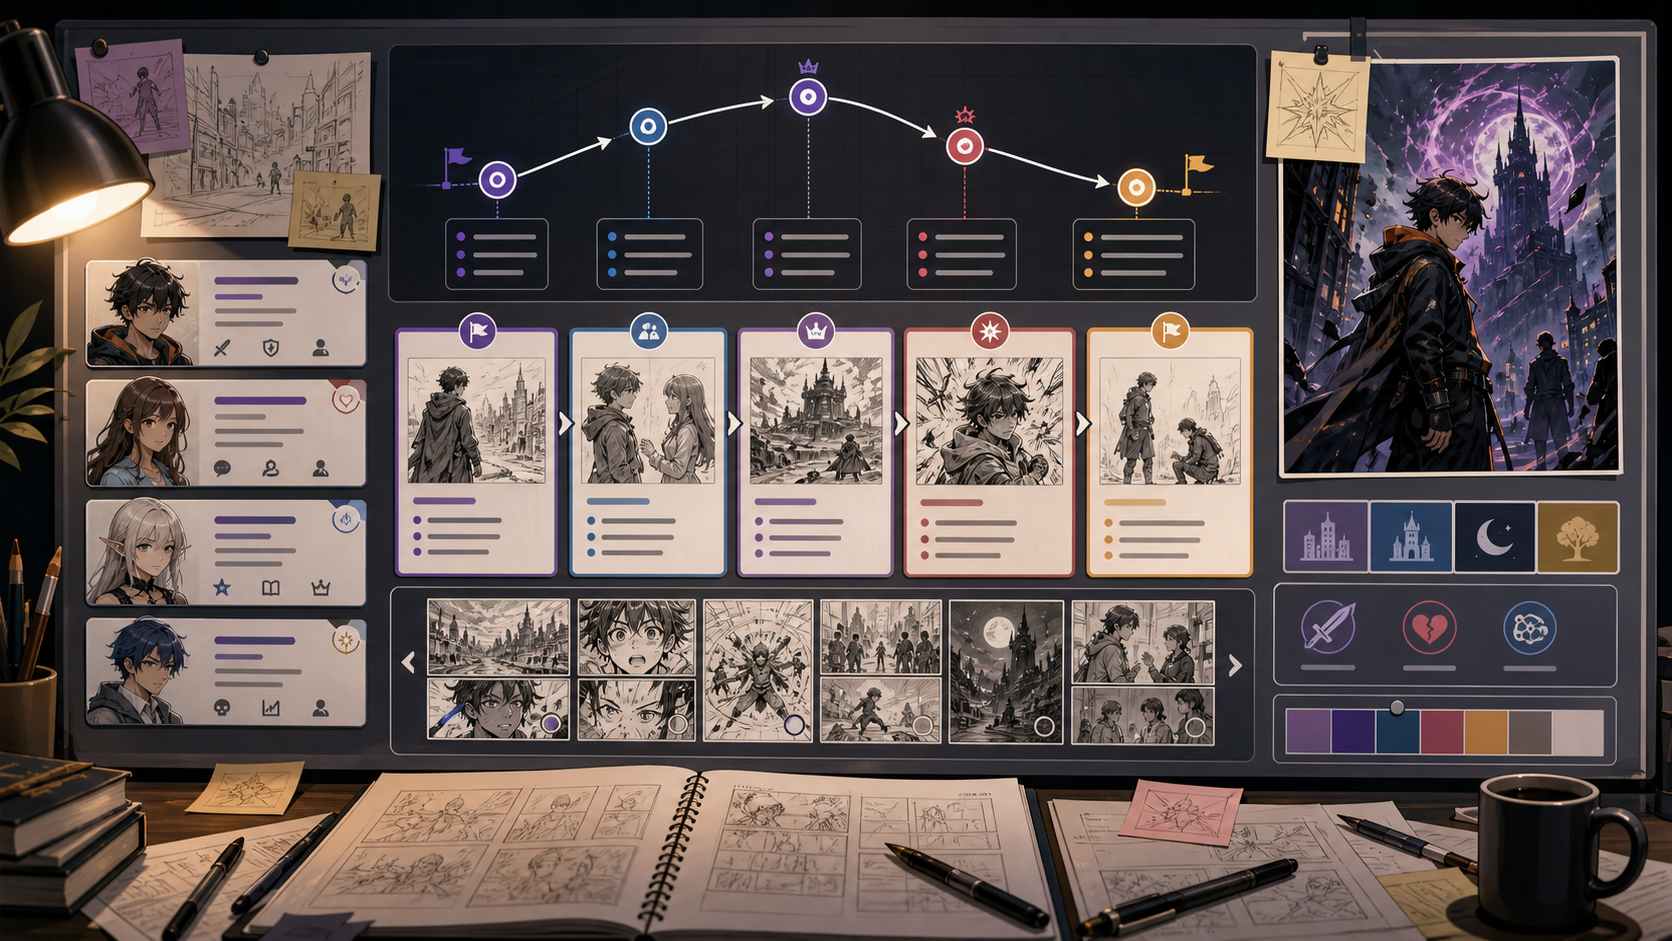
Create comic plots with Comic Story Generator. Plan the story job, guide the visual direction, and turn focused prompts into comic-ready drafts inside ComicsAI. This page is for story structure, not generic fiction. A comic story must become images. The strongest output gives you scenes that can be staged, expressions that can be drawn, and turning points that deserve panels. The risk is producing a plot summary with no visual plan. A usable comic story should identify what the reader sees at key moments.
Comic story writing should move from premise to visual beats as quickly as possible.
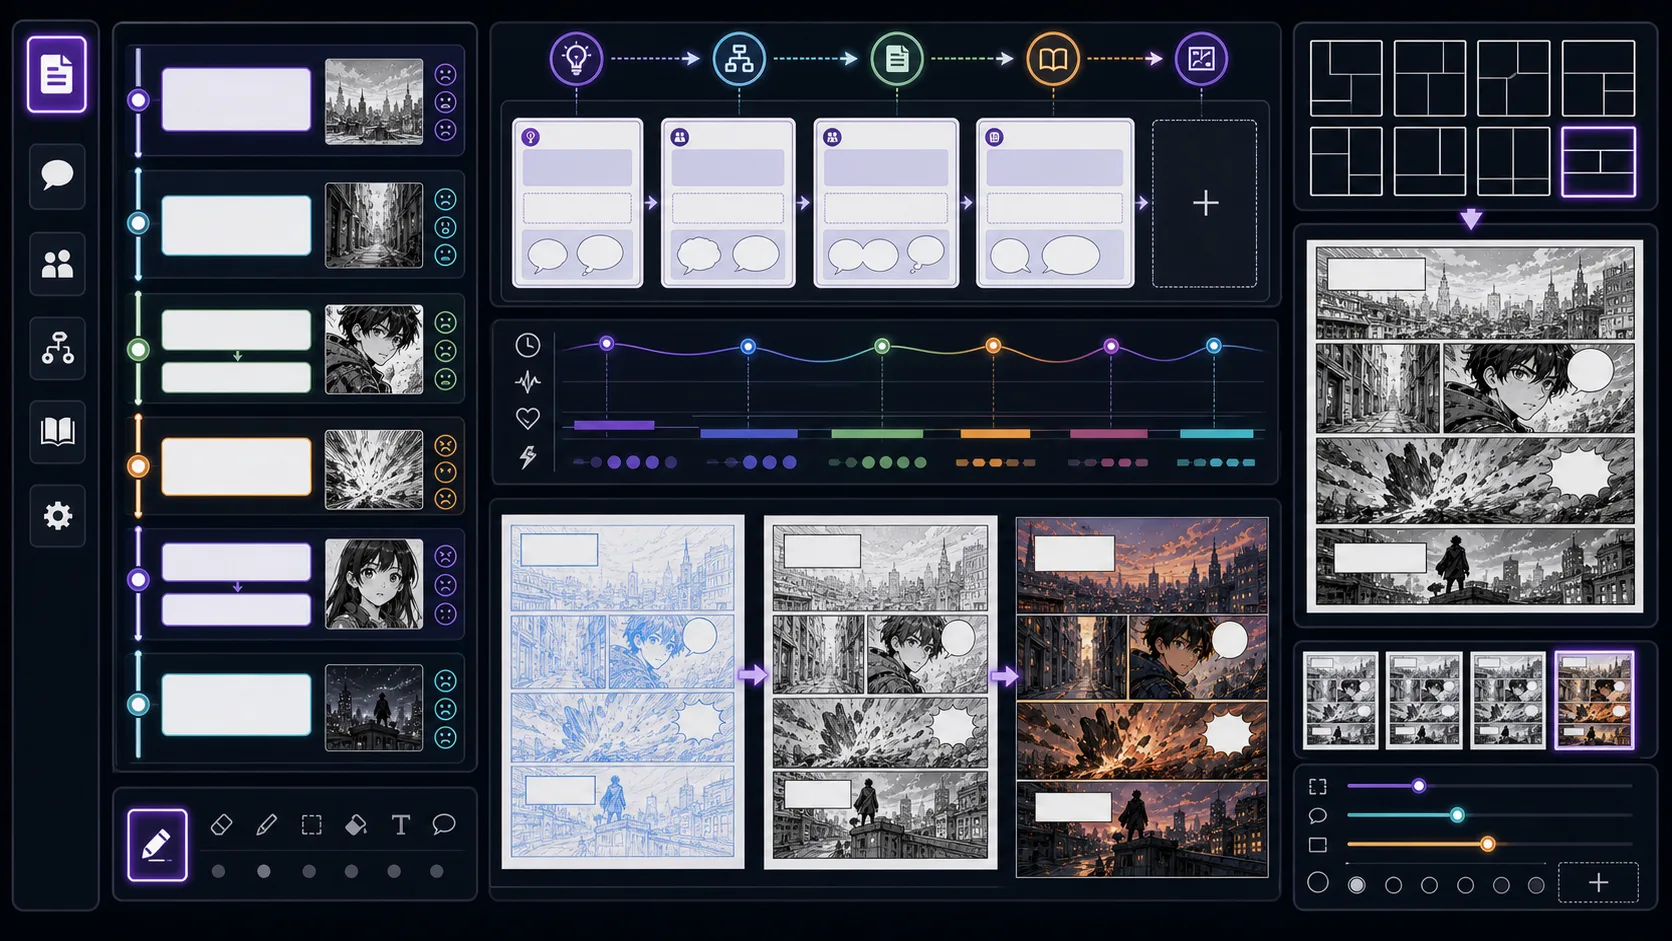
Write manga scripts with panel notes, dialogue, silent beats, page turns, and visible action that artists or AI tools can use. Manga Script Generator is strongest when the creator already knows the decision they need to make. Use it for manga scripts with panel notes and dialogue, then judge the result by voice, pacing, line length, scene logic, and whether the words leave room for the art to do work. That keeps the page grounded in writing and adaptation rather than broad image generation. The honest limitation is this: a script written like prose can overload panels with invisible information. In practice, the result may sound fluent while ignoring panel context, bubble length, or the speaker's emotional state. Stronger results come from the first decision: decide what the reader must understand before polishing wording. The working constraint is: write what can be seen, spoken, or implied through panel order.
The workflow below is specific to Manga Script Generator: define the writing and adaptation decision, set the asset boundary, give visible evidence, then approve only the drafts that can move into a real next step.
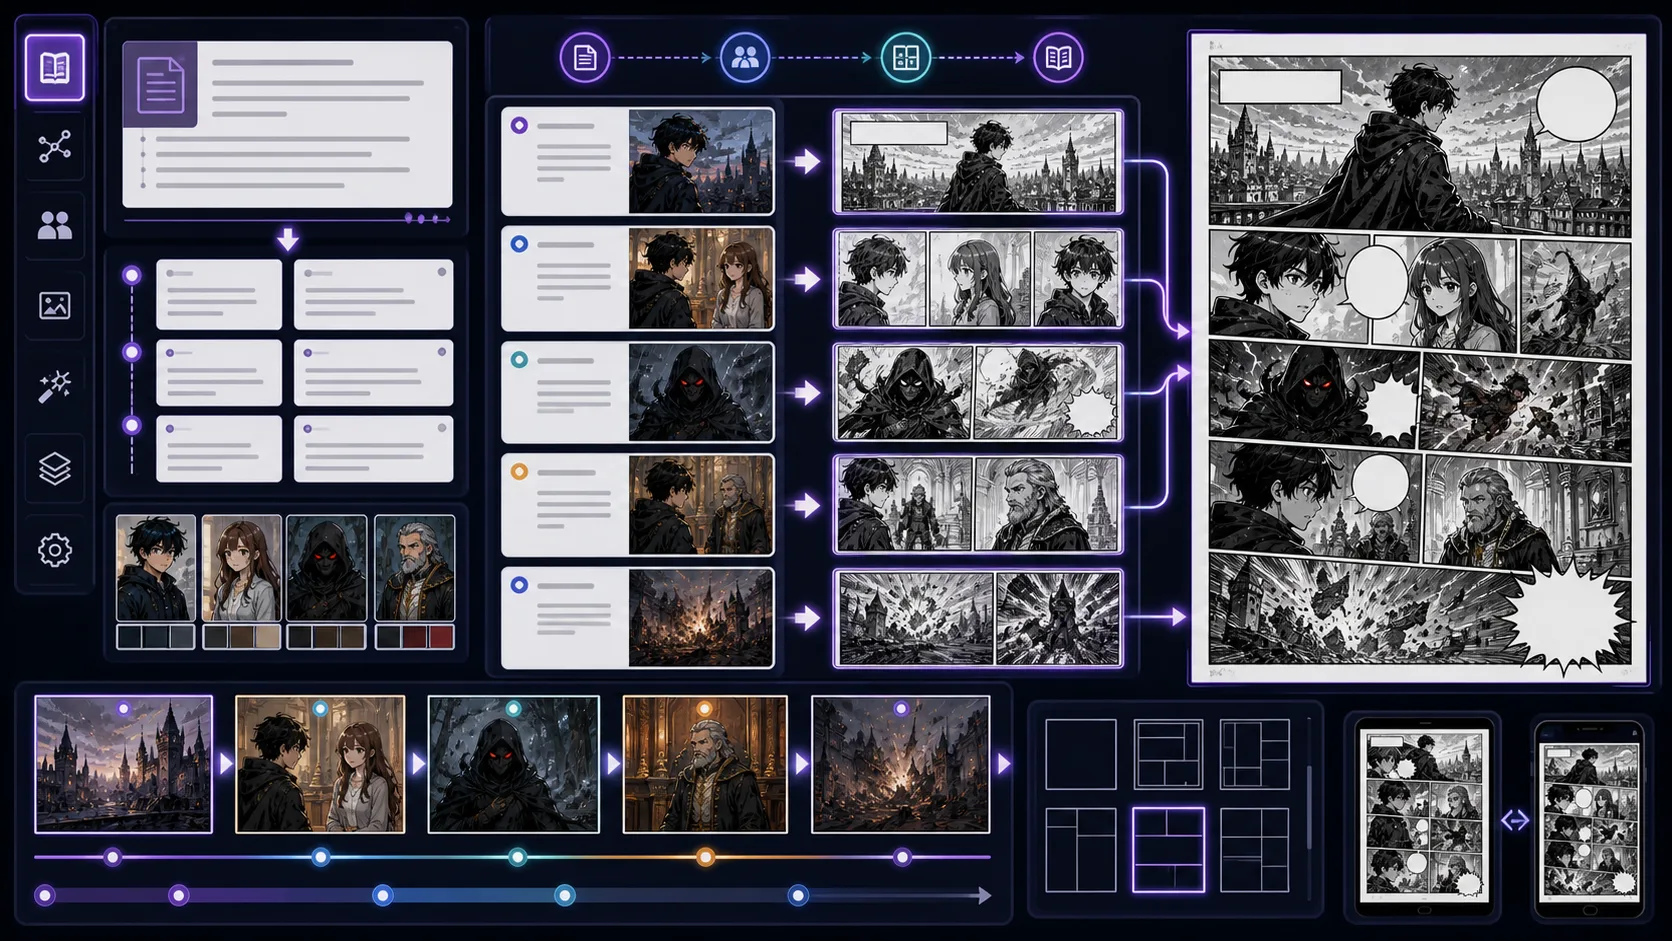
Break prose or story notes into drawable comic beats, panel plans, scene transitions, and adaptation notes for visual production. Story to Comic is strongest when the creator already knows the decision they need to make. Use it for panel plans, scene beats, and comic adaptation notes, then judge the result by voice, pacing, line length, scene logic, and whether the words leave room for the art to do work. That keeps the page grounded in writing and adaptation rather than broad image generation. The honest limitation is this: copying prose directly can create panels with too many ideas at once. In practice, the result may sound fluent while ignoring panel context, bubble length, or the speaker's emotional state. Stronger results come from the first decision: decide what the reader must understand before polishing wording. The working constraint is: adapt the story by choosing the visible change in each beat.
The workflow below is specific to Story to Comic: define the writing and adaptation decision, set the asset boundary, give visible evidence, then approve only the drafts that can move into a real next step.
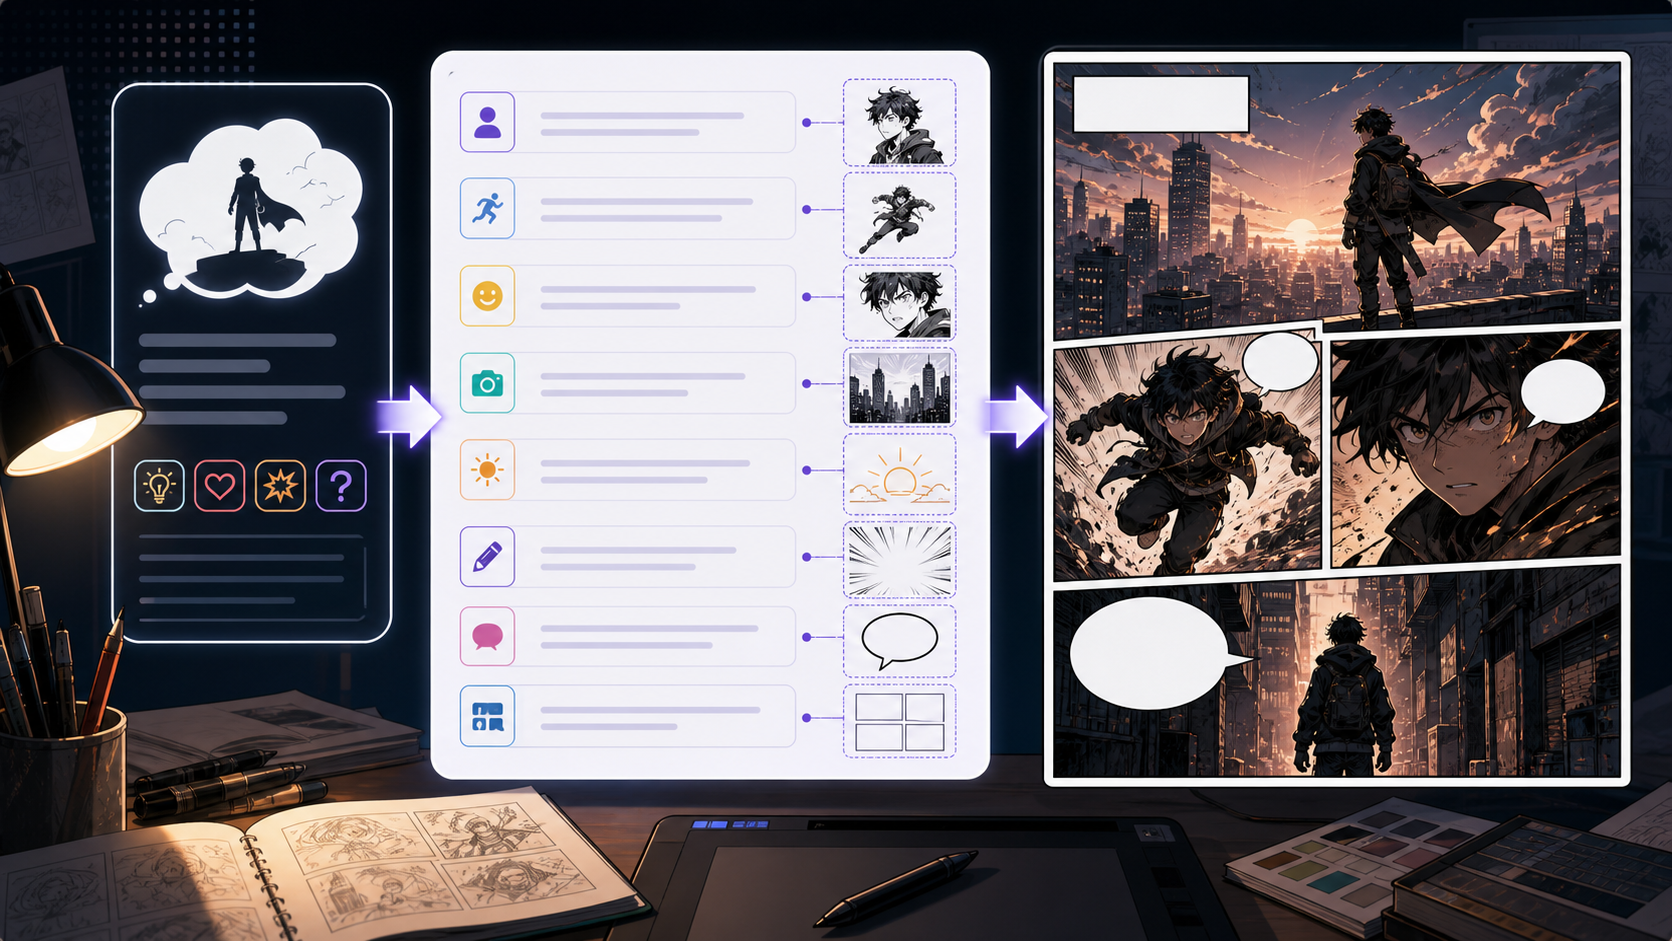
Use Comic Prompt Generator to create structured prompts for panels with clearer prompts, story focus, visual direction, and production checks for ComicsAI. A good prompt is a production instruction. It tells the model what must be visible and gives the creator a standard for judging the result. Use this page when the idea is clear but the prompt keeps producing random or unfocused images. The weak prompt usually lists adjectives. The stronger prompt defines the panel job, visible action, focal point, style, and what should be left open for captions or dialogue.
Prompt writing should turn intention into visible evidence.
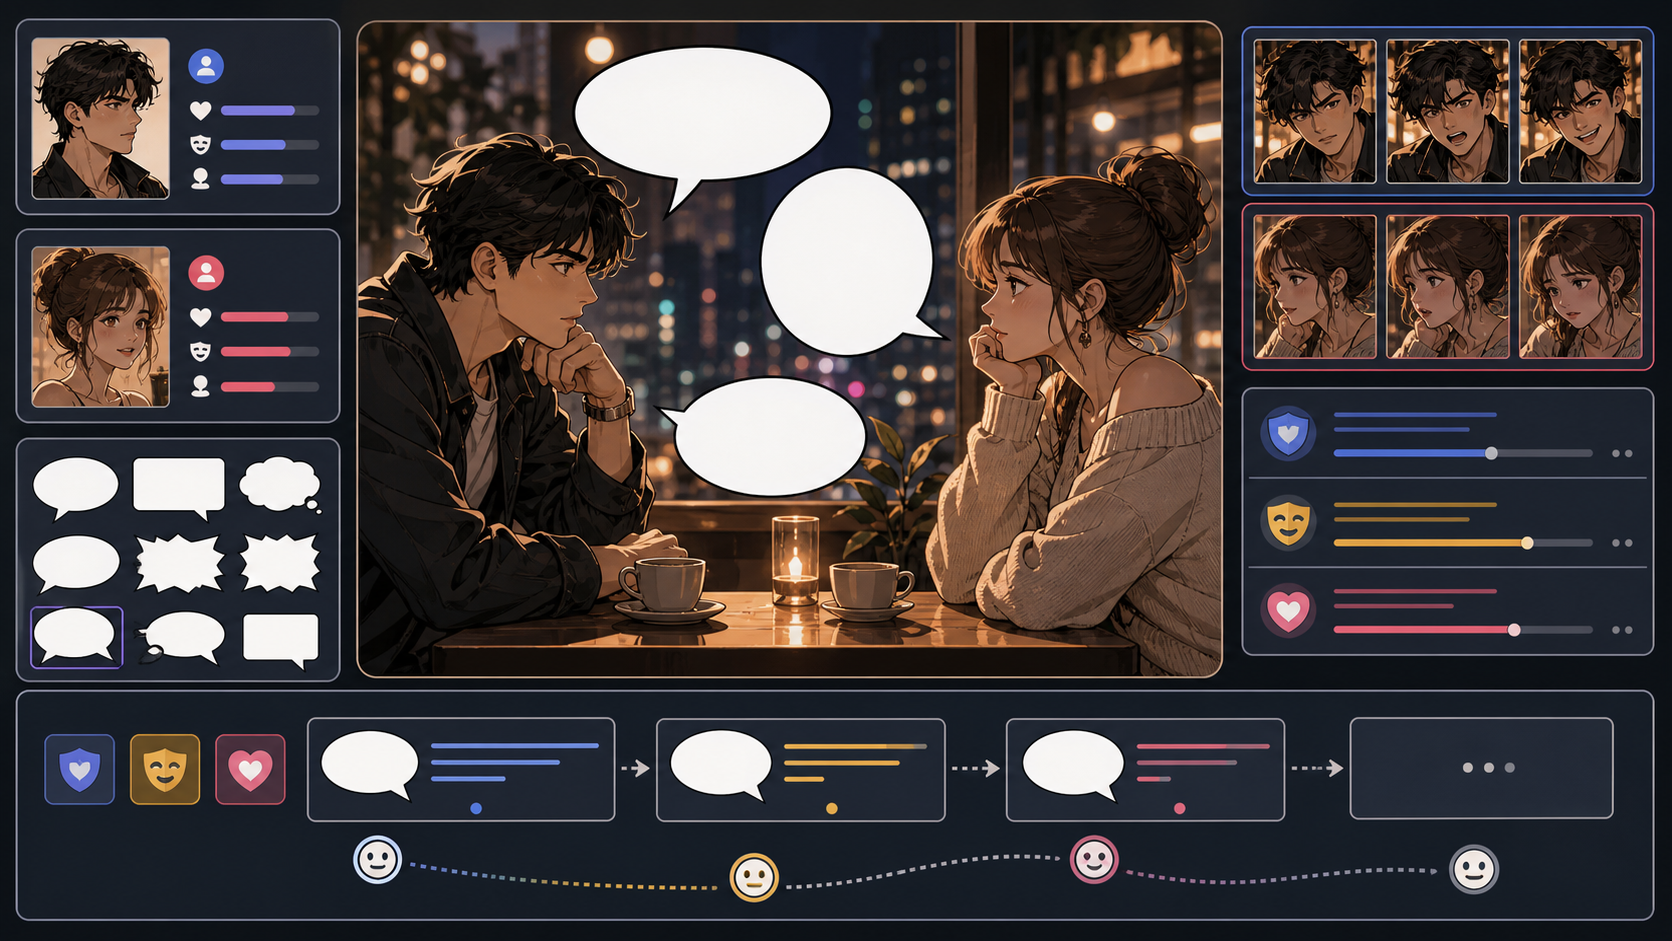
Create dialogue lines with Dialogue Generator. Plan the story job, guide the visual direction, and turn focused prompts into comic-ready drafts inside ComicsAI. Comic dialogue has less room than prose dialogue. The line must sound like the character, move the scene, and fit inside a bubble. Use this page when a scene needs sharper speech rather than longer conversation. The danger is clean but lifeless dialogue. Characters should not all explain the plot in the same voice. Strong dialogue reveals pressure, desire, and relationship.
Dialogue generation should begin with character pressure, not word count.
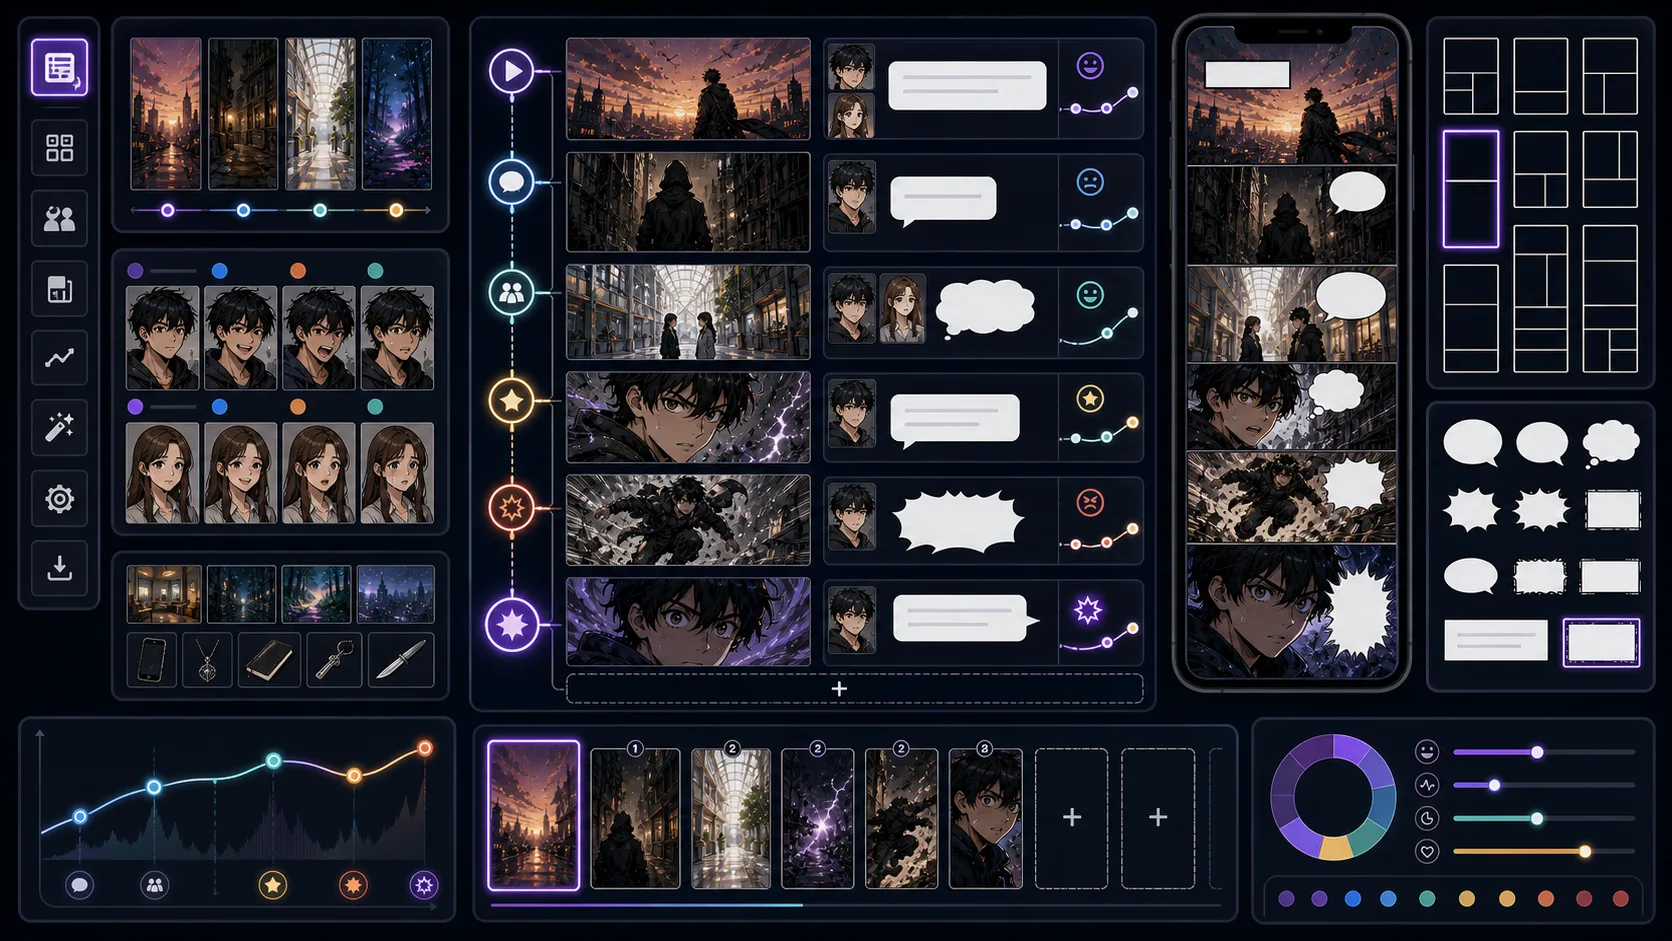
Plan webtoon episodes with cold opens, scroll pauses, reaction beats, reveal spacing, scene lists, and end hooks before art production. Webtoon Episode Planner is strongest when the creator already knows the decision they need to make. Use it for episode structures, scroll beats, hooks, and scene lists, then judge the result by mobile crop, breathing space, reveal timing, panel height, and whether the reader has a reason to keep scrolling. That keeps the page grounded in vertical episode production rather than broad image generation. The honest limitation is this: an episode can have good panels but no reason for the reader to continue. In practice, a strong image may still fail if it ignores vertical rhythm or places the payoff too early in the scroll. Stronger results come from the first decision: choose the scroll beat: reveal, pause, reaction, impact, transition, or cliffhanger. The working constraint is: end with a clear question, emotional turn, or visual promise.
The workflow below is specific to Webtoon Episode Planner: define the vertical episode production decision, set the asset boundary, give visible evidence, then approve only the drafts that can move into a real next step.
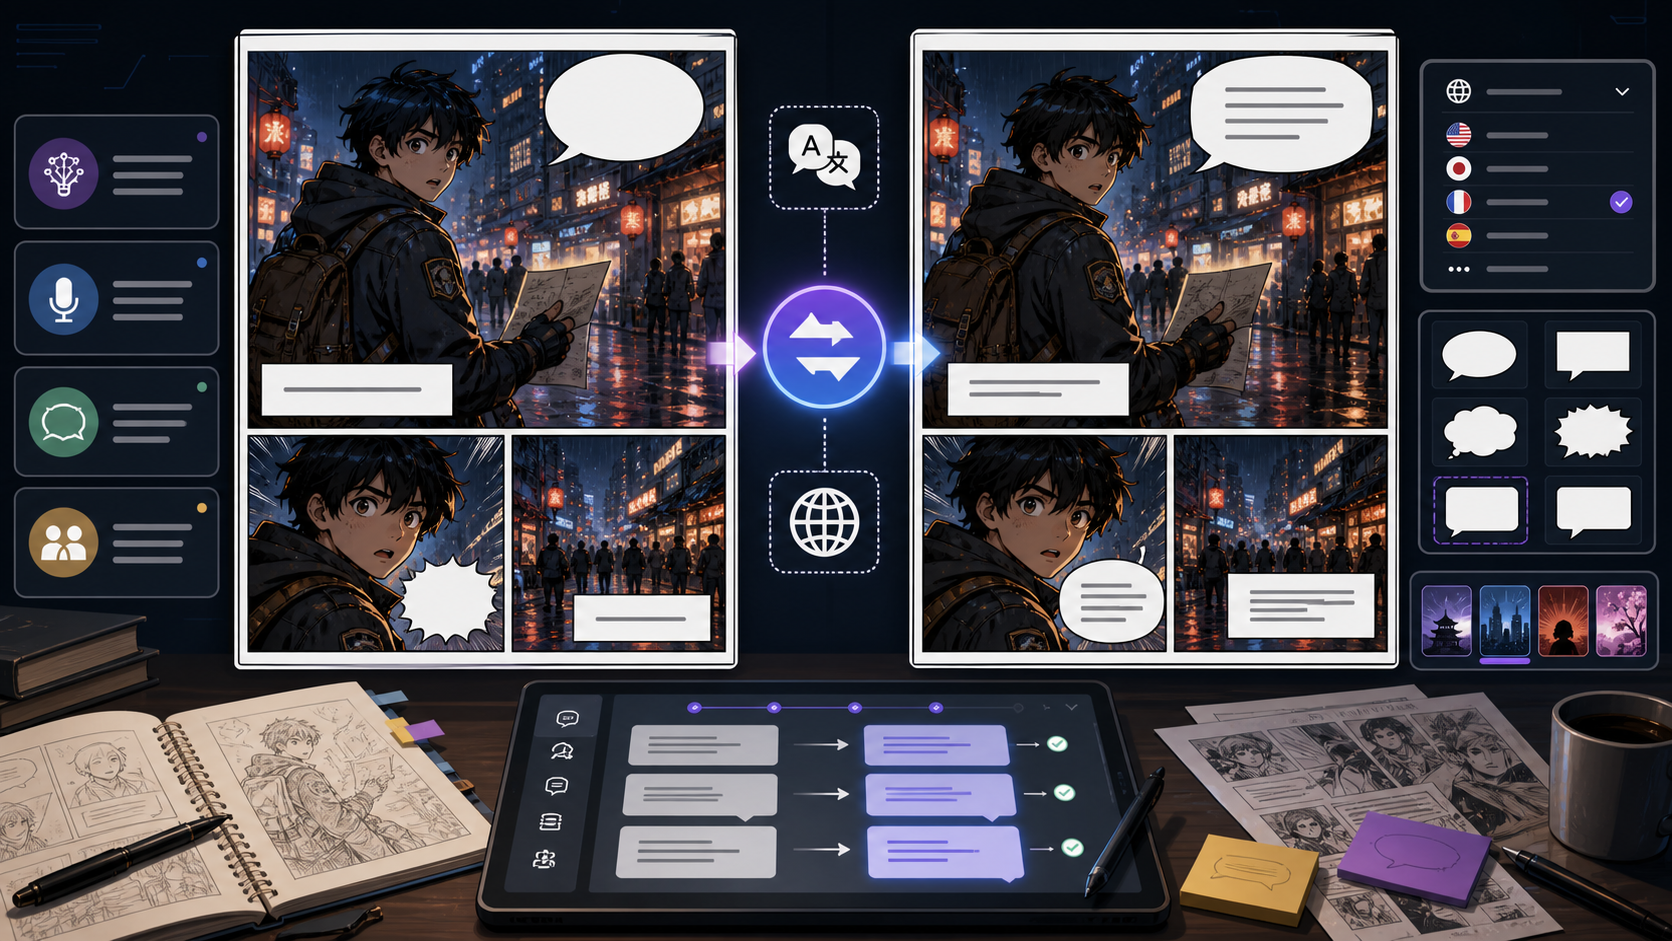
Upload a comic, manga, or webtoon image and translate visible text into another language. ComicsAI generates a translated image while preserving panels and bubbles. Comic Translator is built for image-in, image-out comic translation. Upload a JPG, PNG, or WEBP comic page, select the target language, and let AI detect visible bubbles, captions, signs, and sound effects before generating a translated image. The goal is not only dictionary accuracy; the translated page still needs to fit the original artwork, panel order, and bubble space. AI comic translation is strongest when the source image is clear and the lettering is readable. Tiny text, cropped bubbles, heavy stylized sound effects, low-contrast scans, and dense PDF pages may need a retry or manual review. Treat the output as a translated image draft that should be checked before publishing.
Use this workflow when you want an online comic translator that turns an uploaded image into a translated image, not a separate text-only transcript.
If you already know the scene, start with Text to Comic AI, Story to Comic, or Comic Panel Generator. If the cast is still unstable, create character references before making full panels. If you have a photo, sketch, or rough drawing, use the image tools first so the composition carries into the generated result. When the artwork exists but does not read well, move to layout, caption, cover, font, or webtoon tools to improve the final reader experience.