Trace the reading path with your finger
Before approving bubble placement, follow the path from the first word to the last. If your finger hesitates, the reader will hesitate too.
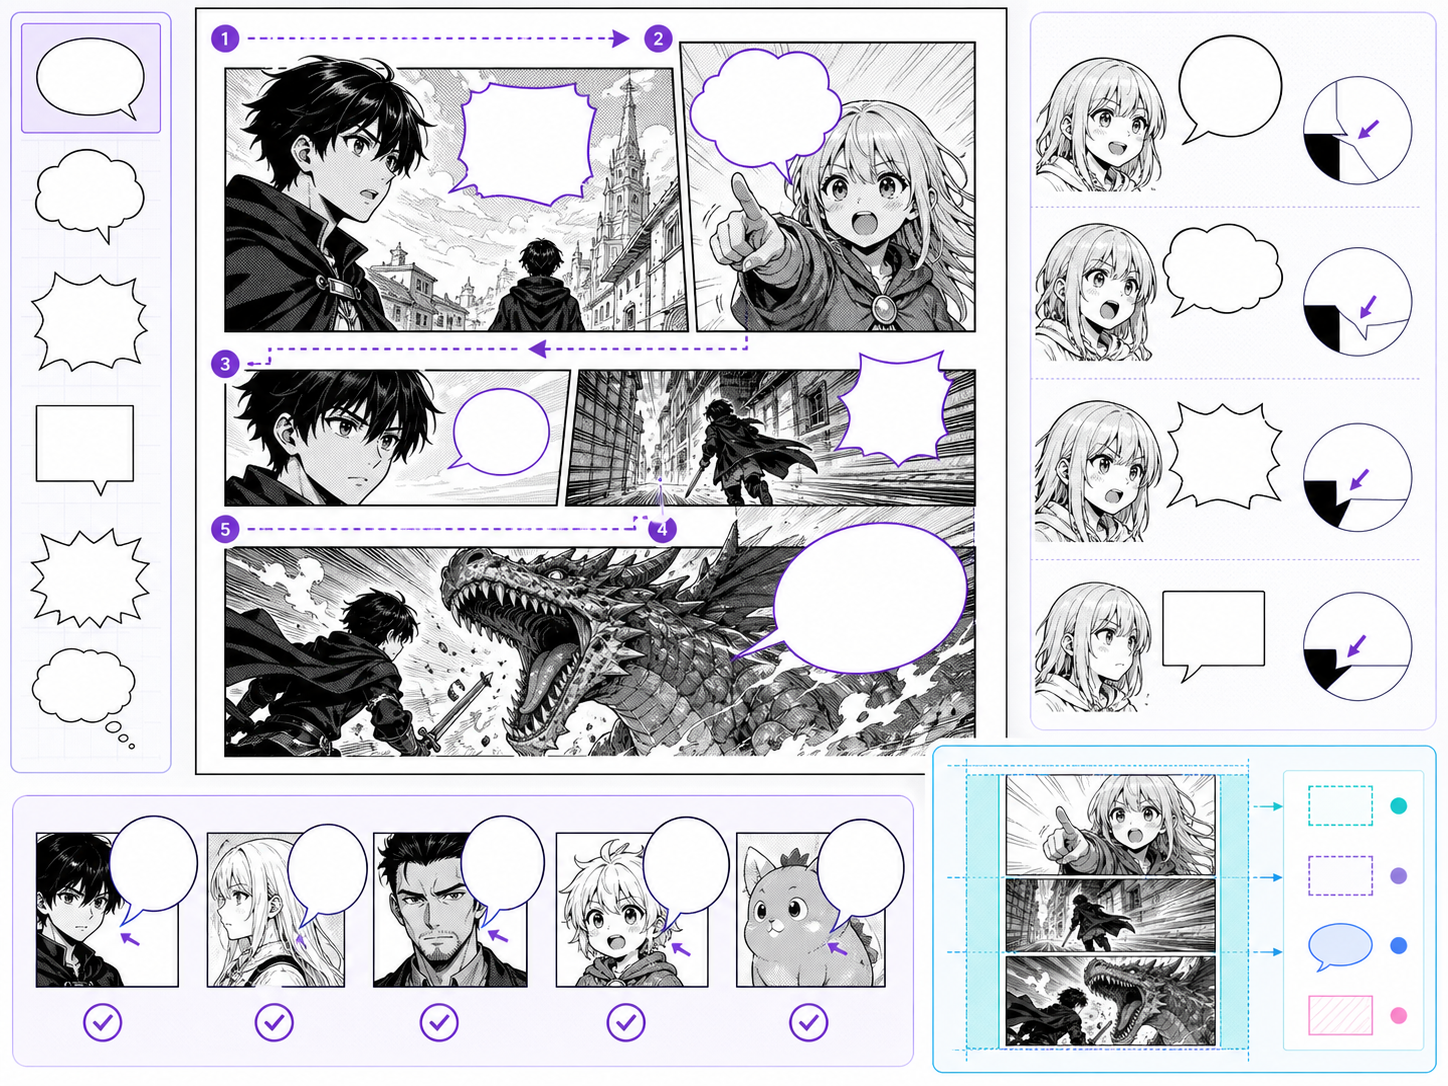
Manga Speech Bubble Generator helps plan readable dialogue areas, bubble shapes, tails, pauses, and emphasis for manga pages. It is for creators who want lettering to guide the reader instead of covering the art.
Reading order
Bubble positions should make the first, second, and third line obvious.
Tail direction
Each tail should clearly point to the speaker without crossing important art.
Line length
Shorter lines read better and leave more room for page art.
Use it for a focused production pass
Speech bubbles are page design, not decoration. The bubble shape, tail direction, line length, and placement all affect reading order. Use this workflow when a manga scene needs clearer dialogue flow or when a generated image needs text space planned before final layout.
The common problem is adding words after the art is already crowded. Bubbles then cover faces, hands, or action. Better lettering begins before final image approval.
A simple workflow that keeps the output readable
A speech bubble workflow starts with reading order, then bubble placement, then wording.
Decide where the reader enters the panel and where the eye should move next.
Mark who speaks, who reacts, and whether any line should be silent caption instead.
Use round bubbles for normal speech, jagged forms for shouting, soft forms for quiet emotion, and boxes for narration.
Manga bubbles work better with compact phrasing and natural line breaks.
No bubble should hide the acting unless the concealment is intentional.
Prompt structure
A useful Manga Speech Bubble Generator prompt begins with the asset you need, not a list of style adjectives. Give the model a visible subject, the production role, and the review focus: reading order, contrast, margin, bubble shape, title hierarchy, and whether the words can be edited later.
Subject + visible change + editable text layer role + dialogue scenes, comedy panels, confession pages, and translated drafts + bubble placement, tail direction, quiet backgrounds, and expression-first staging + review rule: ask for clean bubble zones rather than final tiny text baked into the image.
manga panel with speech bubbles saying hello
two classmates arguing in a hallway with empty speech bubble space above them, designed for dialogue scenes, comedy panels, confession pages, and translated drafts, with bubble placement, tail direction, quiet backgrounds, and expression-first staging; make the reader understand that ask for clean bubble zones rather than final tiny text baked into the image; leave clean space for later editing and keep the focal point clear.
The stronger version names the subject, the visible change, and the asset role. It also tells the tool what success looks like for lettering and finishing: reading order, contrast, margin, bubble shape, title hierarchy, and whether the words can be edited later.
Quality checks
Good bubble planning improves the whole page. The reader should move through the dialogue without needing to decode placement.
Bubble positions should make the first, second, and third line obvious.
Each tail should clearly point to the speaker without crossing important art.
Shorter lines read better and leave more room for page art.
Use shouting, whispering, thought, and narration styles intentionally.
Visual references
The images here are selected for dialogue staging: face visibility, bubble zones, and emotional line delivery.
Speech bubbles should guide reading order, point clearly to speakers, and protect faces from being covered.
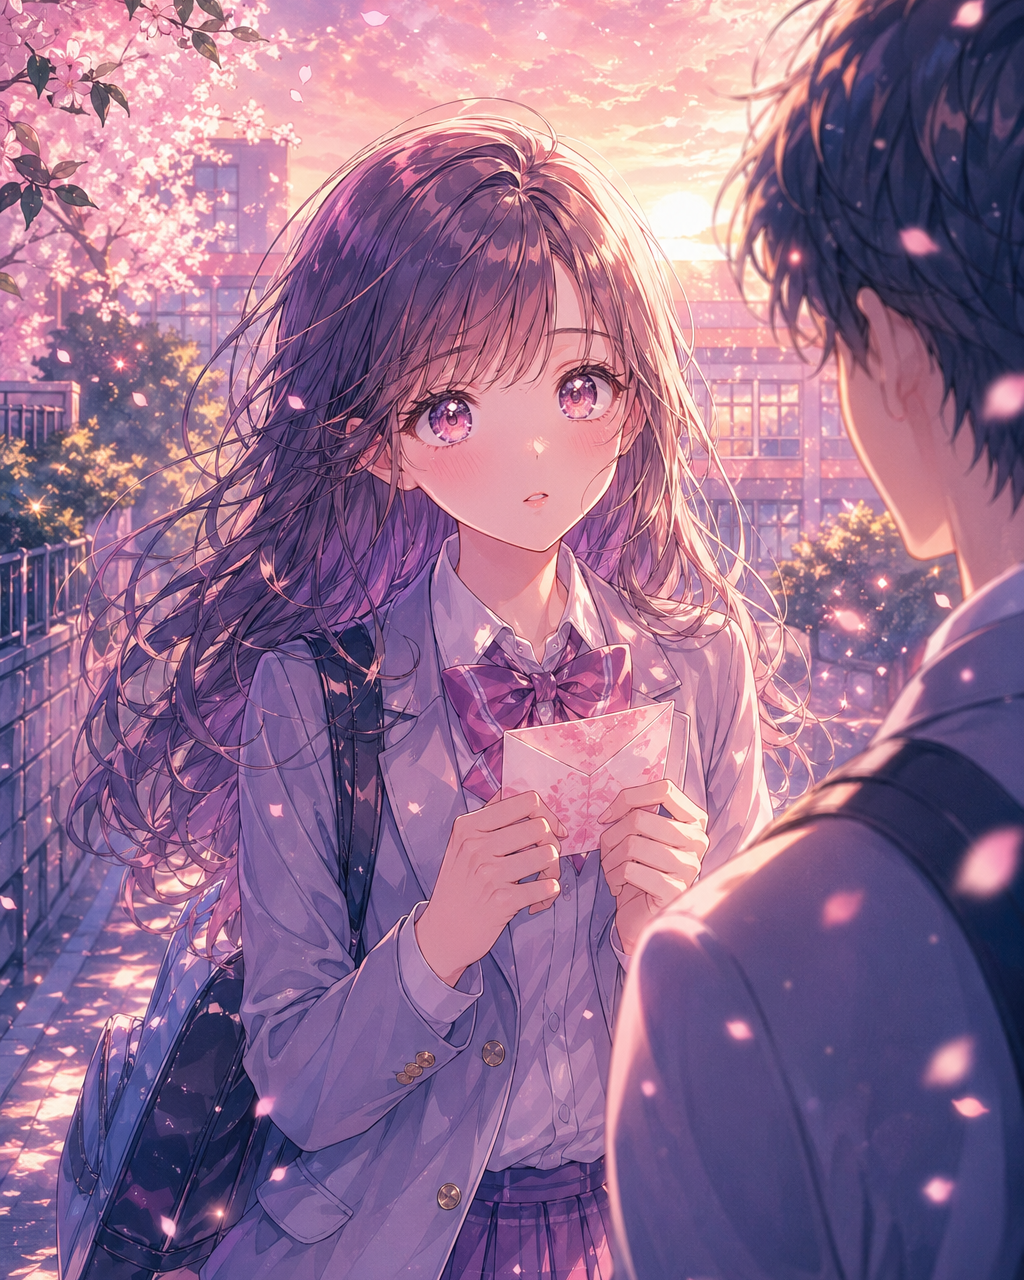
Soft emotional scenes need bubble placement that does not cover the acting.
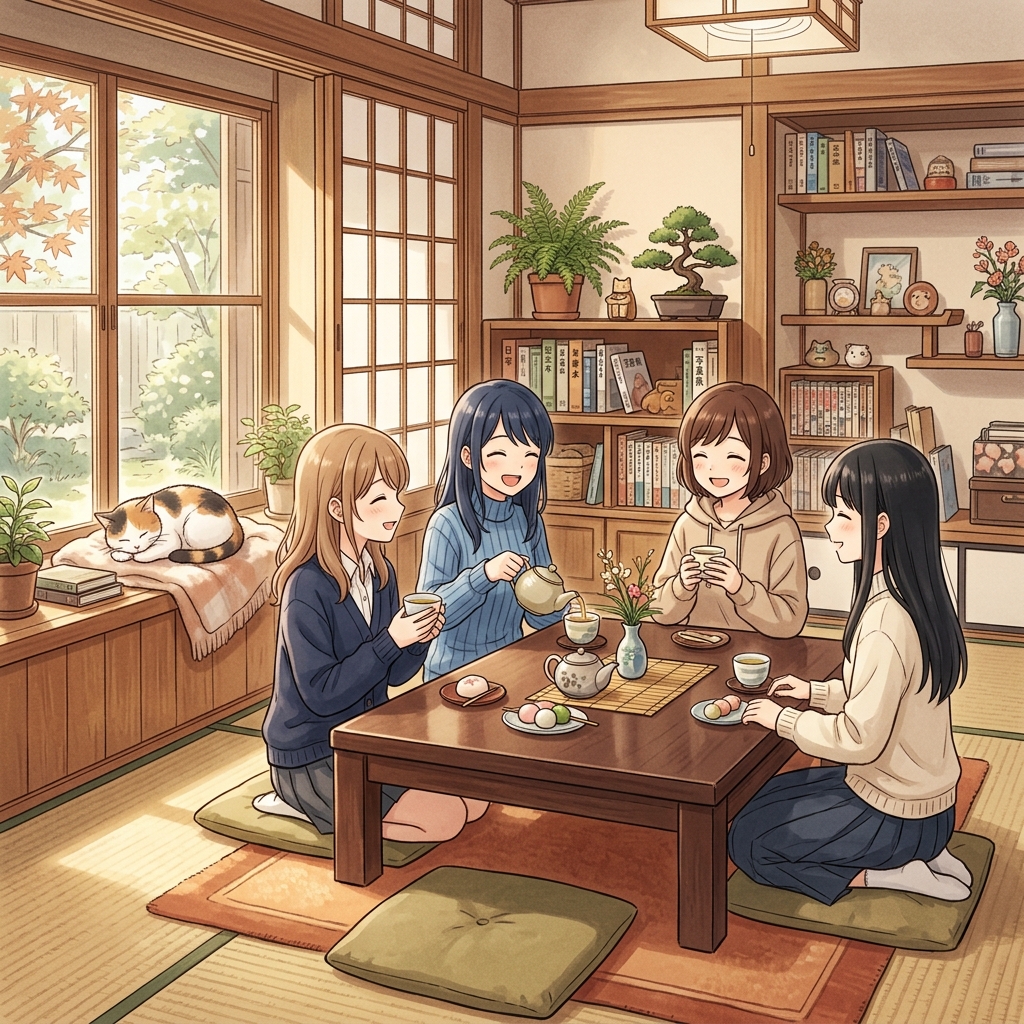
Slice-of-life dialogue depends on natural line length and readable spacing.
Creator guide
Before approving bubble placement, follow the path from the first word to the last. If your finger hesitates, the reader will hesitate too.
Do not make bubbles huge just to fit long dialogue. Rewrite the line first, then adjust bubble size only after the wording is tight.
Not every reaction needs a bubble. Sometimes a face, pause, or empty space says more than another line of text.
Adjust line breaks when translated text changes length.
Plan where final editable text should sit on the image.
Bubbles should not hide faces, hands, or the main reaction.
Whispers, shouting, thoughts, and narration need different treatment.
After bubble planning, continue with dialogue generation, comic translation, caption writing, or manga page drafting.
Create nowThey have to manage reading order, speaker clarity, face visibility, and line length at the same time.
It is safer to plan bubble space first and add final editable lettering afterward.
Keep each bubble short. If a line needs more than two or three compact lines, split it or move some meaning into the art.
Yes. Bubble planning is especially useful when translated text changes length and needs new line breaks.