Choose what the photo contributes
A source photo may be useful for pose, lighting, expression, outfit, or room layout. Name the valuable part before conversion.
Manga Tools
Photo to Manga converts real photos or references into manga-style drafts while preserving the useful pose, composition, or likeness signal. It is designed for creators who want manga treatment without losing the source image's structure.
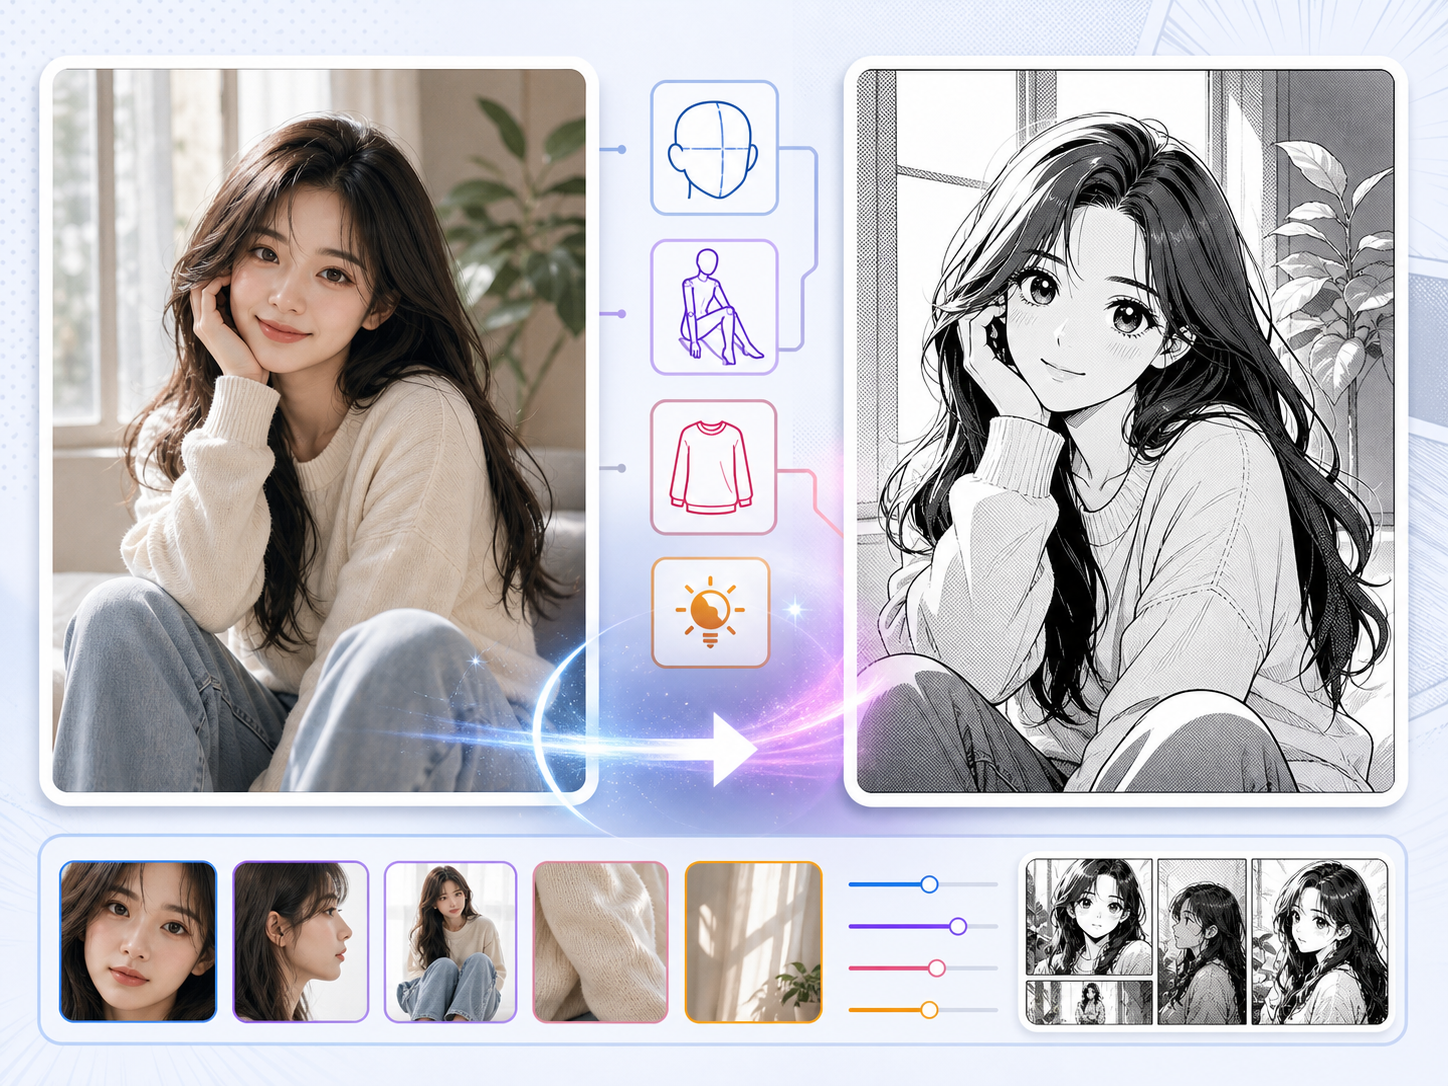
Upload a reference photo, choose a manga style, and export a finished result without leaving the page.
Generate to create a result
The output image is not shown here until a generation finishes.
Practical take
Use this workflow when the source image already has something valuable: a pose, outfit, room layout, lighting idea, or facial angle. The job is not to copy the photo perfectly, but to keep the parts that help the manga scene.
Photo conversion can fail when the prompt asks for too much style replacement. If the manga version ignores the pose or expression that made the photo useful, the conversion has lost its purpose.
Workflow
A strong photo-to-manga workflow starts by deciding what must survive the conversion.
Choose the pose, face angle, outfit, object, or room shape that should remain recognizable.
Decide between clean shoujo lines, dramatic shonen contrast, noir shadows, or soft web manga rendering.
Remove noise that does not help the manga panel, such as cluttered textures or accidental background objects.
The converted face should keep the emotional direction of the original photo.
Treat the result as manga reference art, panel draft, or character seed rather than an automatic final page.
Prompt craft
A useful Photo to Manga prompt begins with the asset you need, not a list of style adjectives. Give the model a visible subject, the production role, and the review focus: source fidelity, crop, lighting simplification, stylized edges, and whether the converted image still has a clear subject.
Subject + visible change + converted reference role + portrait studies, background references, cosplay concepts, and scene redraws + manga line simplification, expressive eyes, clean shadows, and genre-aware styling + review rule: keep the identity cues you need and let the manga style simplify the rest.
turn this photo into manga
a cafe portrait transformed into a soft shojo manga panel, designed for portrait studies, background references, cosplay concepts, and scene redraws, with manga line simplification, expressive eyes, clean shadows, and genre-aware styling; make the reader understand that keep the identity cues you need and let the manga style simplify the rest; leave clean space for later editing and keep the focal point clear.
The stronger version names the subject, the visible change, and the asset role. It also tells the tool what success looks like for image conversion: source fidelity, crop, lighting simplification, stylized edges, and whether the converted image still has a clear subject.
Quality signals
Photo to Manga output should balance source fidelity and manga clarity. Too much copying feels photographic; too much stylization loses the reason for using the photo.
The manga image should preserve the useful body angle or gesture from the source.
Lines, tone, and shadow should simplify the photo into readable manga forms.
The converted face should keep the intended emotion.
The result should be useful for a page, character, or scene direction.
Visual examples
These visuals show how source fidelity, manga simplification, and character emotion can work together.
A useful photo-to-manga result preserves the source pose, face angle, outfit, or lighting while changing the rendering language.

Photo detail should become readable line, tone, and shadow groups.
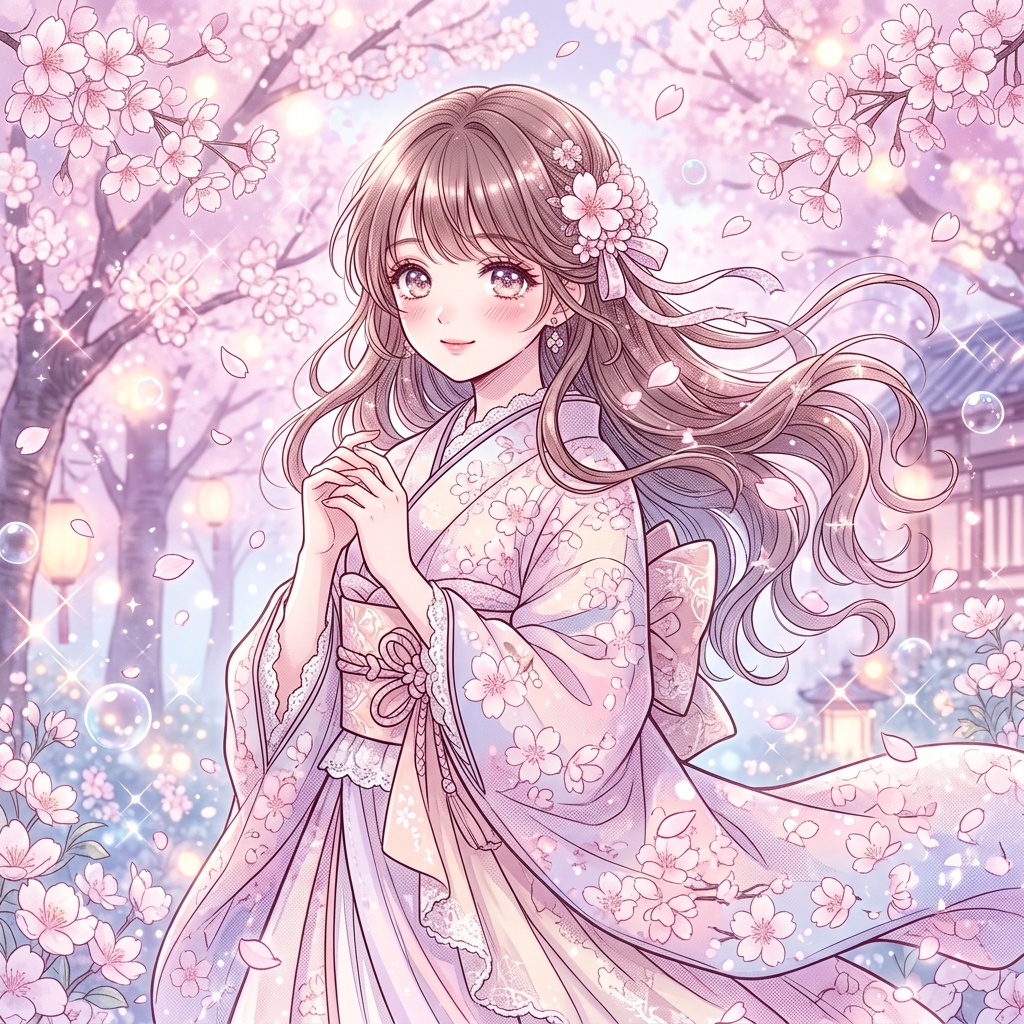
Soft manga styling works when the source expression is the main reason for conversion.
Creator field guide
These notes help creators decide what to plan, what to ignore, and when a draft is ready for the next production step.
A source photo may be useful for pose, lighting, expression, outfit, or room layout. Name the valuable part before conversion.
Manga conversion usually improves when accidental textures, clutter, and background distractions are simplified into readable shapes.
Decide whether the output needs broad resemblance, exact pose, or only mood reference. Each goal needs a different prompt.
Field notes
Photo to Manga has a clear conversion intent: the user already has a visual source and wants to transform it without losing what made the source useful. The source may provide pose, face angle, outfit, location, lighting, or mood. The workflow should push users to name that source value before conversion, because otherwise the manga output can drift into a generic character image.
The hardest balance is fidelity versus stylization. Too much fidelity leaves the result feeling like a filtered photo. Too much stylization erases the pose, expression, or composition the user wanted to preserve. A strong workflow asks what must remain recognizable and what can become manga language: line, tone, simplified shape, and expressive exaggeration.
This tool is also useful as a reference bridge. The converted result may not be final manga art, but it can become a character seed, pose guide, scene reference, or style test. That gives the workflow a practical angle beyond novelty filters and helps avoid thin content.
Convert a useful body angle into manga-style reference art.
Use a photo as the starting structure for a manga character concept.
The output drifts when the prompt does not say what must survive the conversion.
Manga drafts usually need simpler backgrounds than real photos.
After converting a photo, continue with AI Manga Generator, Manga Maker, or character sheet work to stabilize the result.
Clear photos with readable pose, face angle, and lighting work best. Very cluttered or blurry images are harder to convert cleanly.
It may preserve broad likeness cues, but it should be reviewed as stylized manga art rather than exact portrait reproduction.
Yes. It is useful for turning poses, outfits, and facial angles into manga-style reference material.
Tell the tool which source anchors must remain: pose, hair shape, clothing structure, face angle, or object placement.